
Homemade Fruit Roll-Ups

This month’s #MISSDISH is a fun one.
Growing up, fruit roll-ups and fruit snacks were some of my favorite snacks at lunchtime. One pack was never enough, and I always saved the strawberry ones for last. Over the years I’ve learned about what types of ingredients make these type of snacks so yummy. Tons of sugar, corn syrup, and other GMOs. One roll of Fruit by the Foot contains 2 tsp of sugar. Often fruit roll-ups don’t even contain real fruit. I decided to experiment with different ways to make snacks that were just as delicious but much more health conscious.
Making homemade fruit roll-ups is way easier than you think. You can use this recipe with any fruit! It’s delicious with strawberries, mango, any blend of berries, even apples and watermelon. With two organic ingredients, you know exactly what’s going into these snacks. You can even add a boost of nutrition by adding a few spoonfuls of Nutiva Chia Seeds to the fruit puree! These are great for everyone in the family - perfect for kids and great to pack for work. Let’s get cookin!


This recipe is super easy. Today I’ll be using ripe strawberries and a touch of honey. That’s all it takes! The secret is that turning your oven on to the lowest temperature setting essentially turns your oven into a dehydrator ;)
What You Need:
- Organic ripe fruit (strawberries, raspberries, mangoes, watermelon, peaches, etc.) I’m using 1 pint of strawberries
- Organic honey or Agave Nectar
- Optional: sometimes a squeeze of lemon juice is nice! :)
- Baking sheet and high quality food plastic wrap - don’t use discount plastic wrap (don’t worry! I’ll explain) or Silpat
- Parchment paper for storing!

What To Do:
- Start by washing/drying whatever fruit you use. In this case, hull the strawberries by pushing a straw upwards through the bottom center of the strawberry.
- If using any other fruit, remove the pits/seeds and slice into manageable sized pieces. You’re going to puree it anyways, so it doesn’t need to look nice.


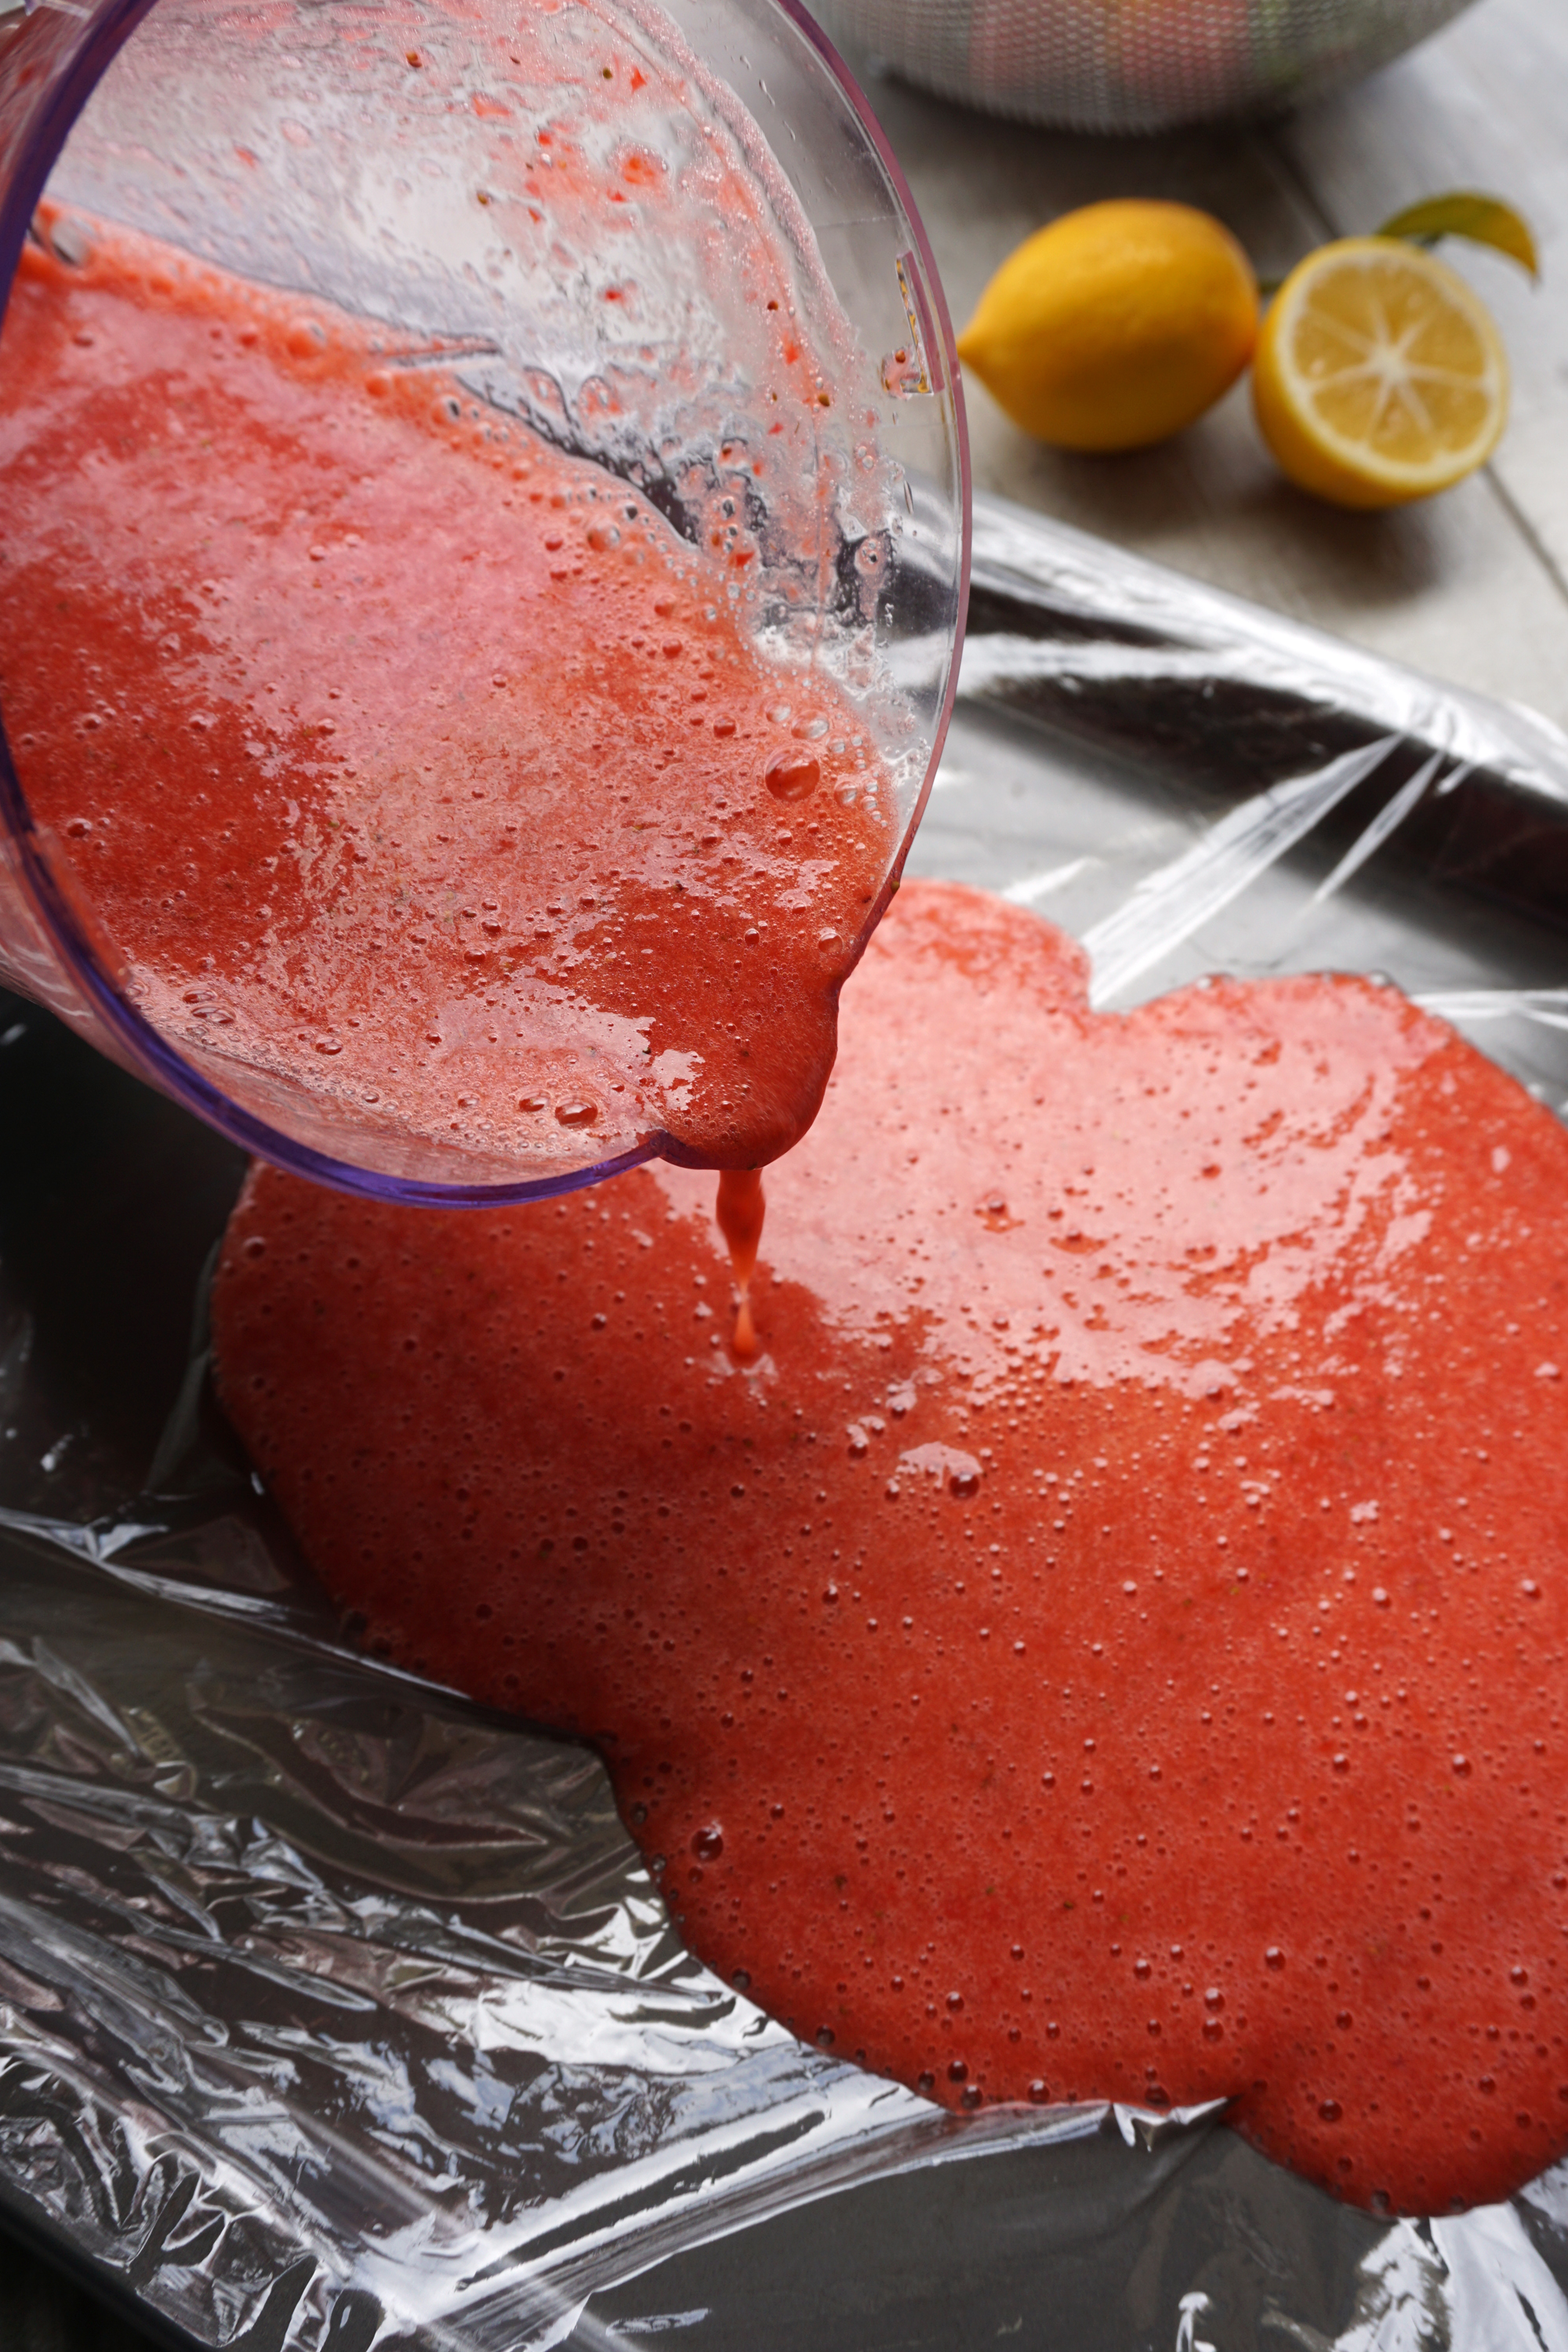
- Toss your chopped fruit into a blender or food processor. Blend till it’s fully pureed.

- Sweeten the puree by adding organic honey or agave nectar to taste. There aren’t any measurements here - what you taste is going to be the flavor of your fruit roll-up!

- Ok so here’s the trick to turning your oven into a dehydrator. Turn it on the lowest temperature setting. On my oven, it’s 175F.
- Because plastic wrap is going into the oven, it’s important that it’s good quality plastic wrap. The temp in the oven will be so low, the plastic will not melt. Alternatively, you can use Silpat, a silicone baking mat. Tear off enough plastic wrap to cover your baking sheet with extra to spare.
- Be sure that there is extra plastic wrap hanging over the edge. Once you pour the fruit puree onto the plastic, you will want to trim the plastic so none of it will hang over too much and touch the oven racks.
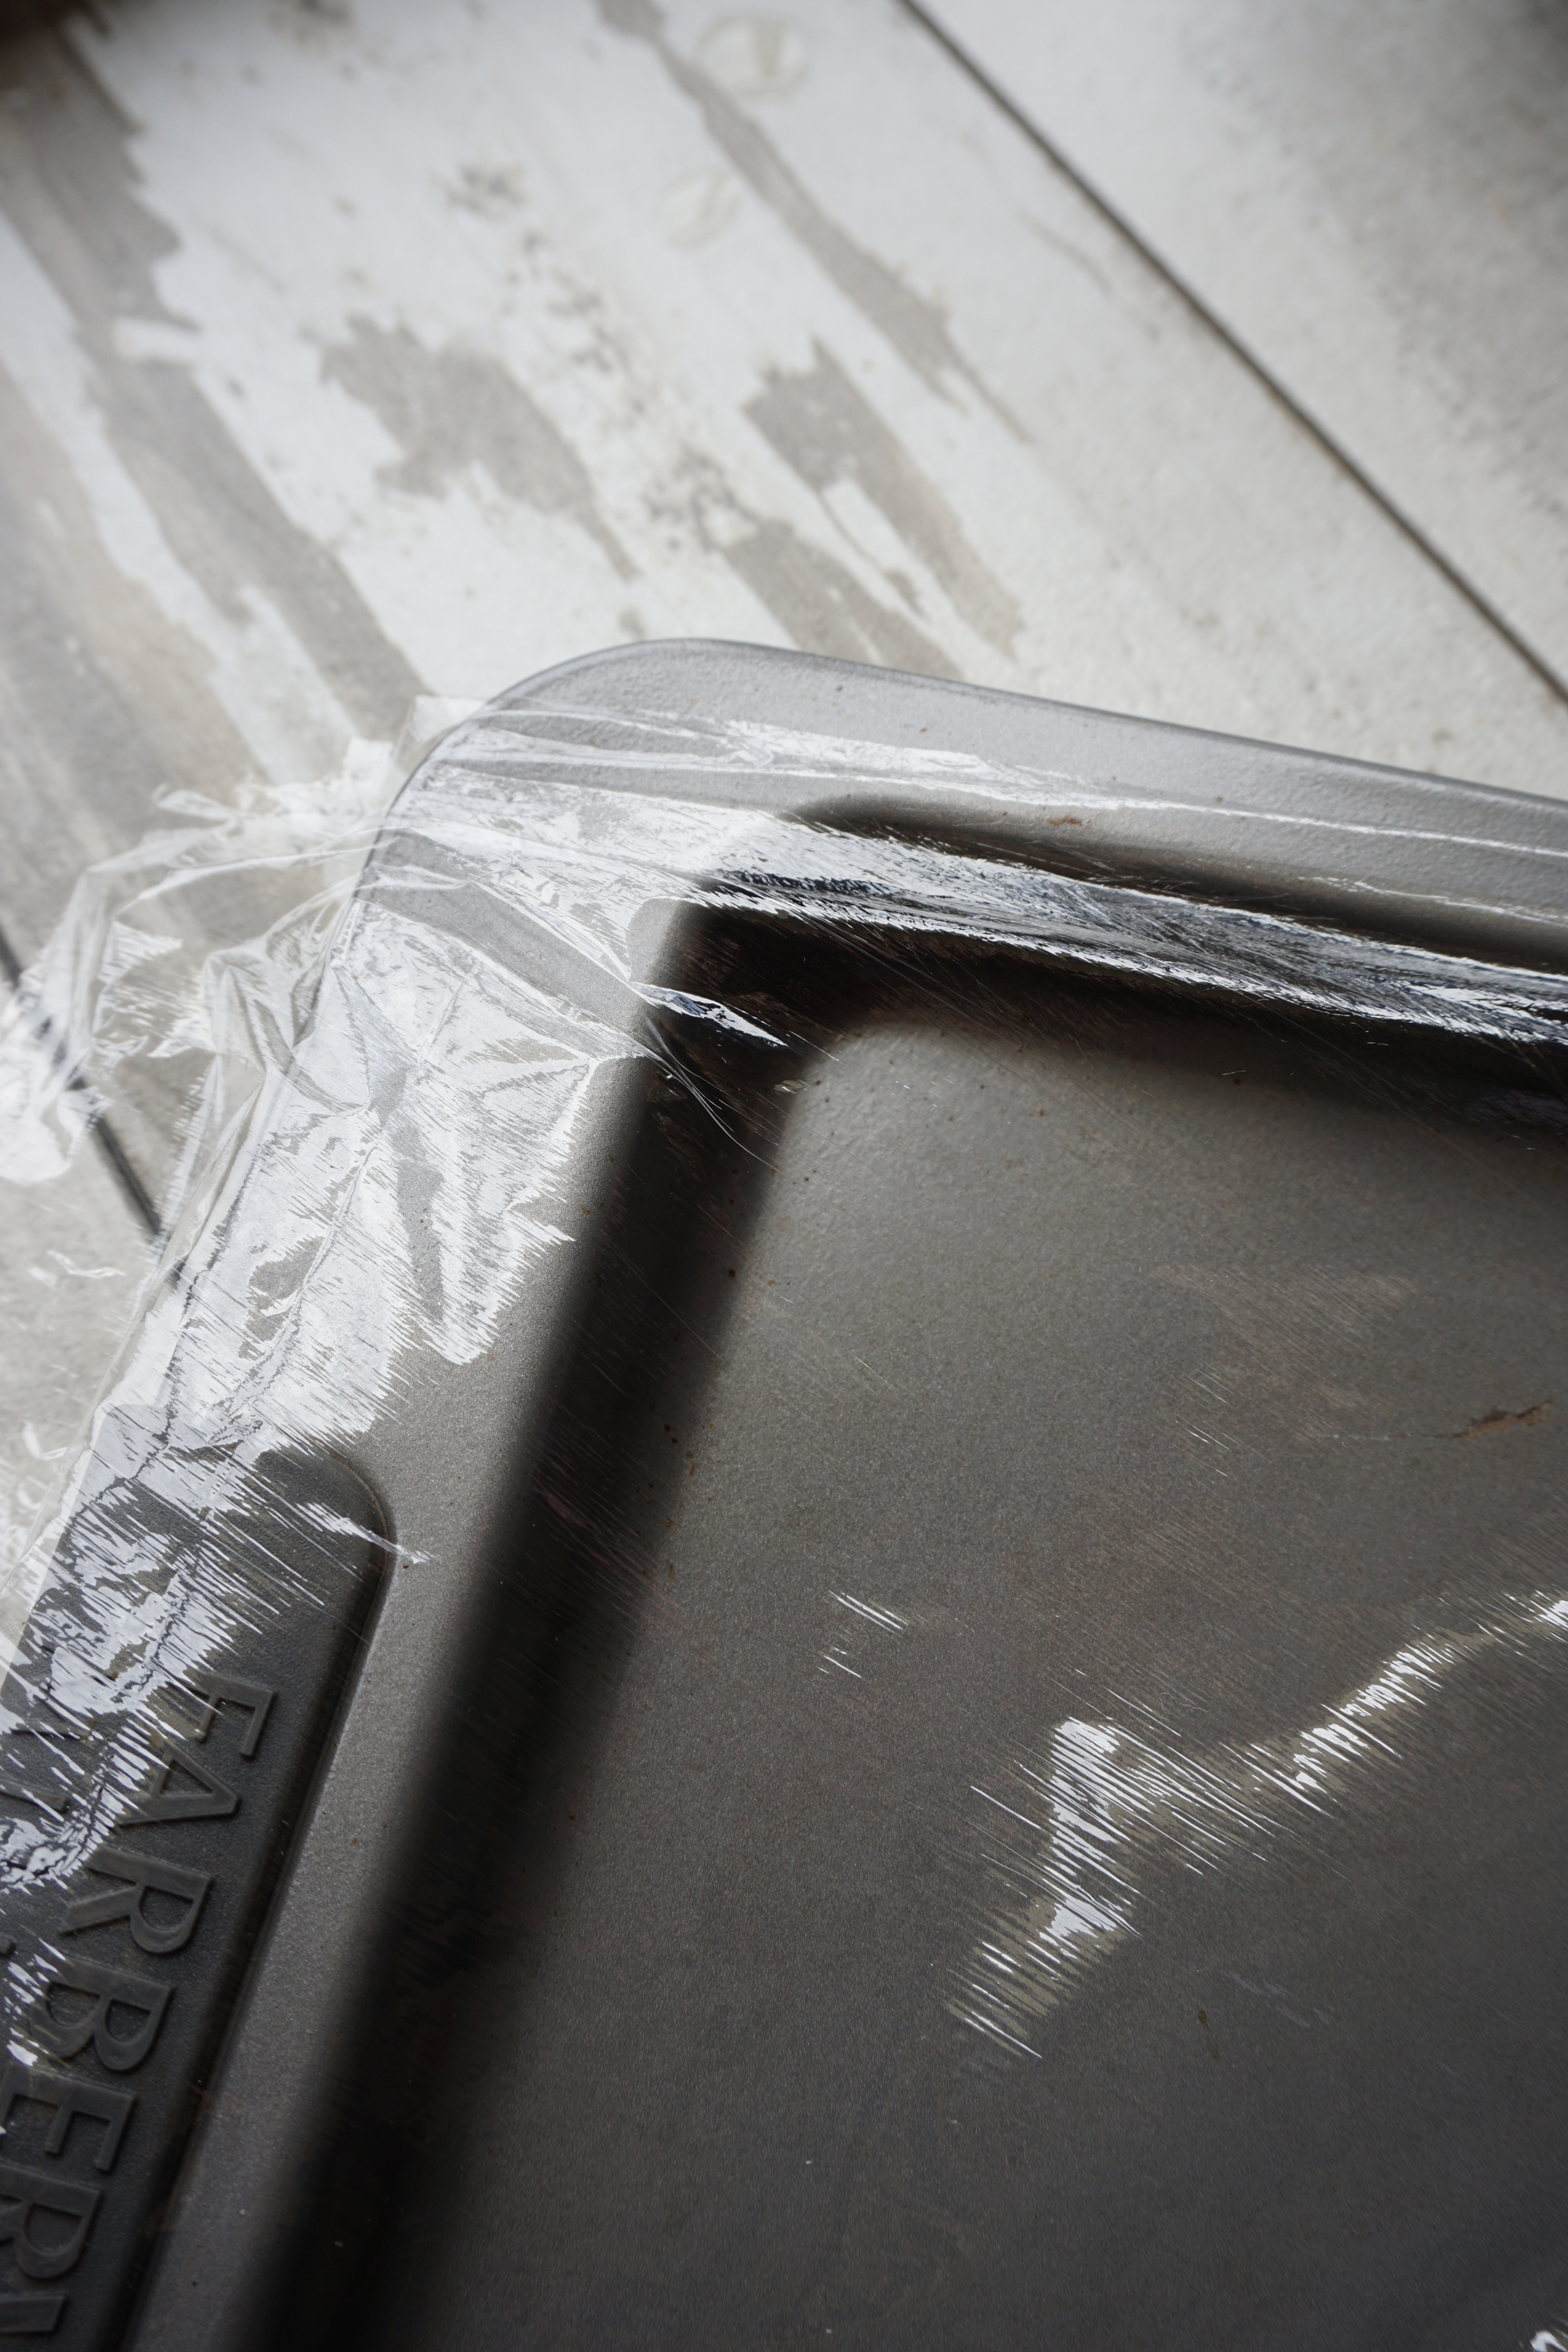
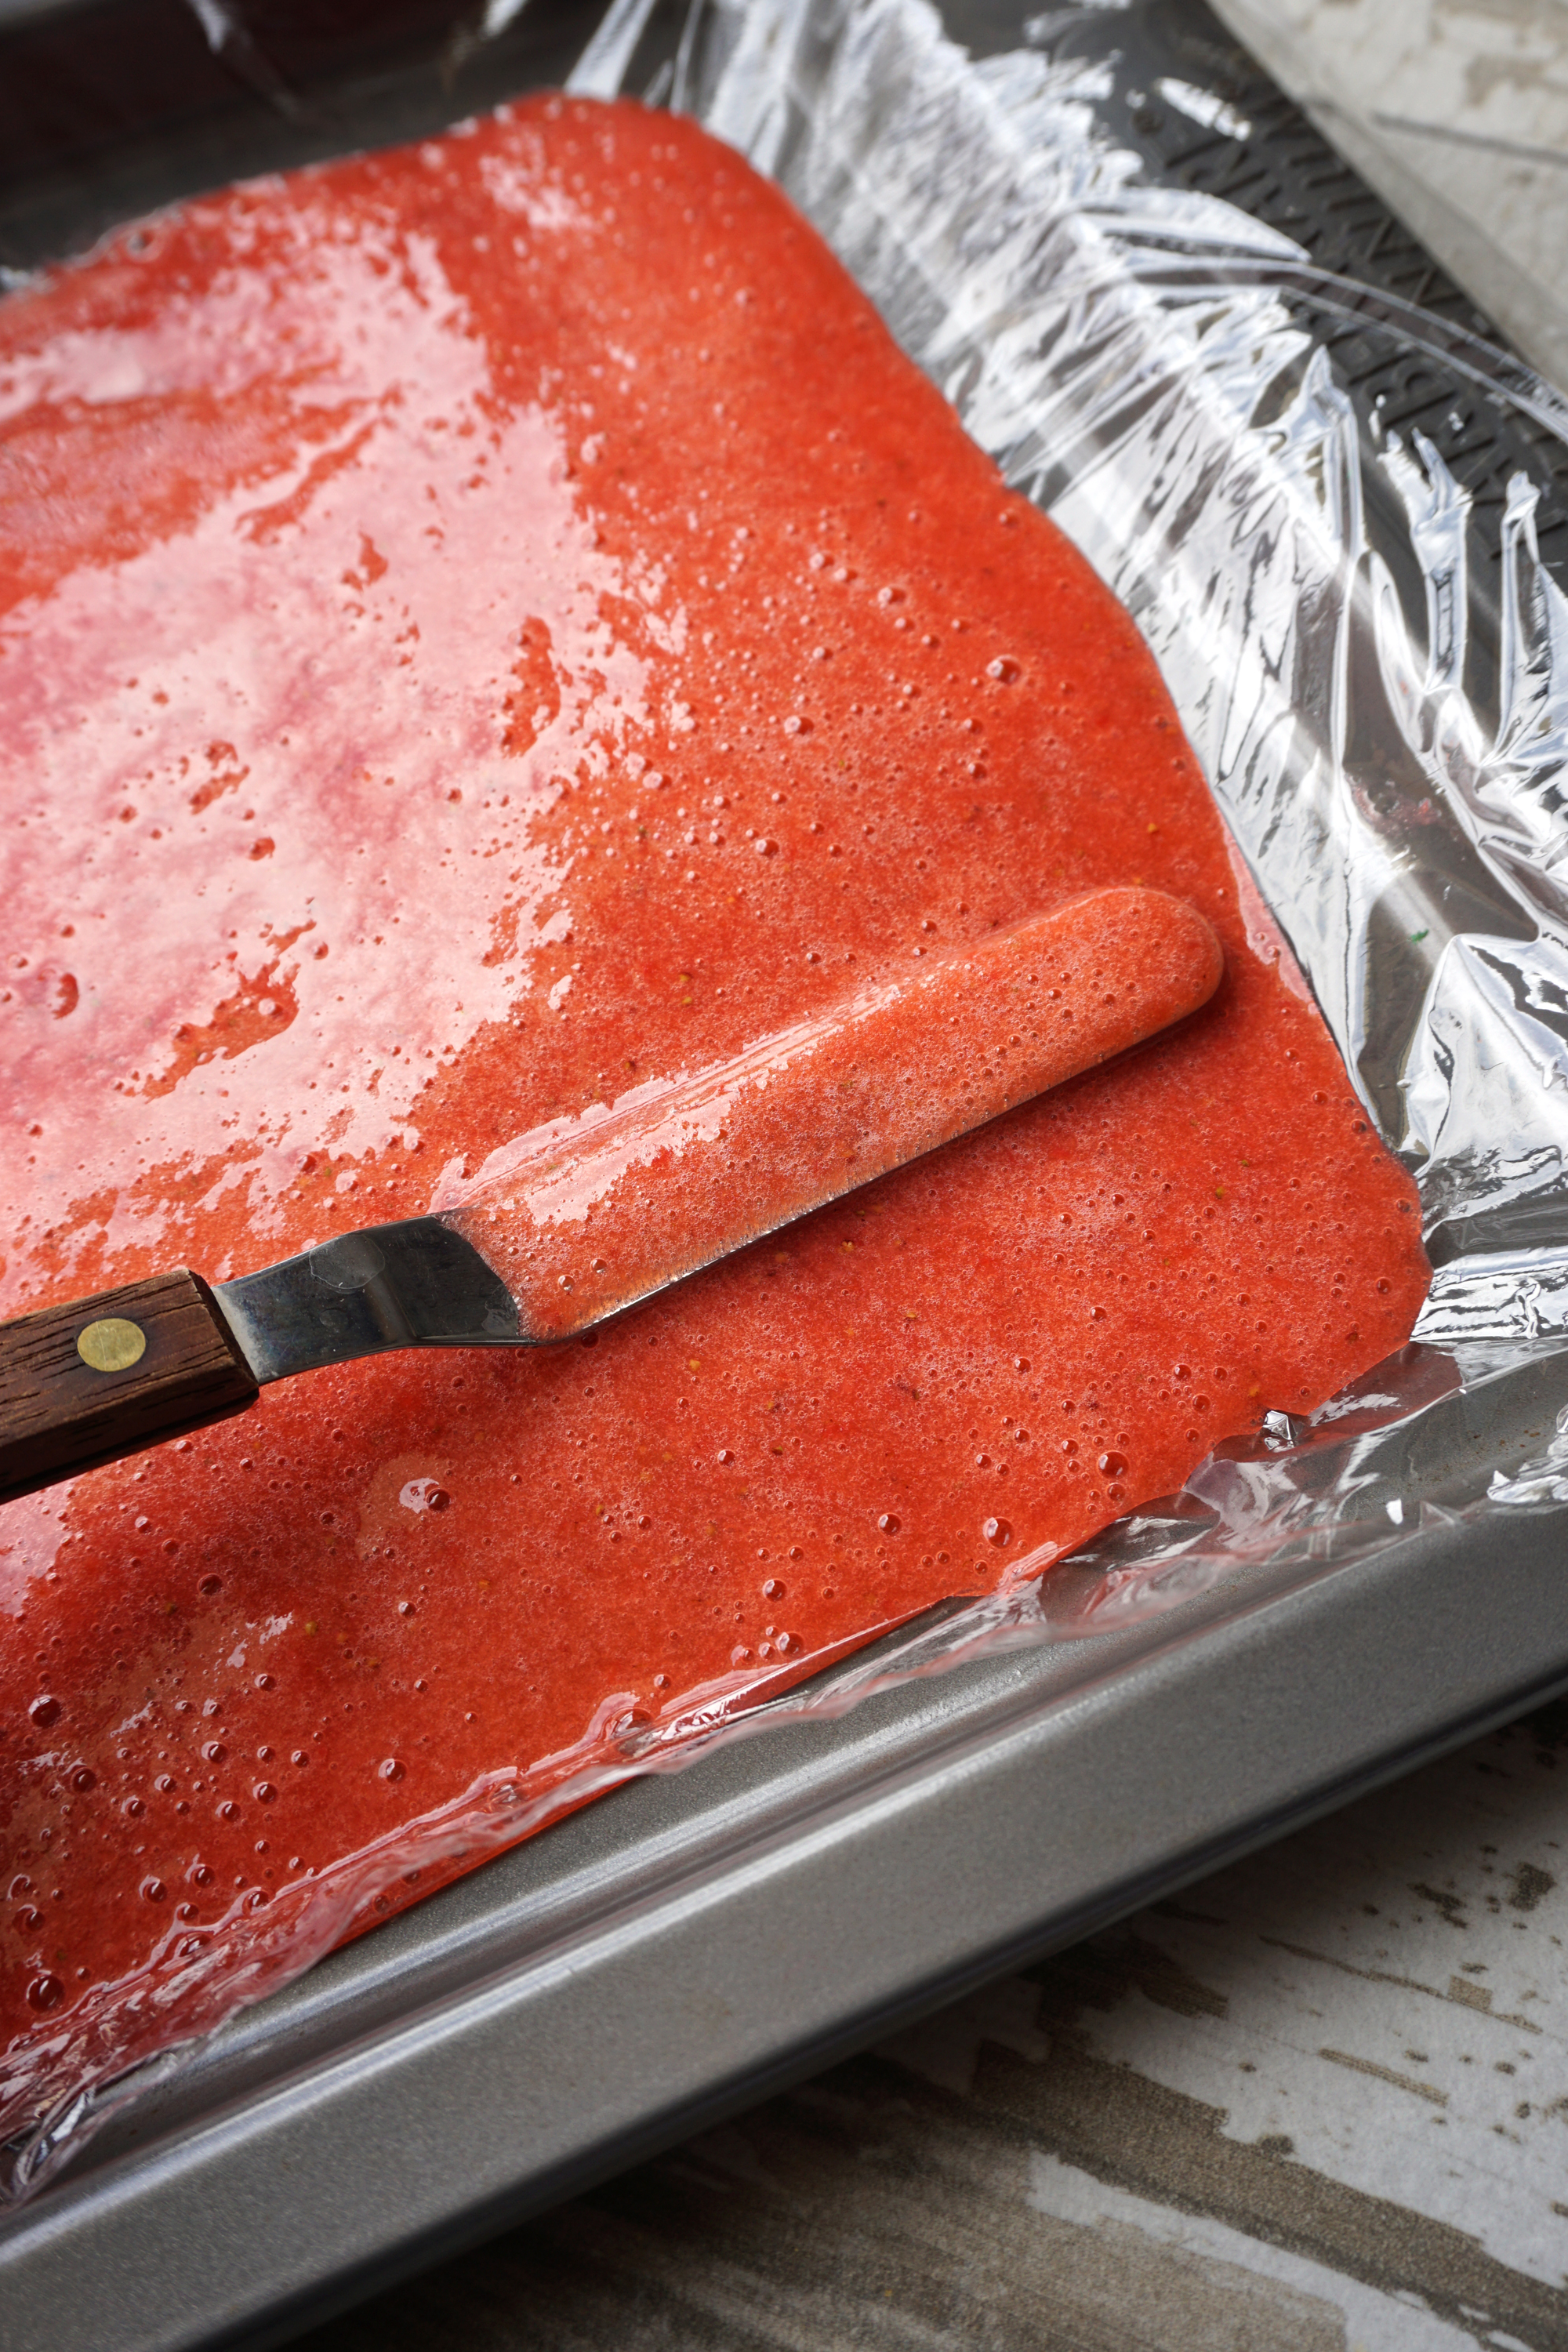
- Make sure that the plastic wrap is long enough to cover the pan, but not long enough to hang over and touch the oven racks.

- You can trim the edges of the plastic wrap with scissors.
- Put the fruit puree into the oven for about 3 hours at 175F or your lowest oven temp. This time and temperature will vary - so bake until the fruit roll-up isn’t tacky to the touch anymore.
- Once the fruit roll-up is no longer tacky to the touch, remove it from the oven and allow it to cool. Slowly loosen and peel the fruit roll-up from the plastic, starting by going around all 4 edges of the pan.
- Tear off a large sheet of parchment paper that is larger than the fruit roll-up sheet.
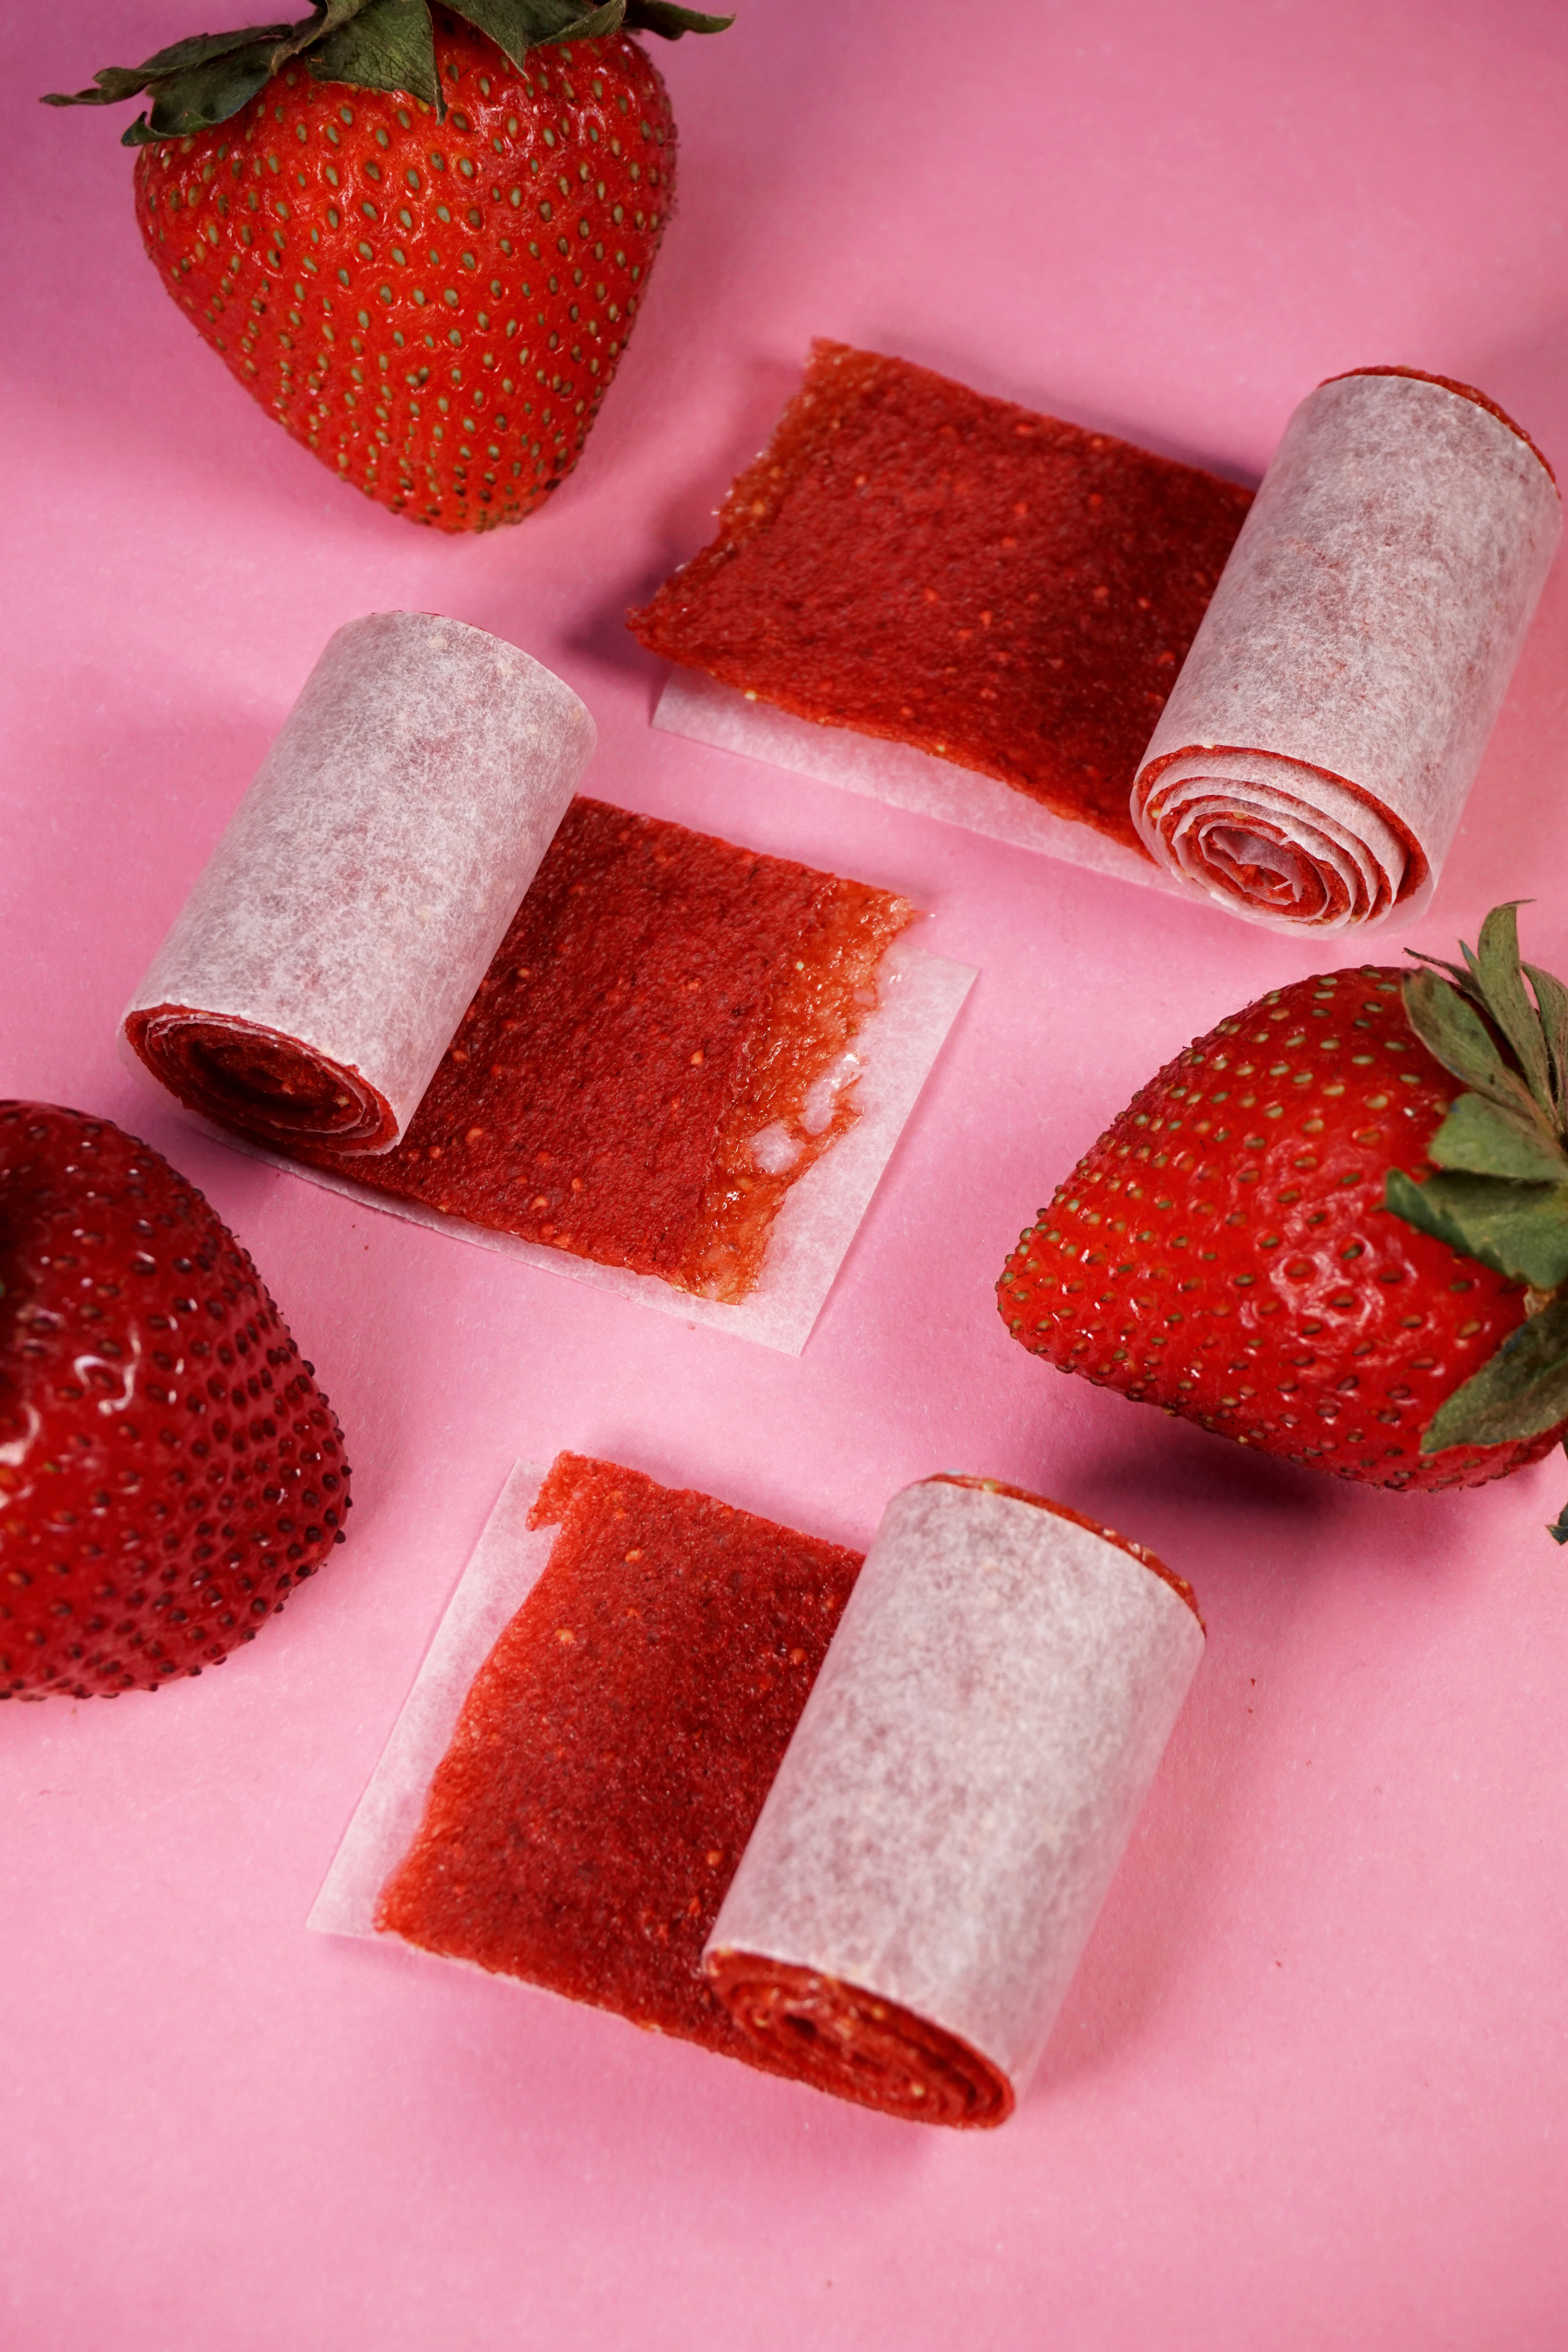
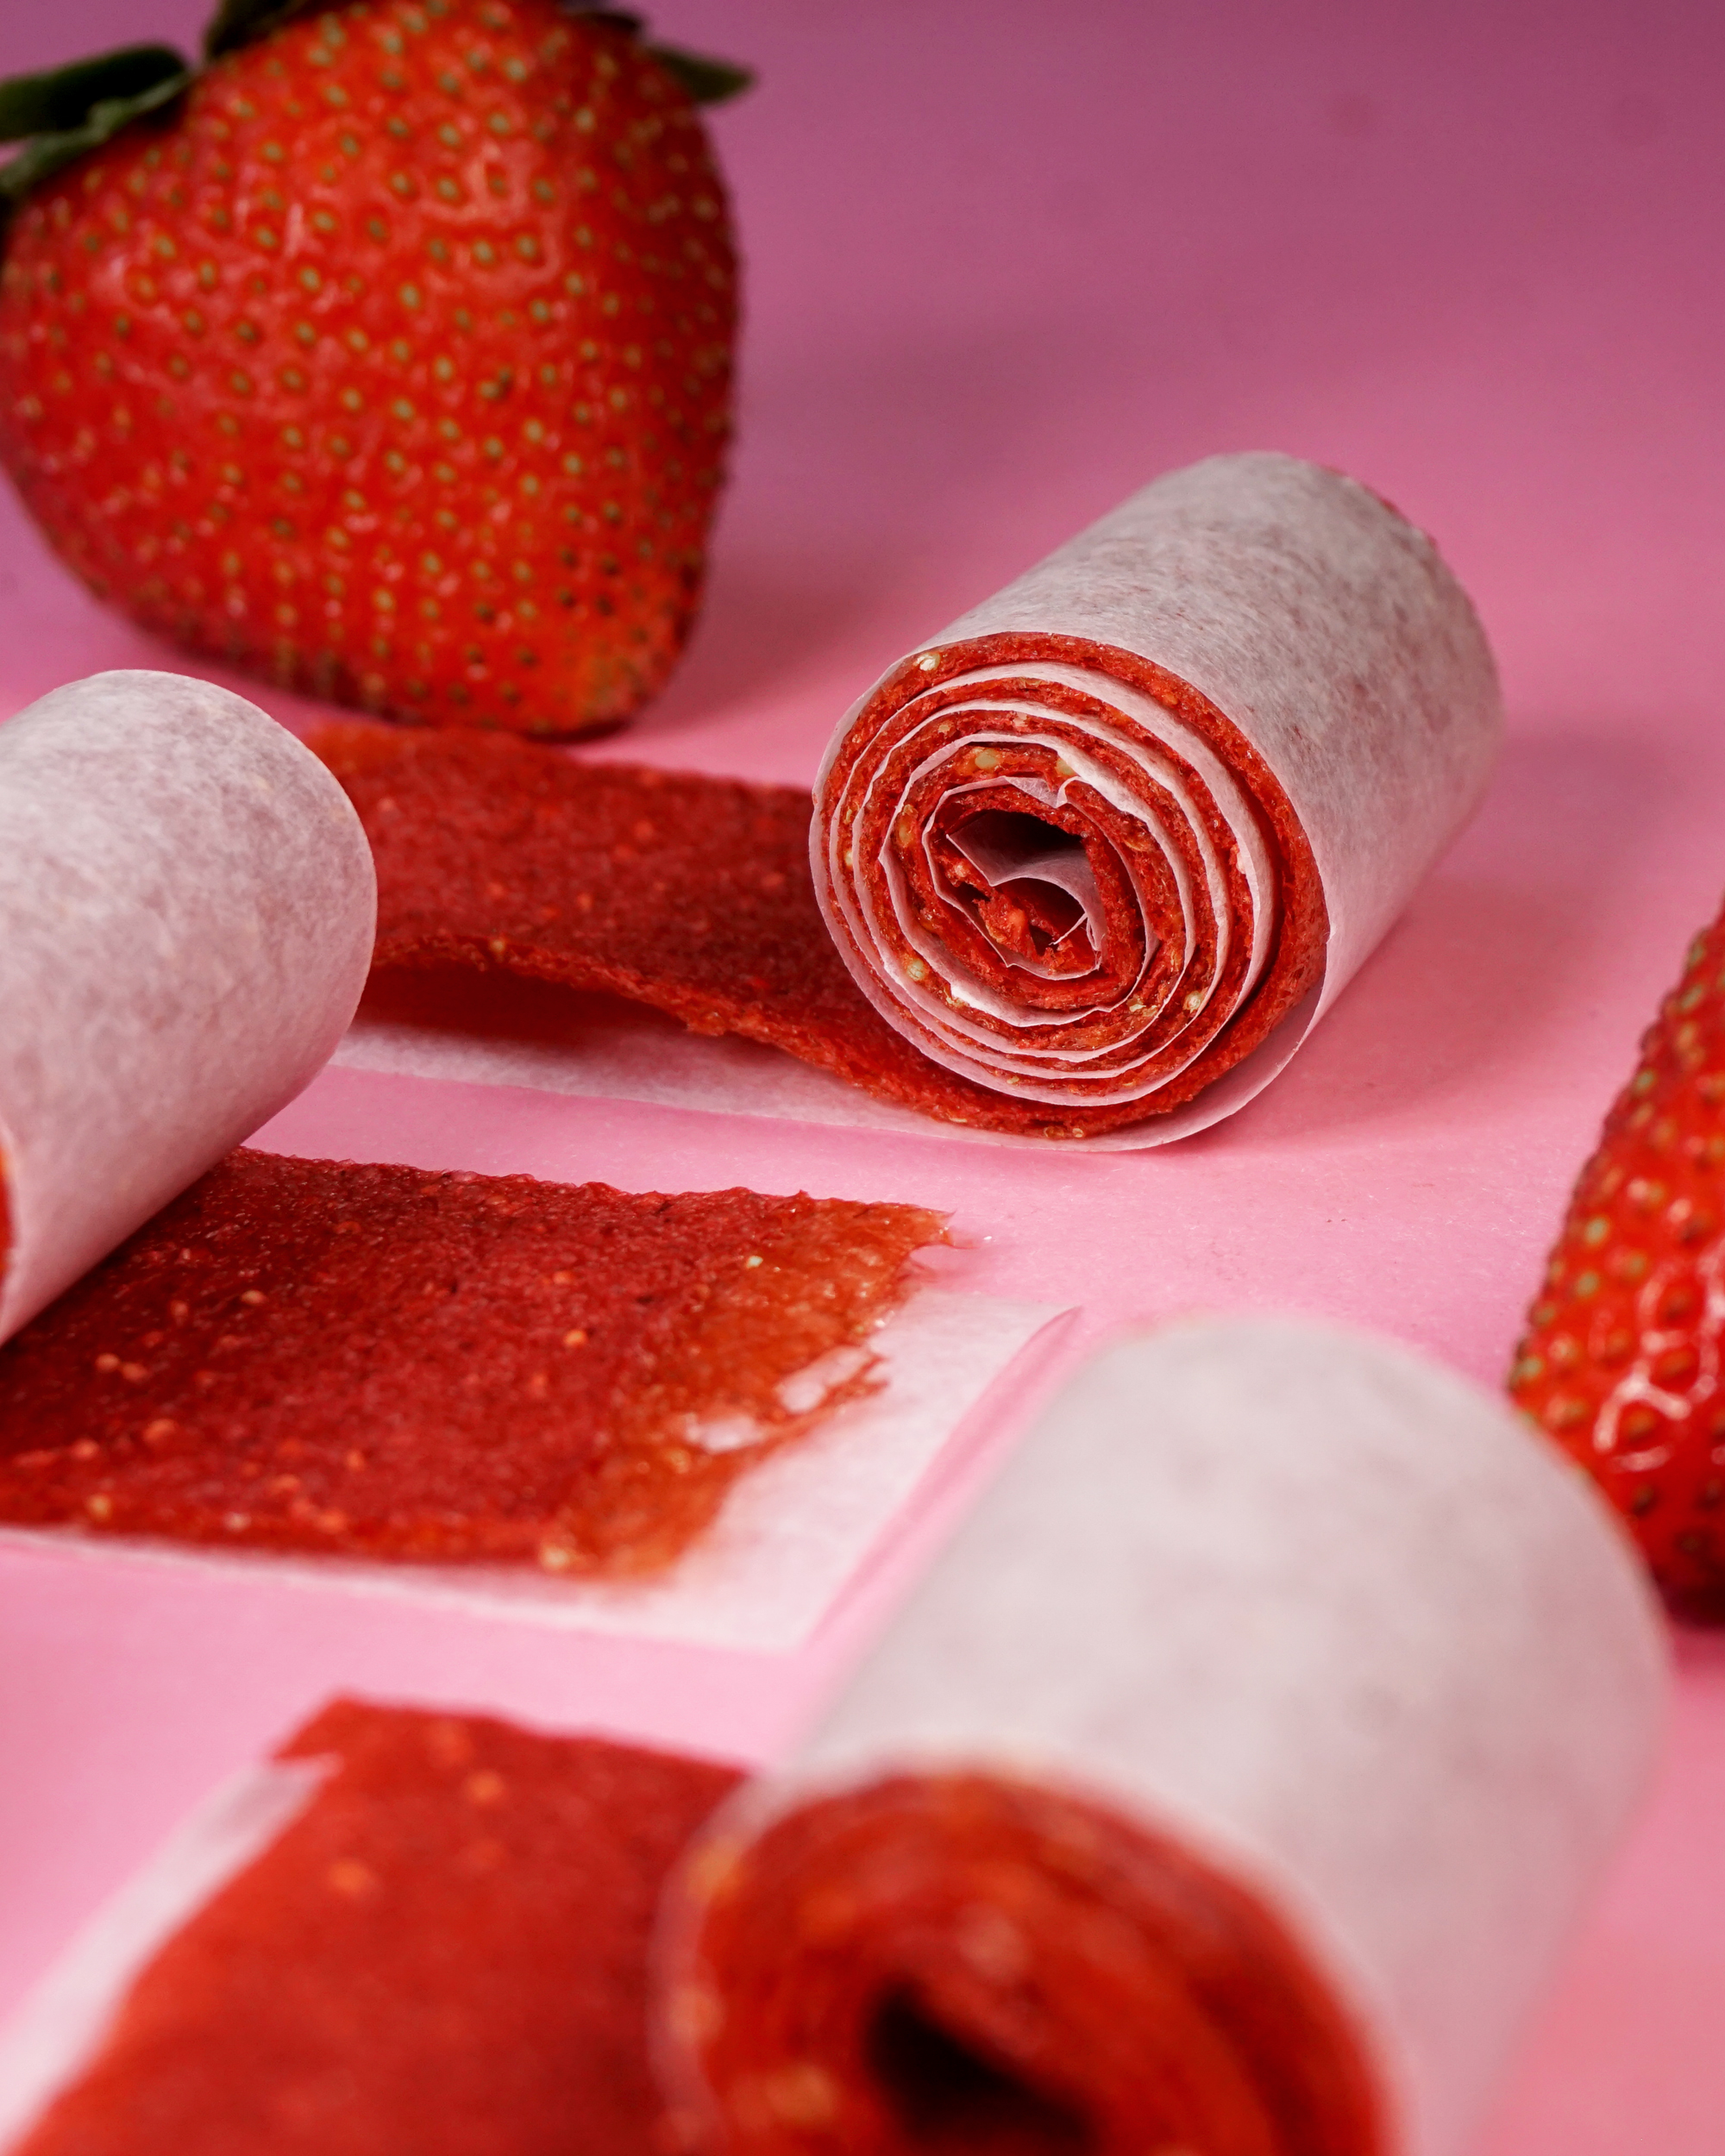
- Once you’re able to peel the entire thing apart from the plastic, flip it onto the parchment paper. Use kitchen shears to cut 2″ wide strips of the fruit roll-up. You can cut these into any shape you like! Squares, fun shapes, it’s all up to you.

- Roll them up! That’s it! :)


How easy was that? The texture is wonderful - it’s so thin and delicate, and even more flavorful than any store-bought fruit snack. Plus, you know all two ingredients that are inside! I made a huge batch and love to keep them in an air-tight mason jar for whenever I’m craving sweets :)
