Perfect Fried Chicken

Crispy, seasoned skin, and tender, flavorful meat. One of my favorite indulgences is simple fried chicken. However, I find that sometimes fried chicken has really yummy skin, but is dry and flavorless inside. So I set out to come up with the perfect recipe for flawless homemade fried chicken with the following criteria in mind: easy, not too time-consuming, and yielding a great golden crust with well seasoned meat. I’ve been experimenting with different recipes and techniques and have come up with a recipe that I’m really happy with. The steps are simple and there’s little hands-on time in the kitchen. I learned the secret of using Old Bay Seasoning from Melissa Gilbert of Little House On The Prairie (yes, really), and incorporated a really important step - brining the chicken overnight. The combination of brining the meat, great seasoning, a cast iron skillet, and using a meat thermometer means you'll have Perfect Fried Chicken at home.
The other night I used the same recipe on lil nuggets of chicken and tossed them in Chinese white pepper right out of the frying oil. Fantastic. I love a good base recipe that makes it easy to doctor up and experiment with. Read on to find out how to make the best fried chicken you’ll ever make.
What You Need:
For the brine:
- 10 cups cold water
- 3 tbsp salt
For the fried chicken:
- 4-5 lb chicken - I prefer dark meat (thighs and drumsticks)
- vegetable oil for frying
- 2 cups all purpose flour
- 5 tbsp Old Bay seasoning
- 1 tbsp salt
- 1 tbsp black pepper

What To Do The Night Before:
- Brining your protein guarantees moist and flavorful results every time. Brining improves the chicken’s ability to retain moisture and deeply seasons the meat before cooking.
- In a large bowl, dissolve 3 tbsp salt into 10 cups of cold water. Rinse all the chicken under the faucet and place all the meat into the brine. Cover with plastic wrap and refrigerate overnight.
Day Of:
- Drain the chicken and pat it completely dry with paper towels.

- In a bowl, combine 2 cups of all purpose flour with 5 tbsp Old Bay seasoning (yes it seems like a lot), 1 tbsp salt and 1 tbsp black pepper.

- Stir to combine completely and toss this mixture into a gallon ziplock baggie. Toss the chicken in the dry rub in batches and place them on a clean plate/cookie sheet to prepare for frying.


- I like to fry chicken in a cast iron skillet. It provides nice and even heat, and you get golden, crispy skin every time. Heat about 1 inch of vegetable oil over high heat until a drop of water bubbles. If you happen to have a candy thermometer, that’s great! What we’re aiming for is a steady 350F.
- Using tongs, shake any excess seasoning mix off of the chicken and put it skin-side-down into the skillet. You will need to cook the chicken in batches to avoid overcrowding.

- Cook on one side for 15 minutes, then turn the chicken over and cook the other side for another 10-15 minutes, checking the chicken internal temp at around 25 minutes total cooking time. Smaller pieces of chicken are often done in about 25 minutes, while larger ones need the full 30. We're looking for an internal chicken temperature of 165F!
- Drain the fried chicken on a wire rack in order to keep it crispy! Paper towels can give you soggy skin.


Frying up a batch of chicken at home is way easier than you think! This recipe is seriously easy. I like to mix up a batch of seasoned flour and keep it in a separate container; that way I can scoop out as much as I need whenever I want to fry chicken. This way, you don’t need to use the entire 2 cups of flour every time. Serve with your favorite sides!


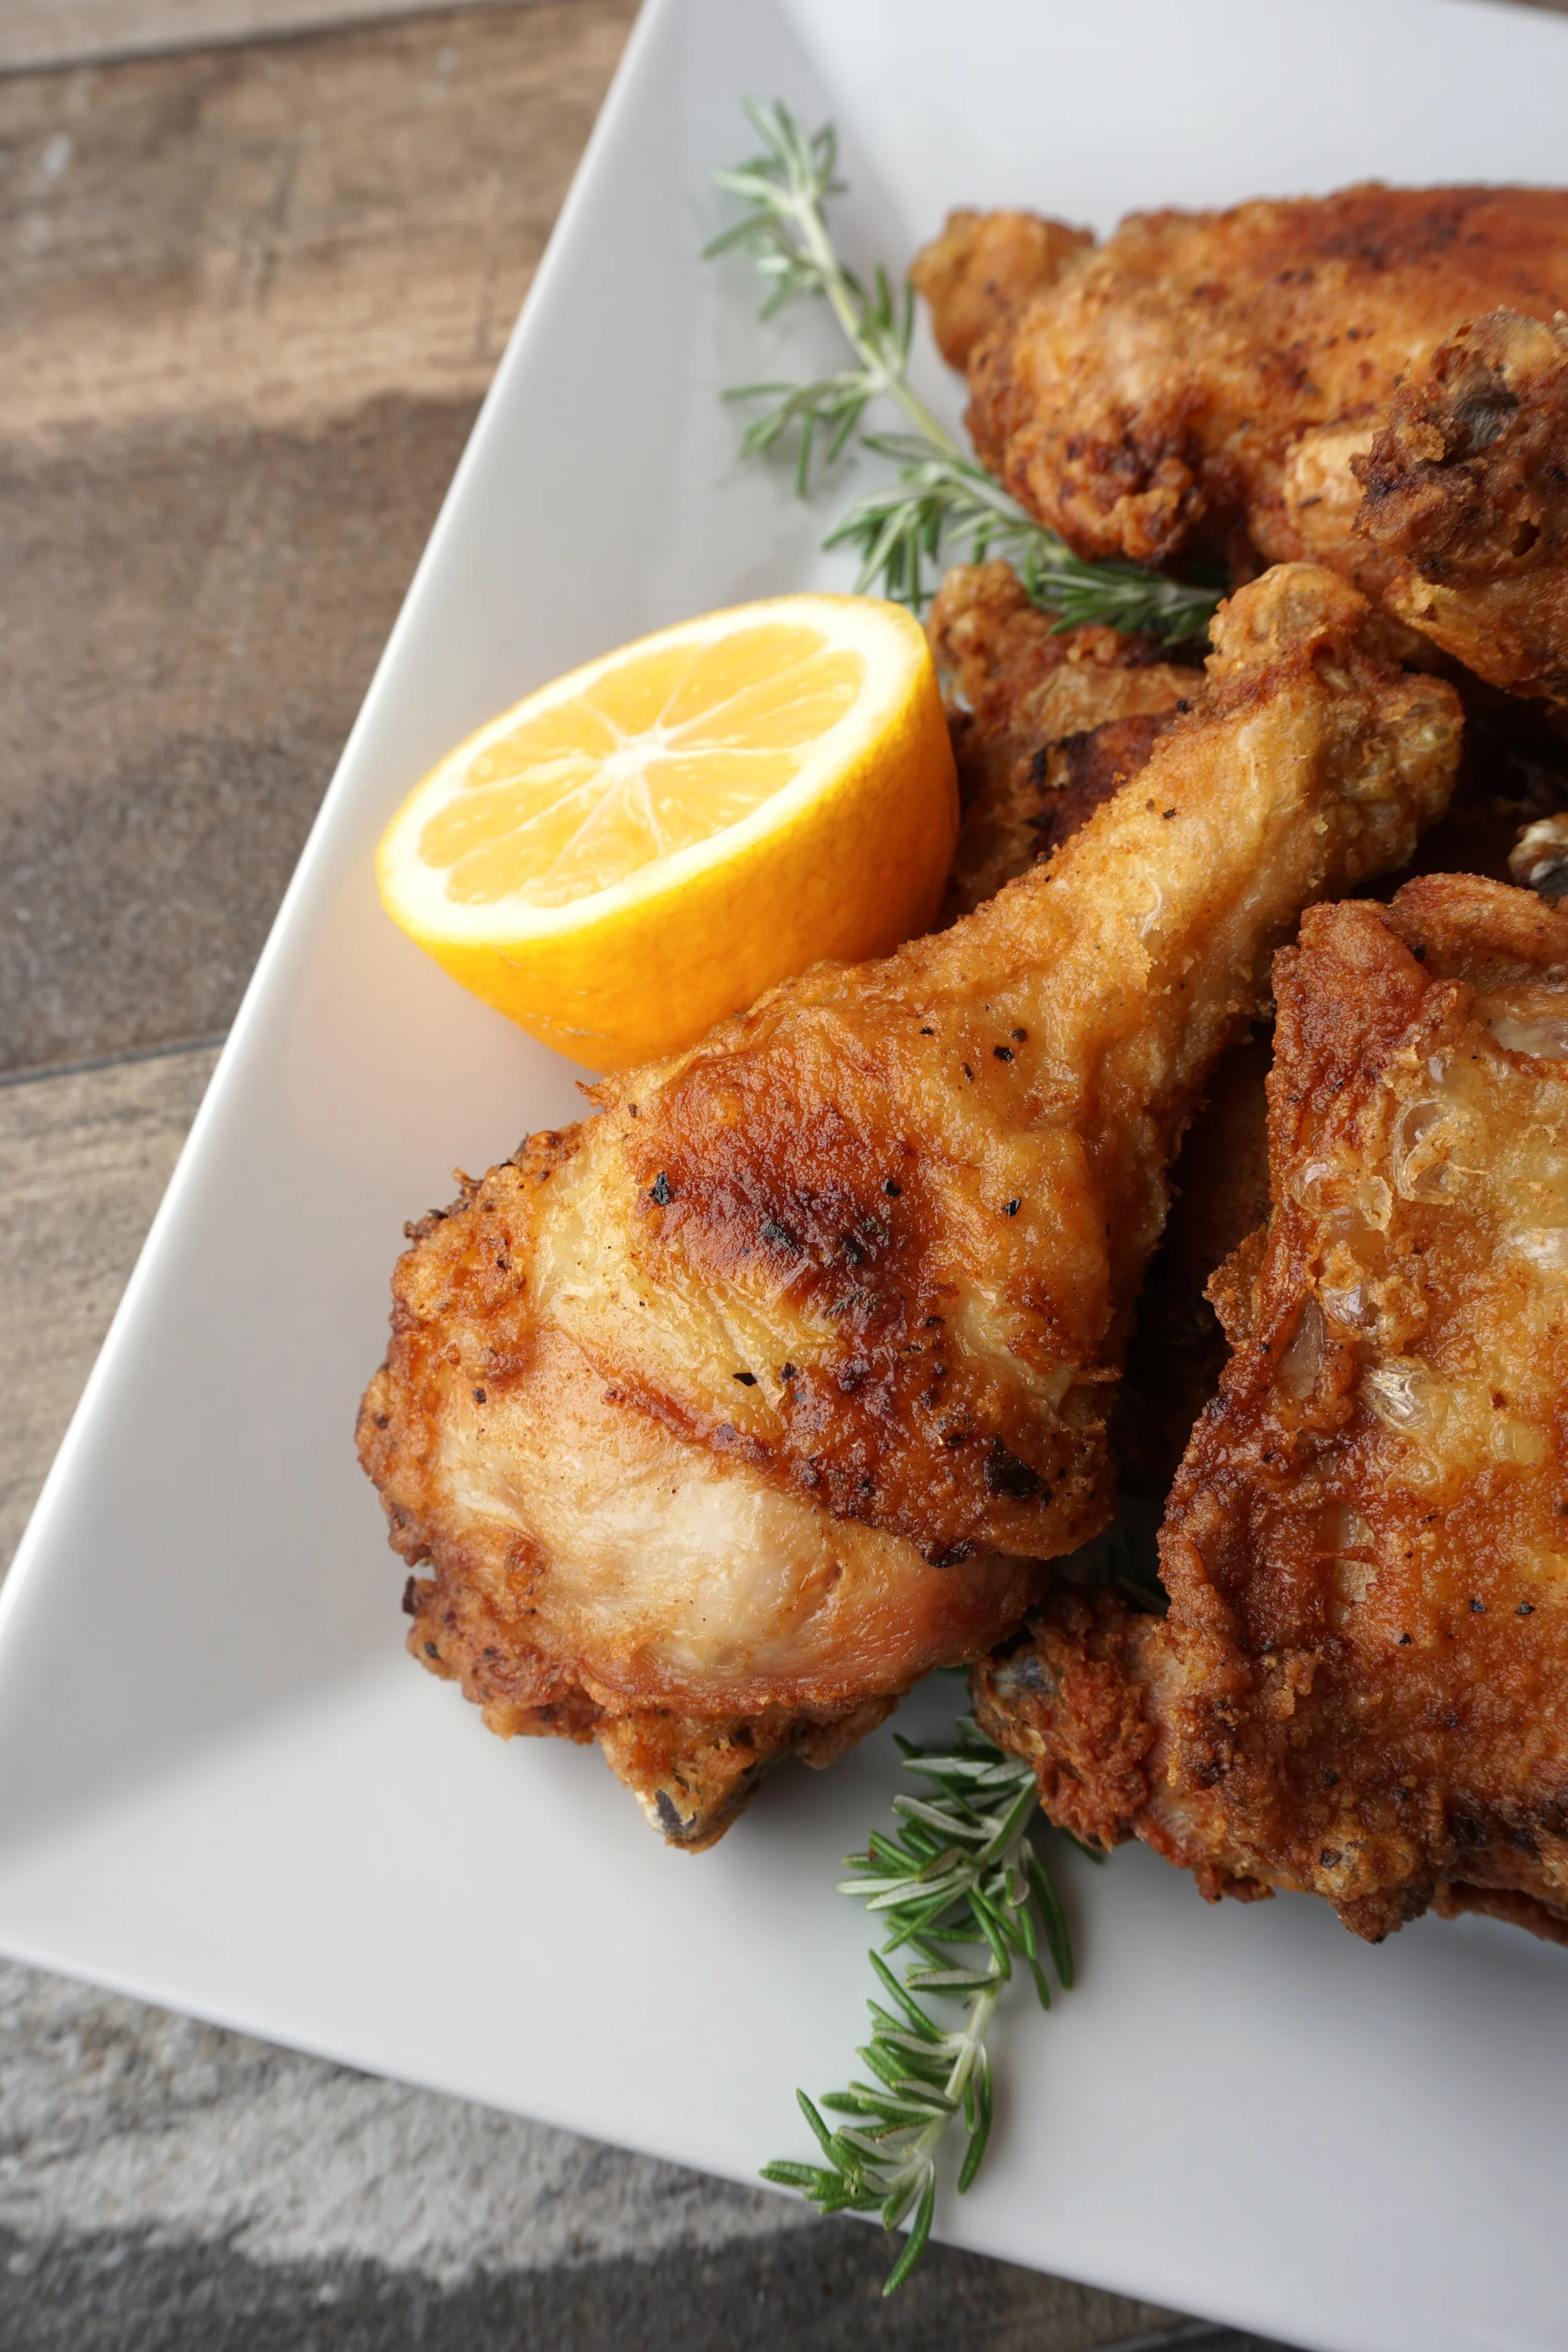
Look at that crust! And the meat is incredibly moist and flavorful, down to the bone. Sometimes there’s just nothing like some good ole fried chicken. Even better when you can make it at home :)
If you’ve cooked any recipes from the blog, I’d love to hear from you! Snap a pic and tag it #BrokeAndCooking! :)