
DIY Russell from UP! Halloween Costume
Halloween is such a fun holiday - filled with DIY possibilities: costumes, decorations, and spooky treats. While I’m working on putting this year’s costume together, I thought I’d share one of my favorite DIY costumes!
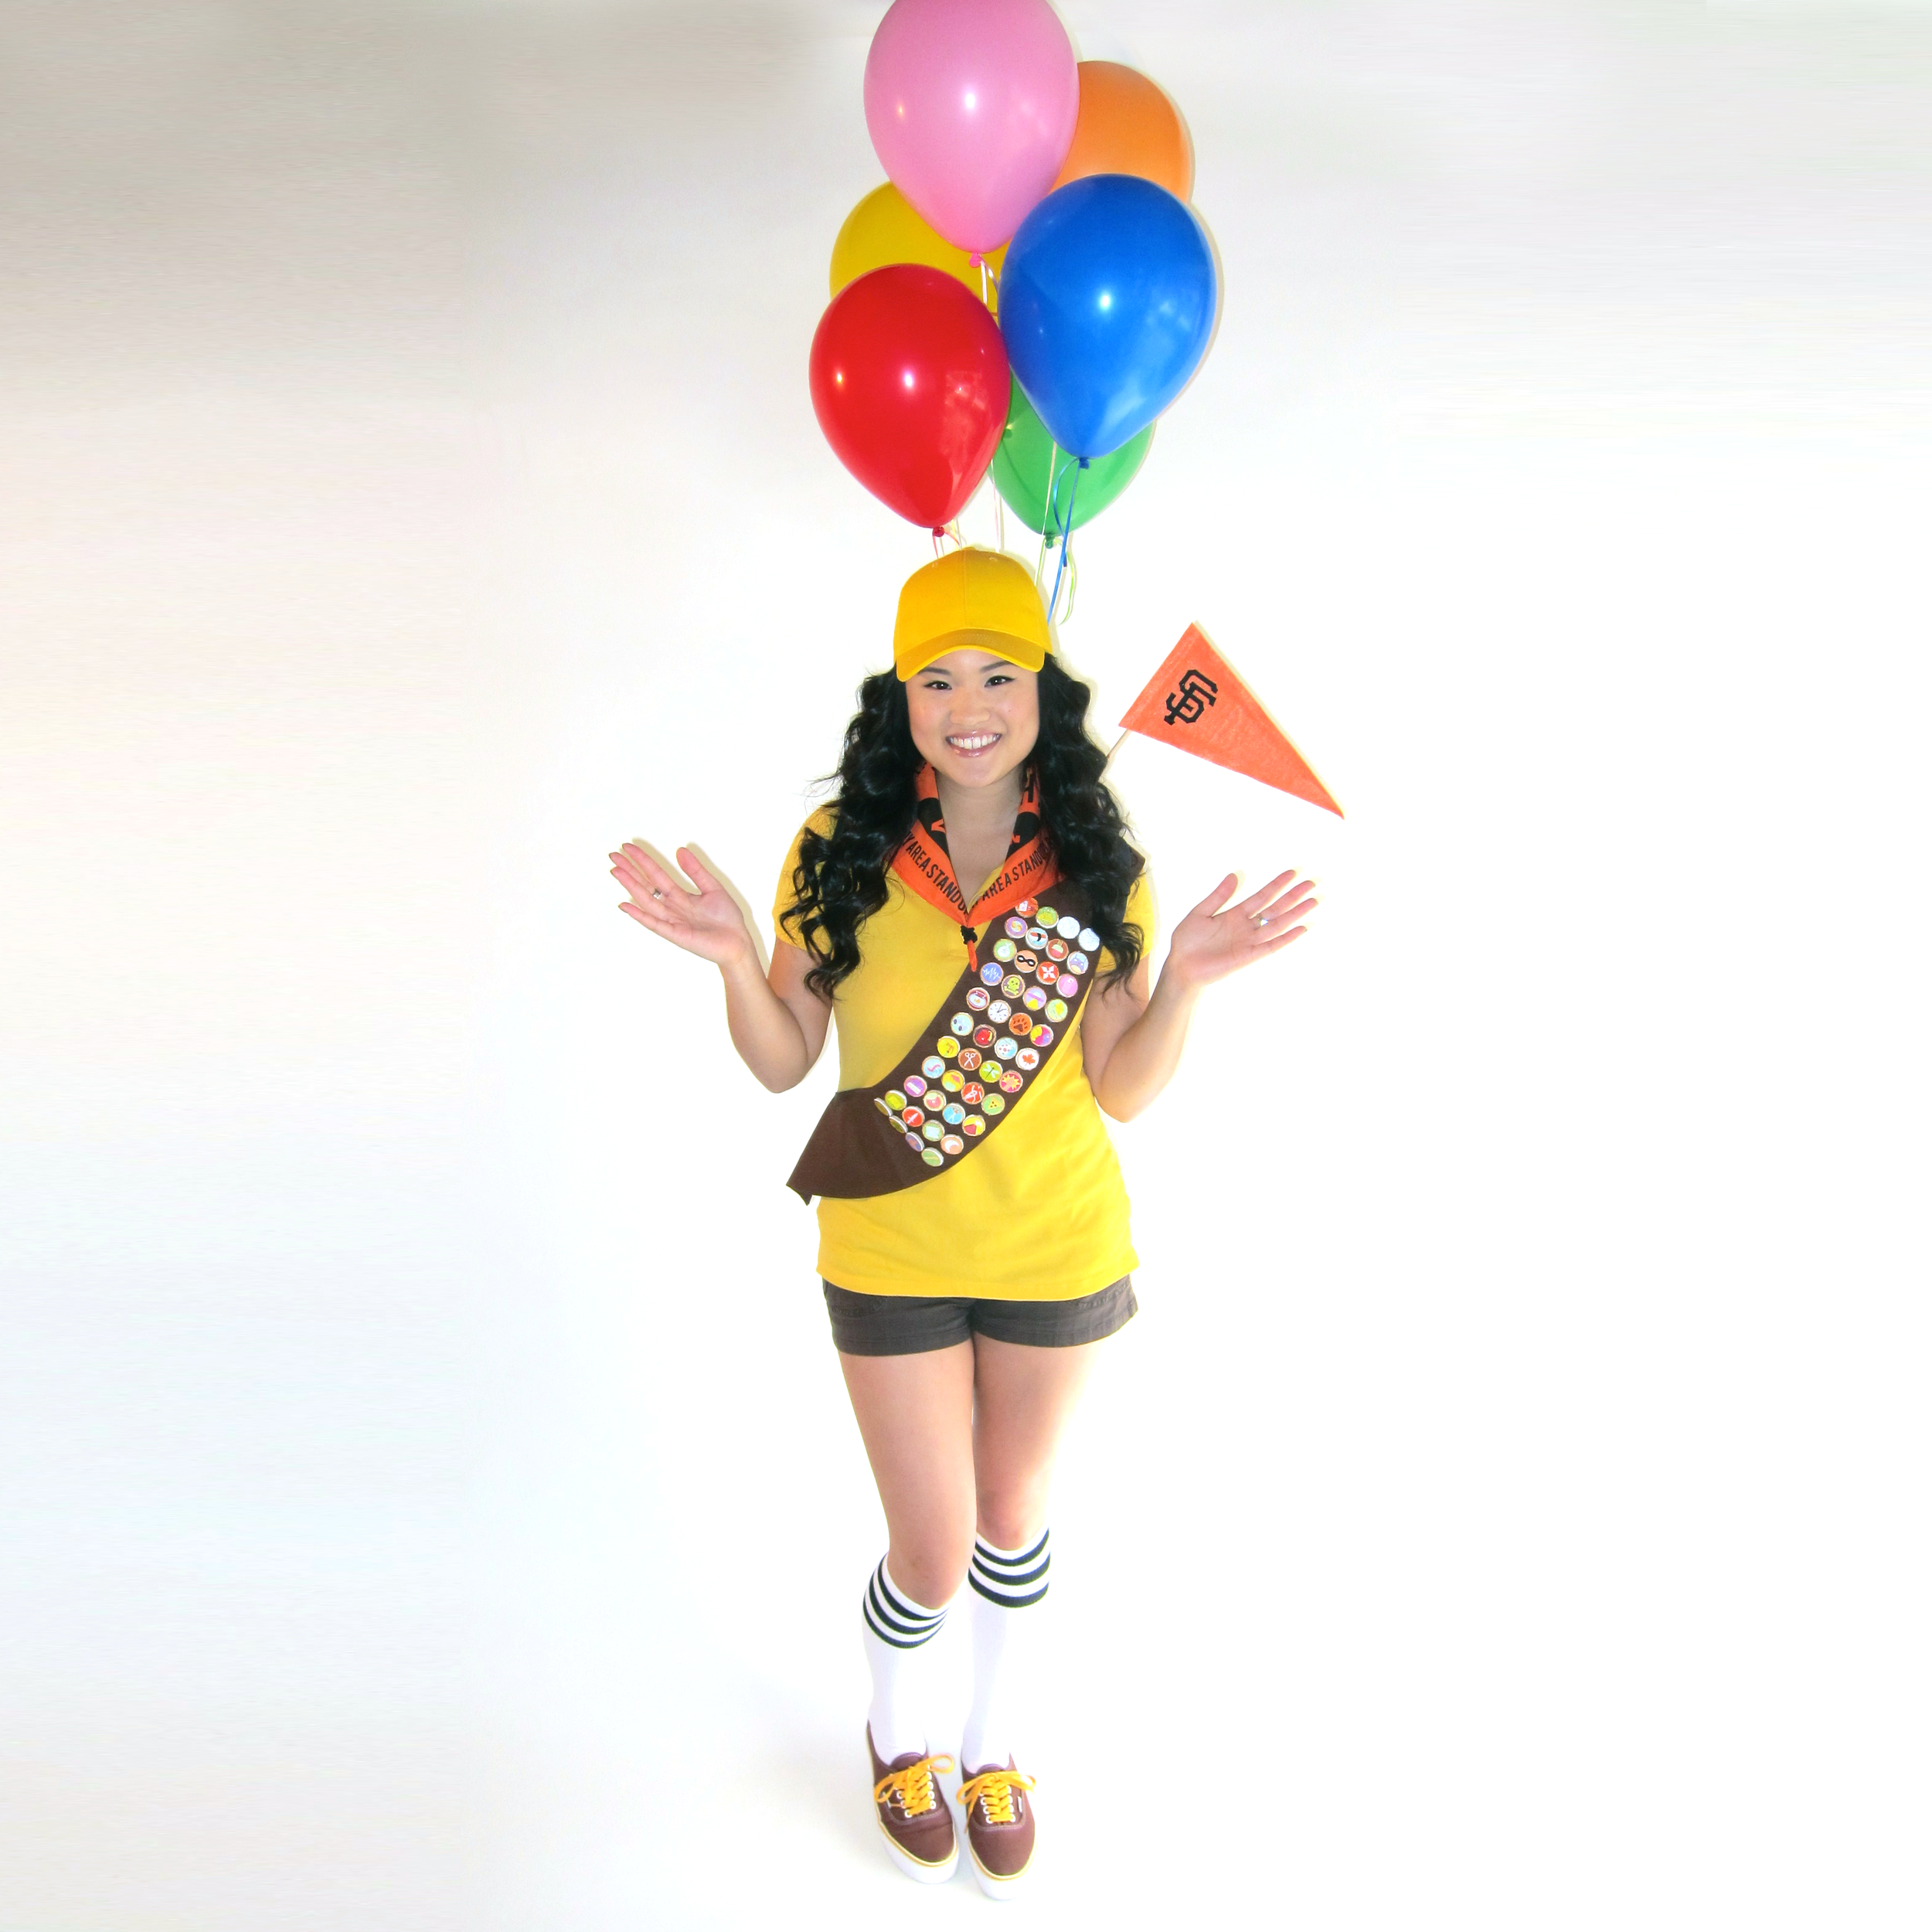
In 2012, I created a Russell from the movie UP! costume! Russell is one of my favorite Pixar characters, and his outfit is soo cute for Halloween. His outfit has a ton of details, but you don’t need to nail every single item to get the overall idea! :) It’s a fairly intensive process, but well worth it! I wish I had shot each step like I do for my recipes, but who would have thought I’d have a blog some day? :) Check out my steps for creating a custom Russell Halloween Costume below:

He’s so cute! To start with, I ordered a yellow pique polo shirt and yellow twill cap on eBay by searching:
Women’s Yellow Pique Polo
Adjustable Yellow Twill Baseball Cap

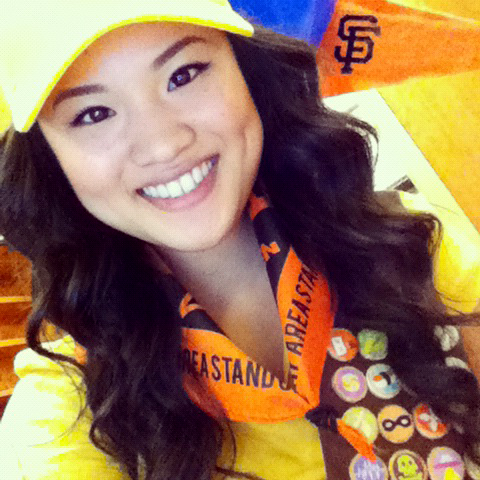
Luckily, they matched really well :) Next, I ordered a Brownie sash from the Girl Scouts of America website. It’s an XL, which is 60". You can totally make this, but it was $6.75 :P
Russell’s badges make this costume really authentic. To create the badges, I purchased clear adhesive transparency paper and felt furniture padding. For my particular sash, I created 48 badges.
You can download sweet Pixar badges here. I brought them into Photoshop and got rid of the brown background, and placed all the circle badges close together, so as to make the most of your space when printing. Print them out on the clear adhesive transparency.
**Update: You can now download the badges I used here and here! :)

I gave each felt furniture padding circle a coat of white paint, which acts like a primer. Cut out each clear adhesive badge, and stick them to the primed furniture pads! The white paint helps the colors of the badges pop against the otherwise grey furniture pads. Easy! Instant badges..andddd the best part is that once you have the completed badges, you can peel the paper off the back of the furniture padding to reveal a sticky back! This makes it easy to adhere them to your sash. I also used a thin coat of fabric glue to ensure their placement. This works so well because it gives each badge a great fabric effect. They look super real!


As for Russell’s flag, I purchased a simple wooden dowel and some orange felt from the craft store. If you’re going to Michael’s, make sure you print out a coupon! The flag is made of 2 identical triangles, glued together around the dowel, with a smaller piece of cardboard inside for stiffness. You can decorate the flag with the original Wilderness Explorer badge, or do as I did, and stick your favorite sports team vinyl logo on there. I stuck my completed flag into a mini backpack.

I went to my local florist and got 6 helium filled latex balloons, attaching them to my mini backpack. Pair everything with an orange bandana, knee socks, brown shorts and shoes, and you’re ready for adventure :)

What are you dressing up as this Halloween? :)