DIY Medusa Halloween Costume
Happy Halloween! I love that Halloween landed on a Friday this year! Plenty of parties to go to all weekend. This year I wanted to do a really fun DIY costume that didn’t take too much effort. I have always loved the powerful glare of Medusa’s stare. As a kid I loved learning about mythology and Medusa was definitely one of my favorites. Sexy, powerful, and iconic.
I wanted to do a step-by-step, but was a little rushed last night as we had to go to 3 parties! I wish I got more pictures of my hair, it turned out amazing! :) Read on to find out my tips and tricks, what I did wrong, and what went right! :)
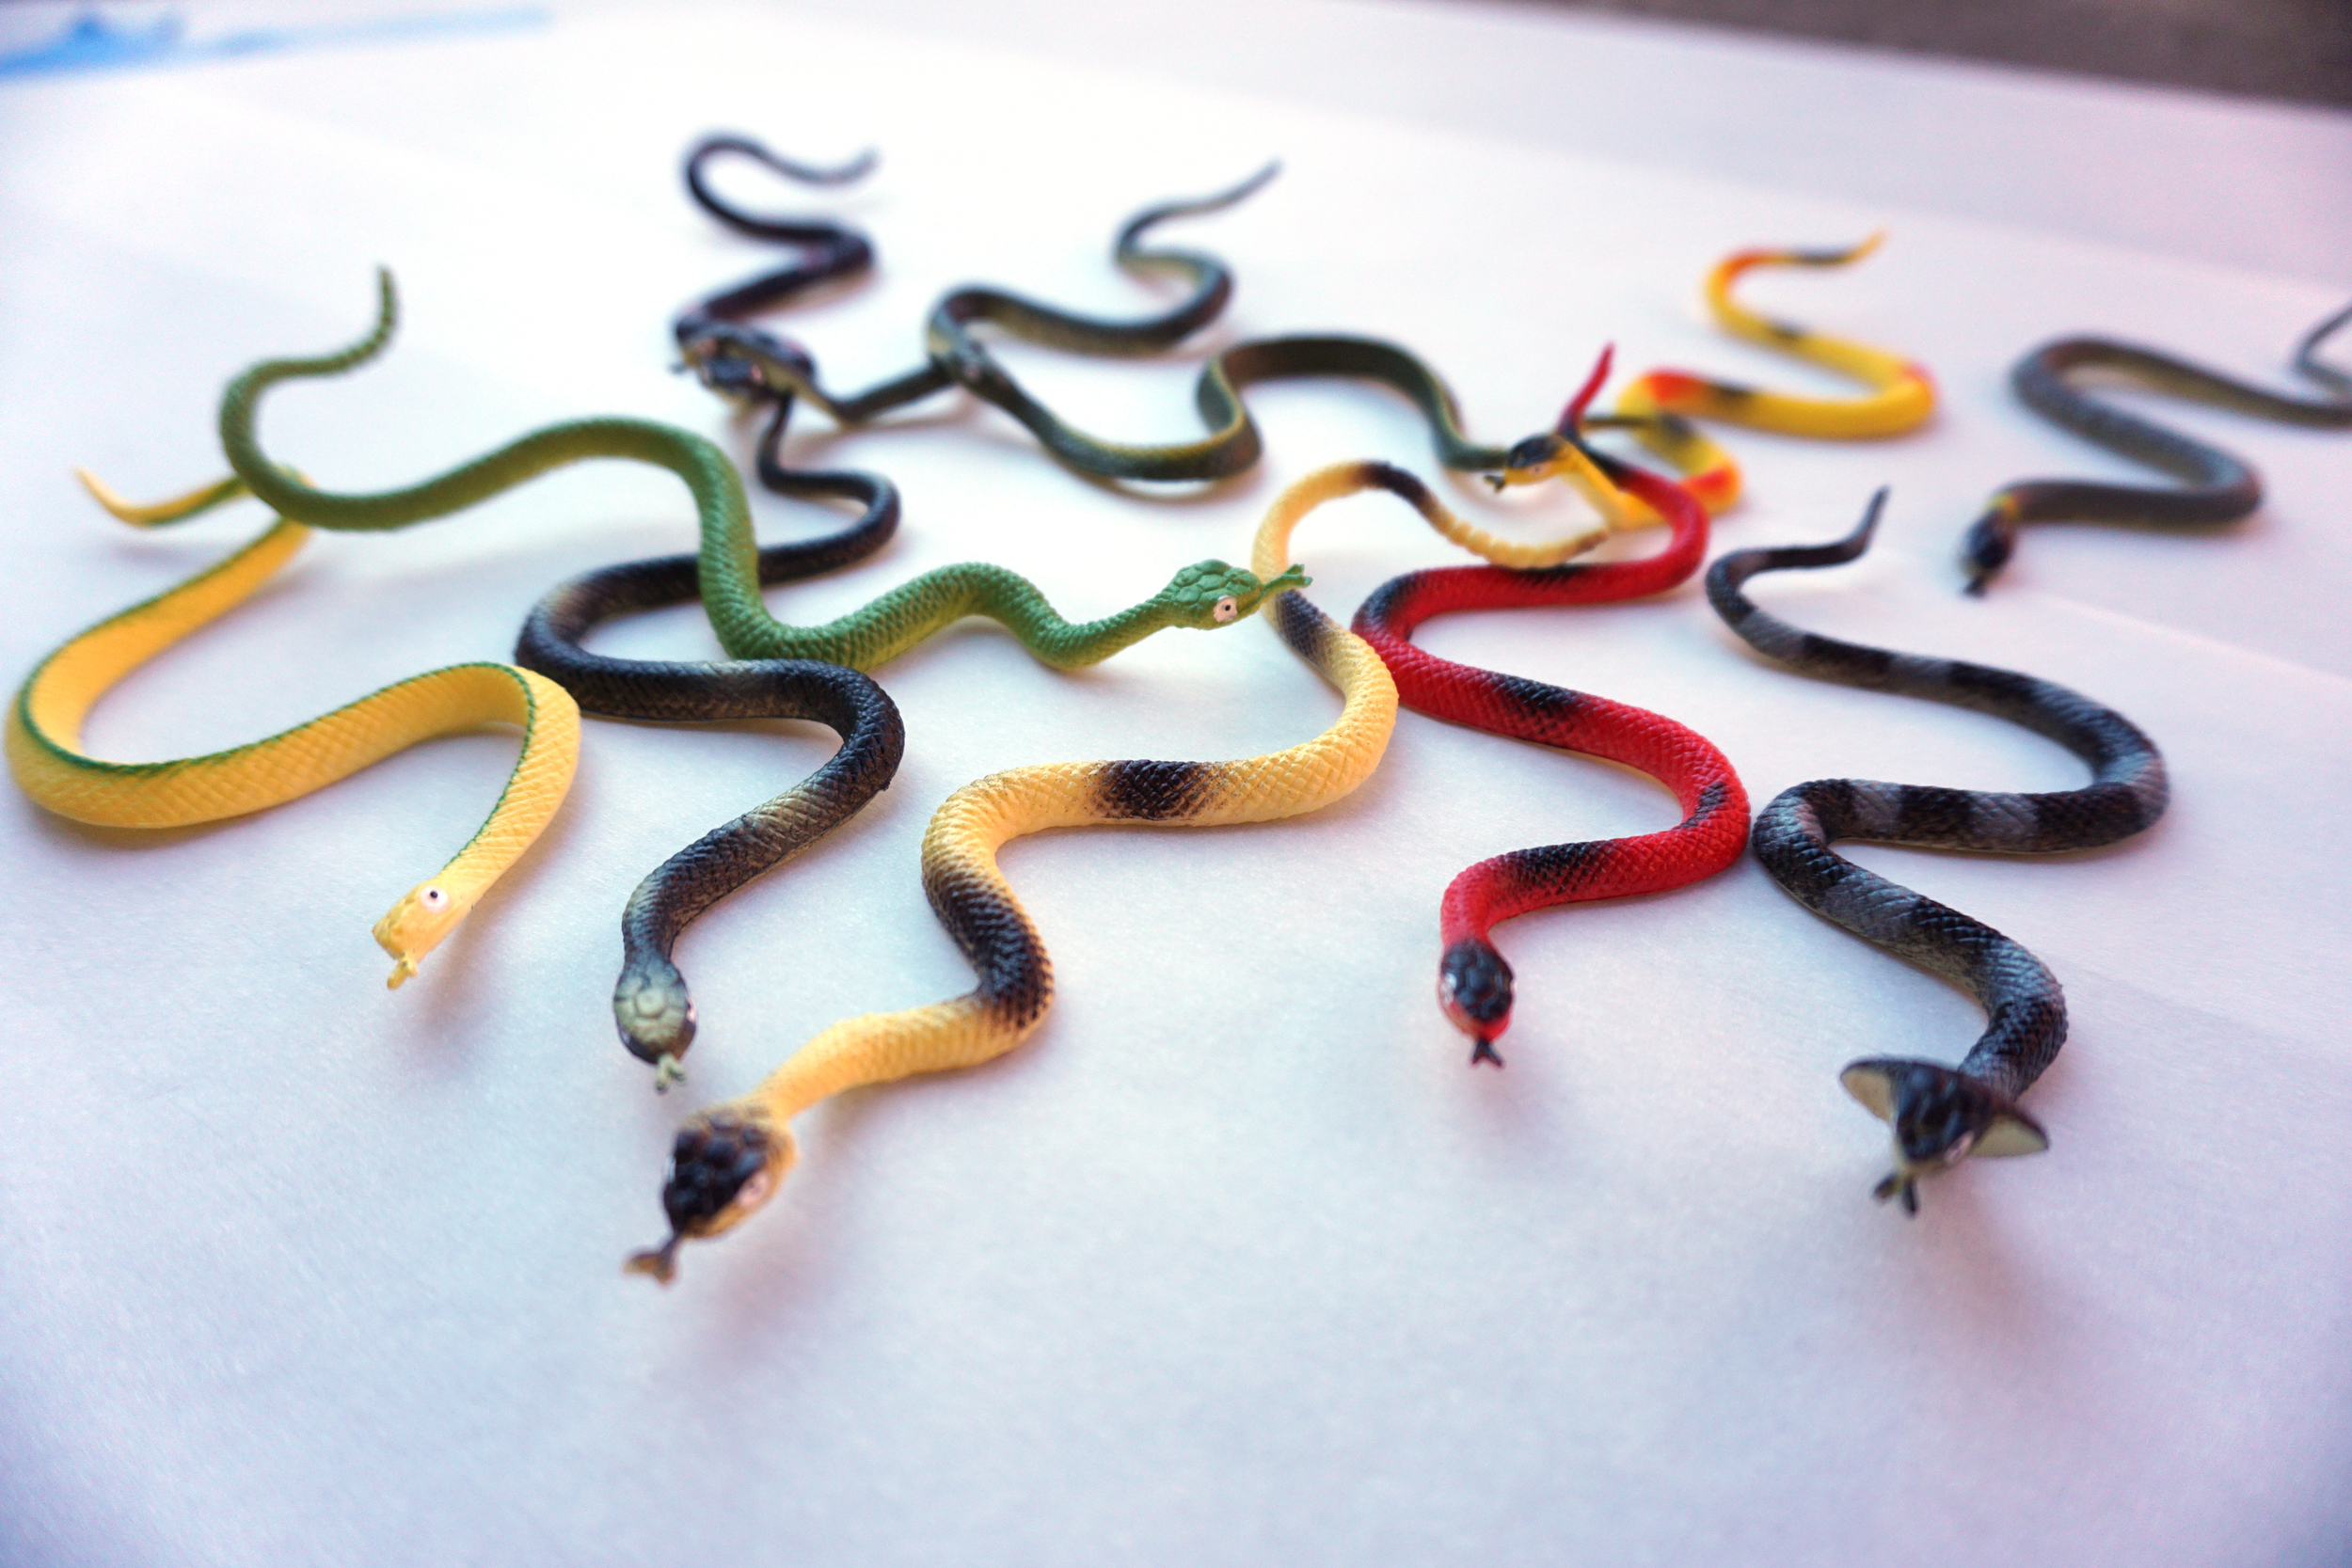
What I love about this costume is you can really wear anything, since the main focus is from the neck up. I chose a simple black romper from ASOS with a plunging neckline, and one of my favorite necklaces. I got the necklace from Nasty Gal; it’s actually on sale right now for about $12. The main part of the costume is definitely about the snakes in her hair. I wanted to keep the rest of my costume pretty understated, and highlight the snakes. I ordered 24 small rubber snakes on eBay for $7 here. Here’s where it gets goofy.
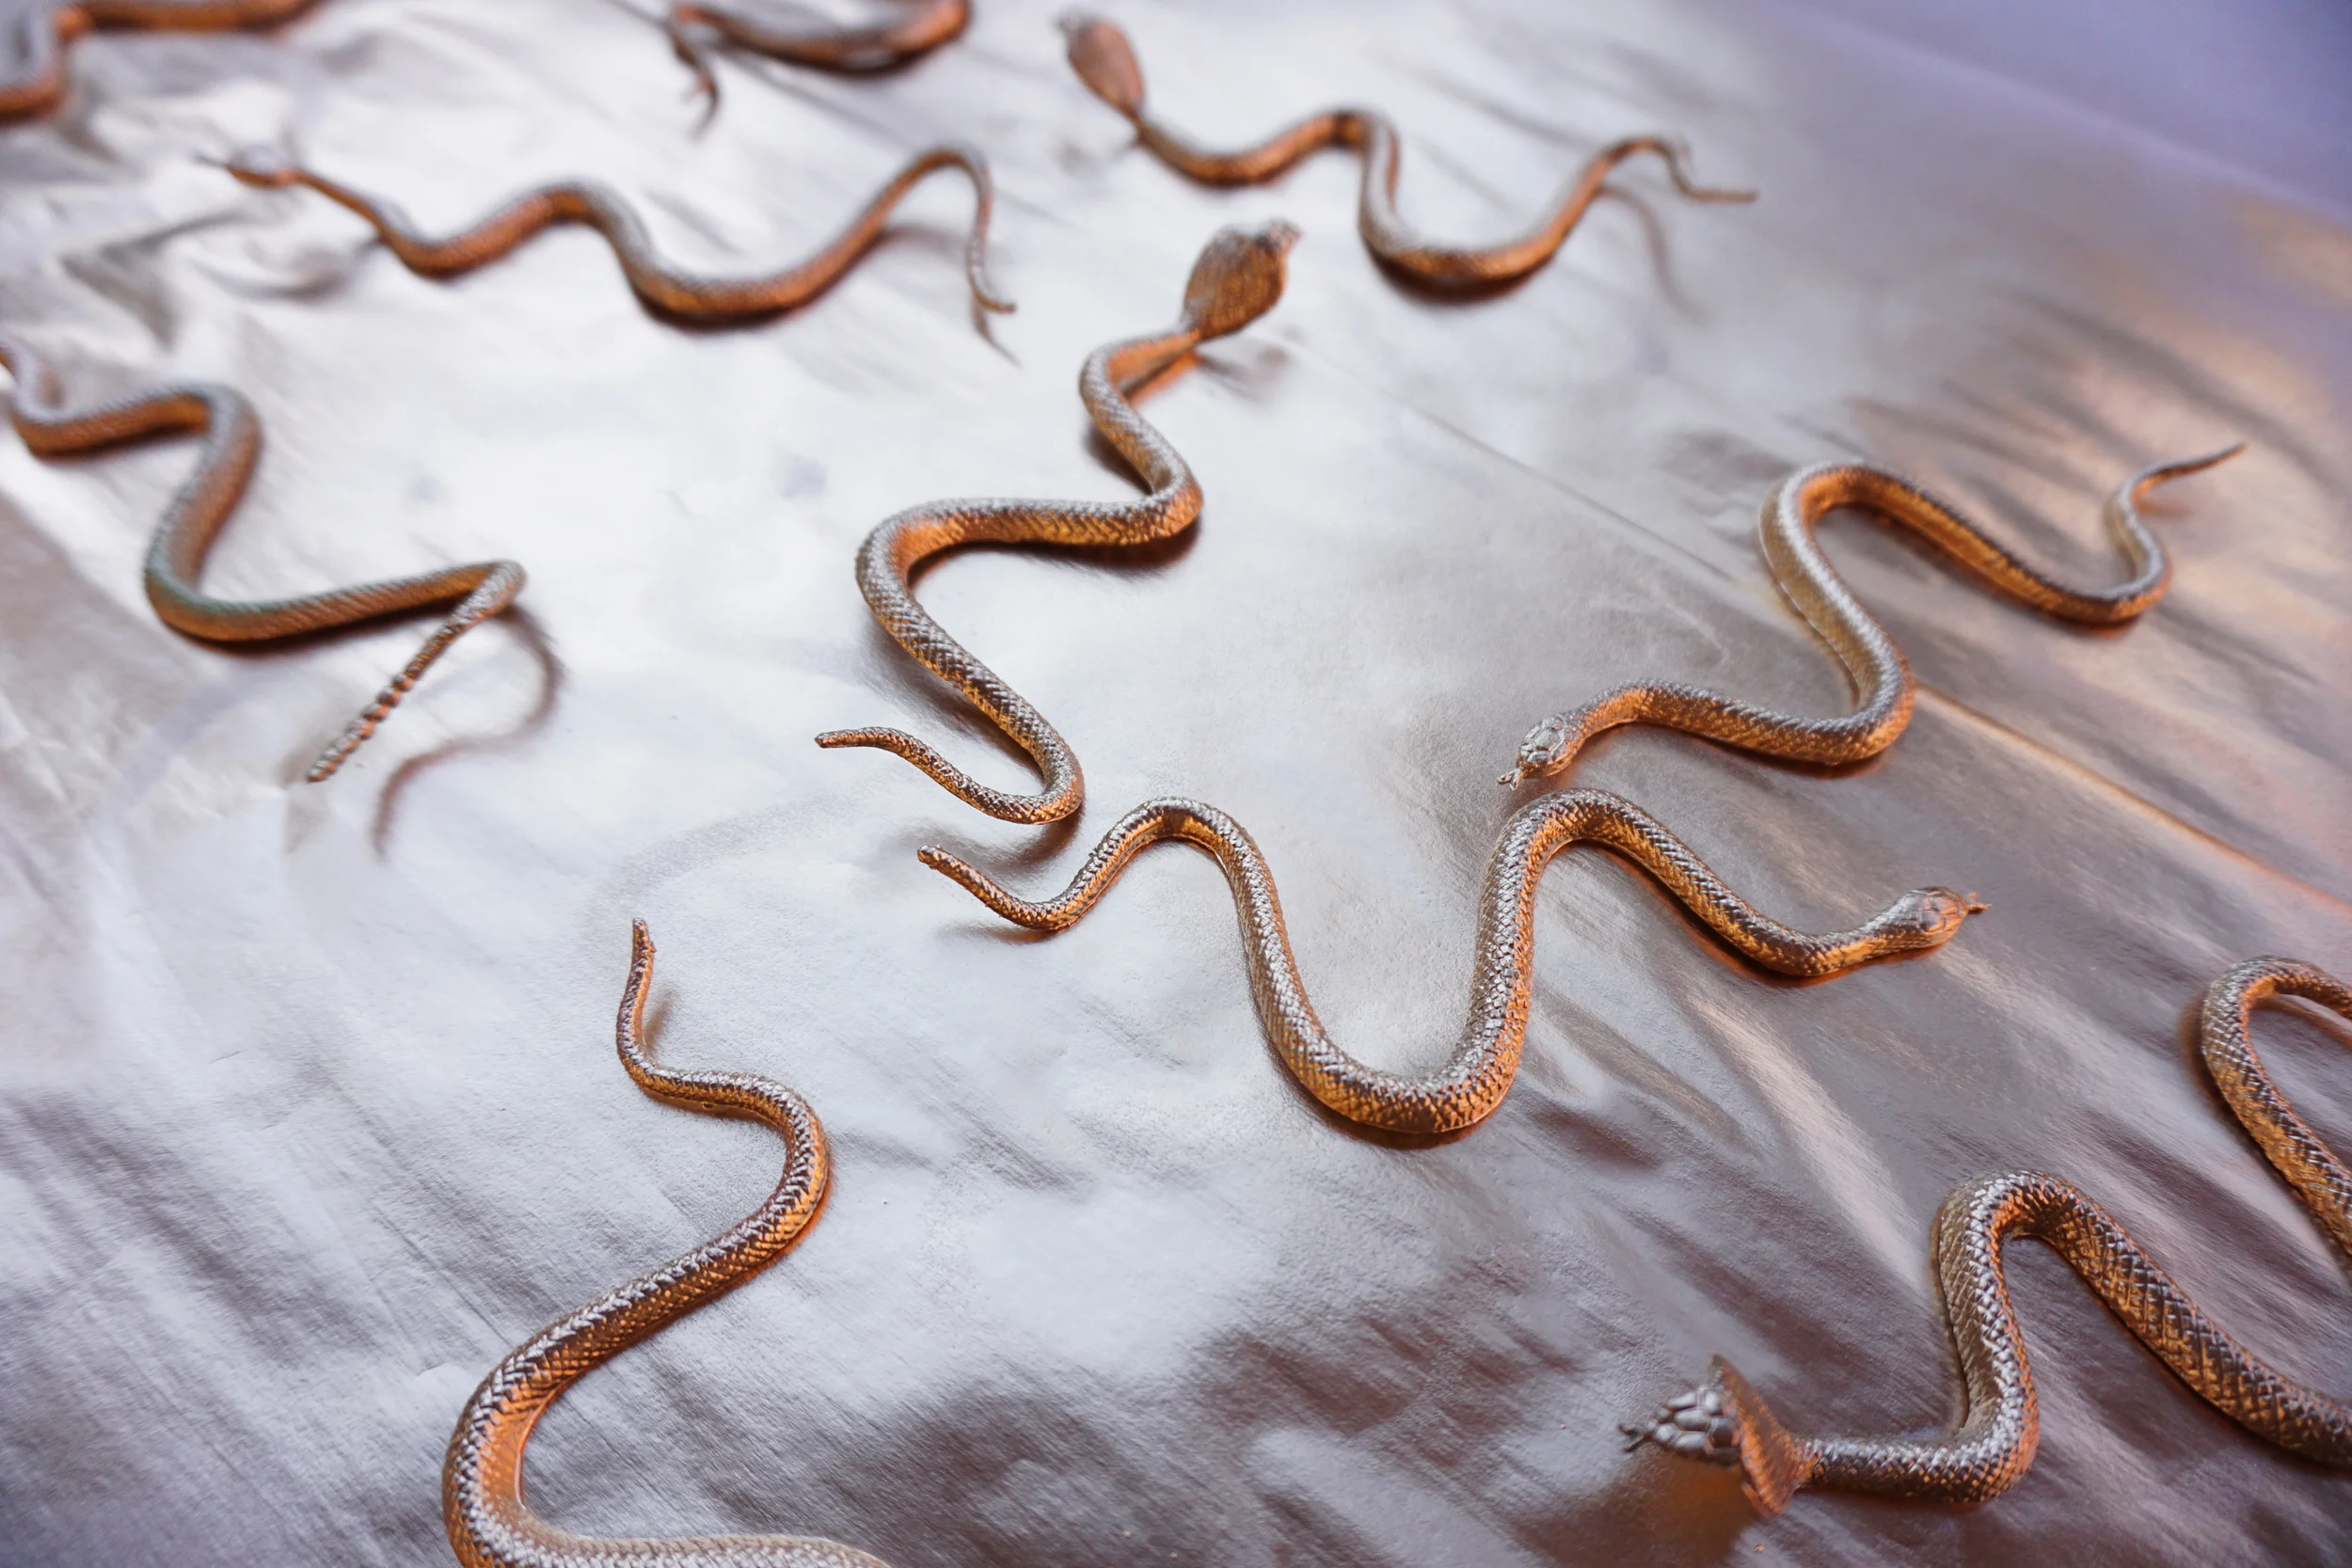
I had metallic gold spray paint at home already because of a previous DIY project. I totally thought I could simply spray paint the snakes and give them a glamorous look.

It was simple enough, but three days later, the snakes still weren’t dry and gold paint would get all over my hands if I even touched them! The night before Halloween, I googled why the paint wasn’t drying. Turns out you can’t just spray paint rubber lol. I don’t know why I didn’t research it before, but now I’m saving one of you out there! You need to use acrylic paint in order for the paint to actually adhere to the rubber.
I panicked for a second, and then decided to dunk them in water, take off the excess, pat them dry with a paper towel, and do my hair before getting dressed so I wouldn’t get any gold on my outfit. It worked out :)
Next up was hair! All I know is I wanted big, wild hair. I normally curl my hair every day with a 1" wand, all in the same direction, outwards from my face. As the day goes by, these curls settle and wave together, since they’re curled in the same direction. The layers in my hair add dimension so that the waves don’t all sit on top of each other. For nights where I want the curls to get big and wild, I use a smaller wand and curl each section in alternating directions. Start on the bottom layer of your hair, curling one 1" section away from the face, the next 1" section towards the face. All the way around your head. When you get to the next layer of hair, switch directions again. Hair spray each section and let it sit while you do your makeup. I find that the longer I let the curls sit without combing them out, the more they set a bit.
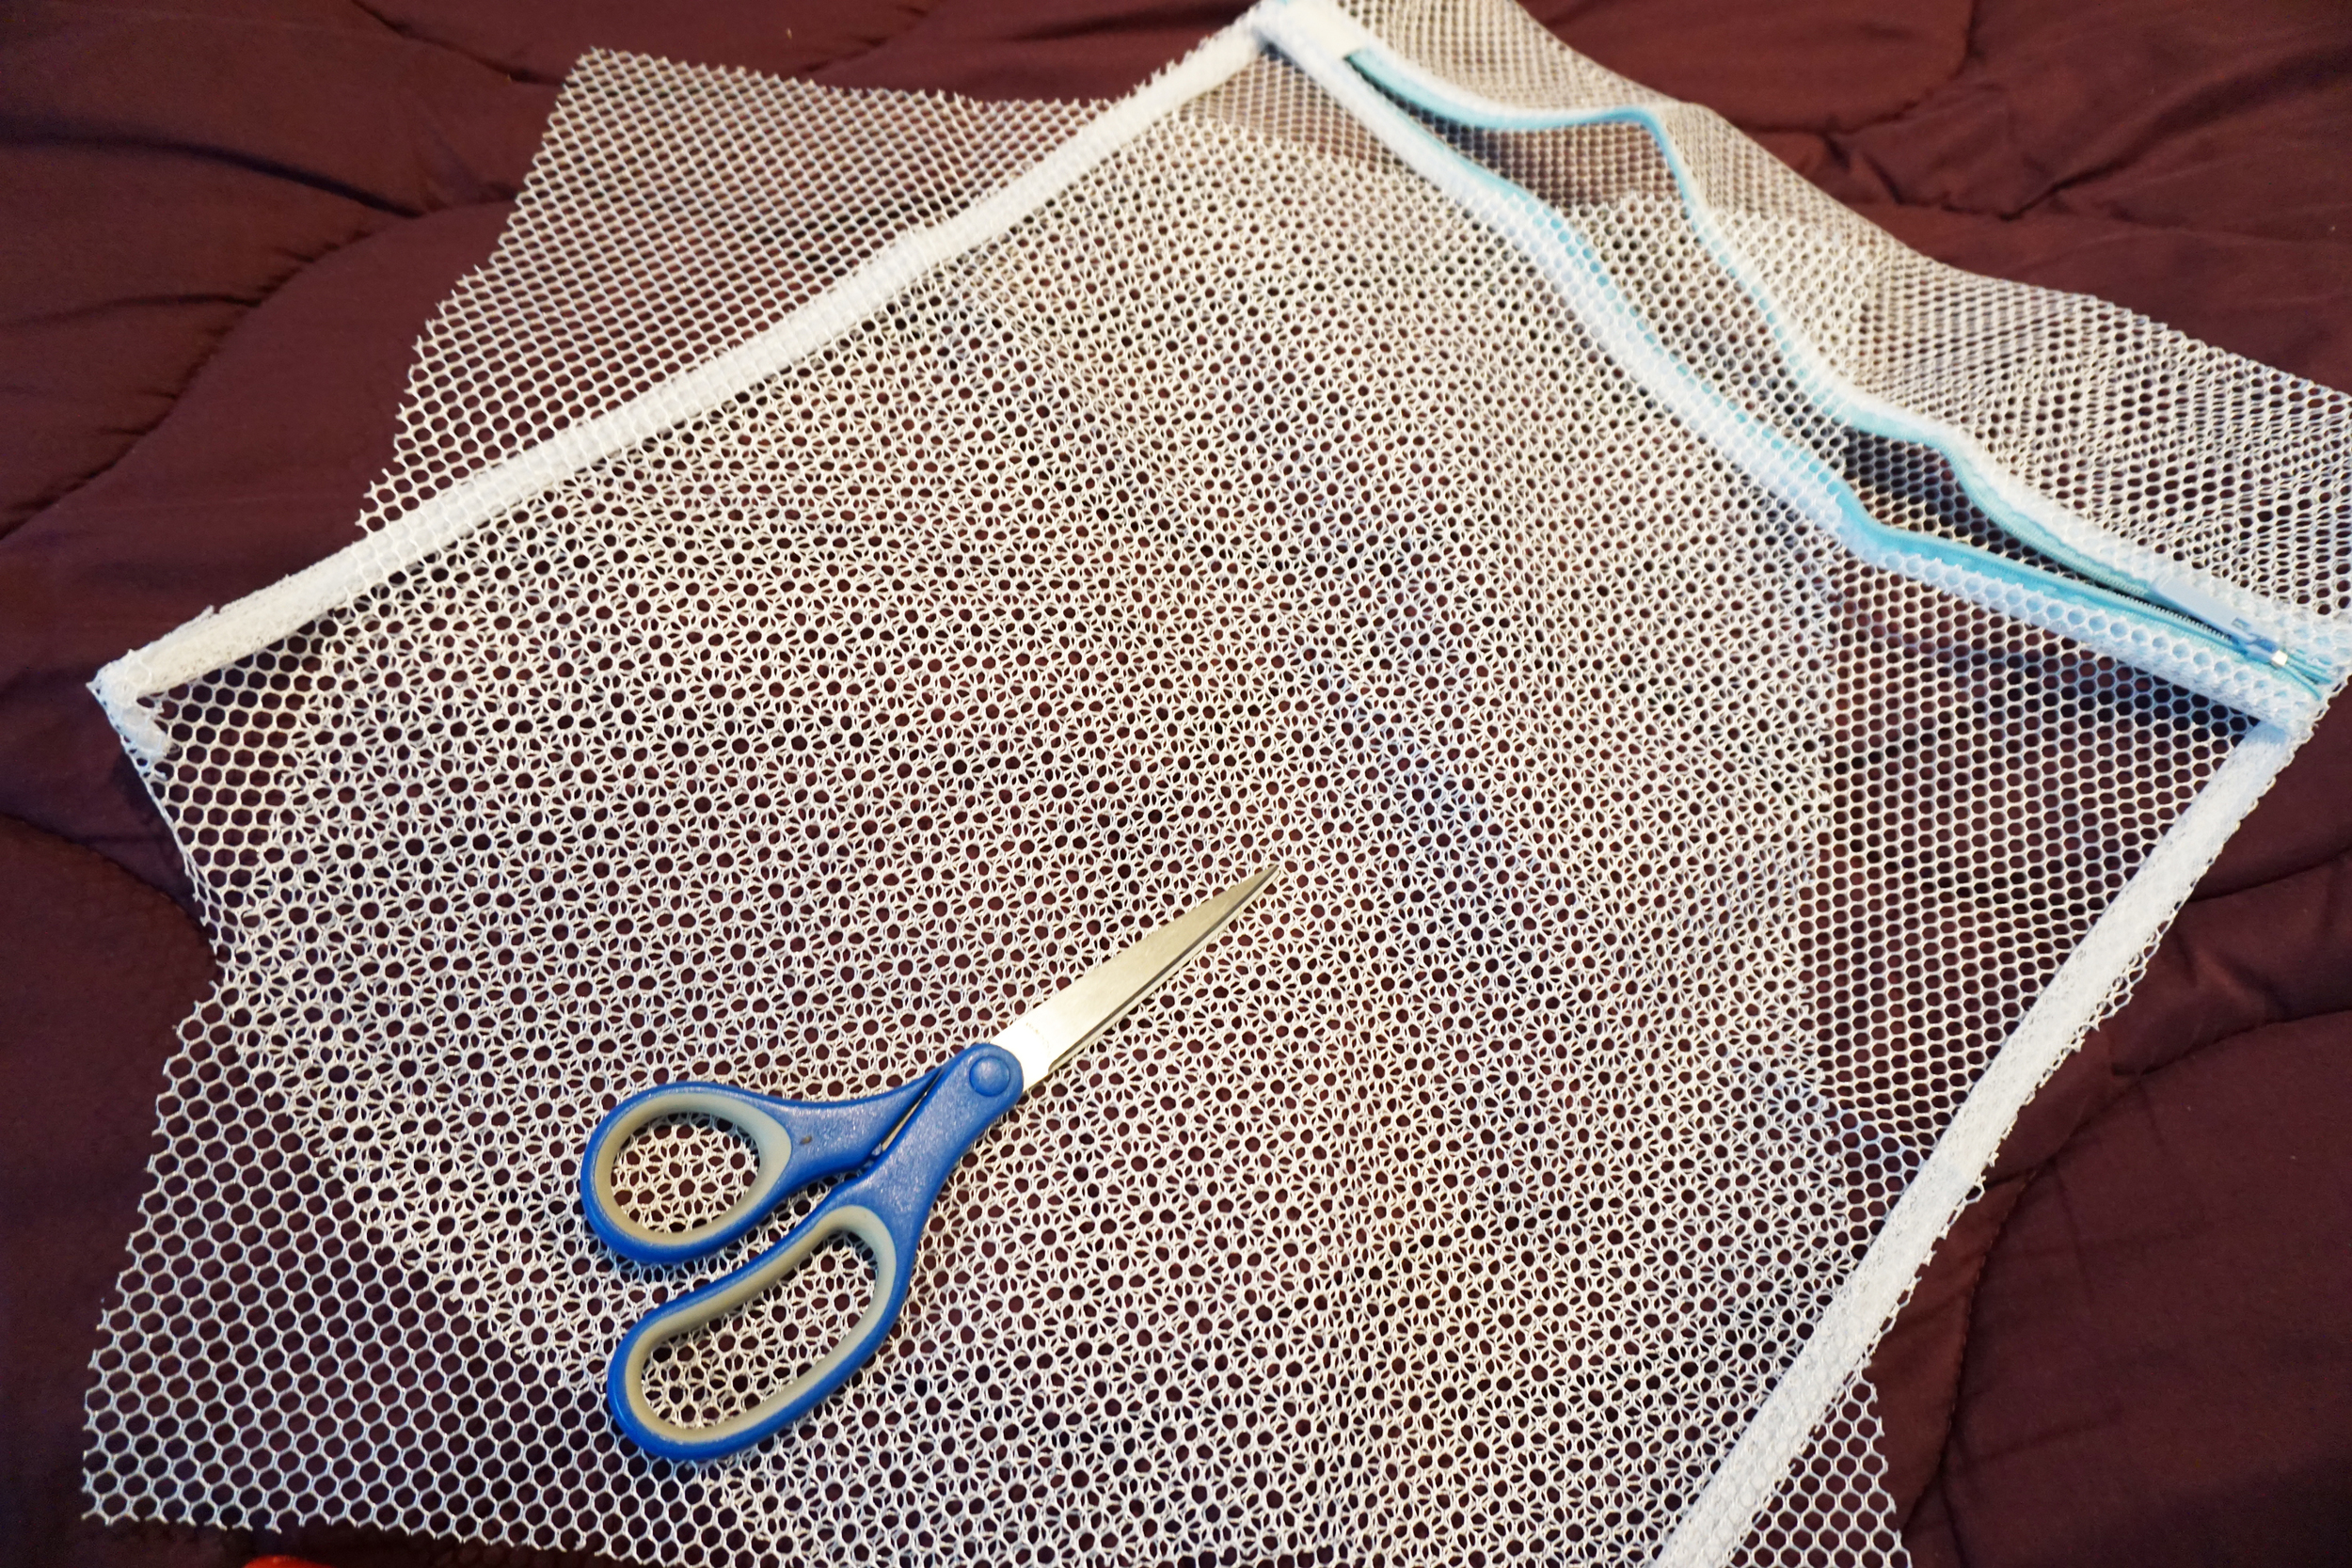
If you’re like me, you definitely are addicted to Pinterest and know that sommmetimes, things don’t turn out the way they do on Pinterest. Whenever I looked up Medusa costumes, the same things came up. People making it look easy to insert snakes into their hair, using fishnet stockings to achieve a scaly look on their face. So I decided to give it a try. I purchased a laundry bag that had a hexagonal shaped mesh to try it out. Lol the pictures…
Finish all your regular makeup first. Bobby pin a section of the mesh/fishnet to your FACE.

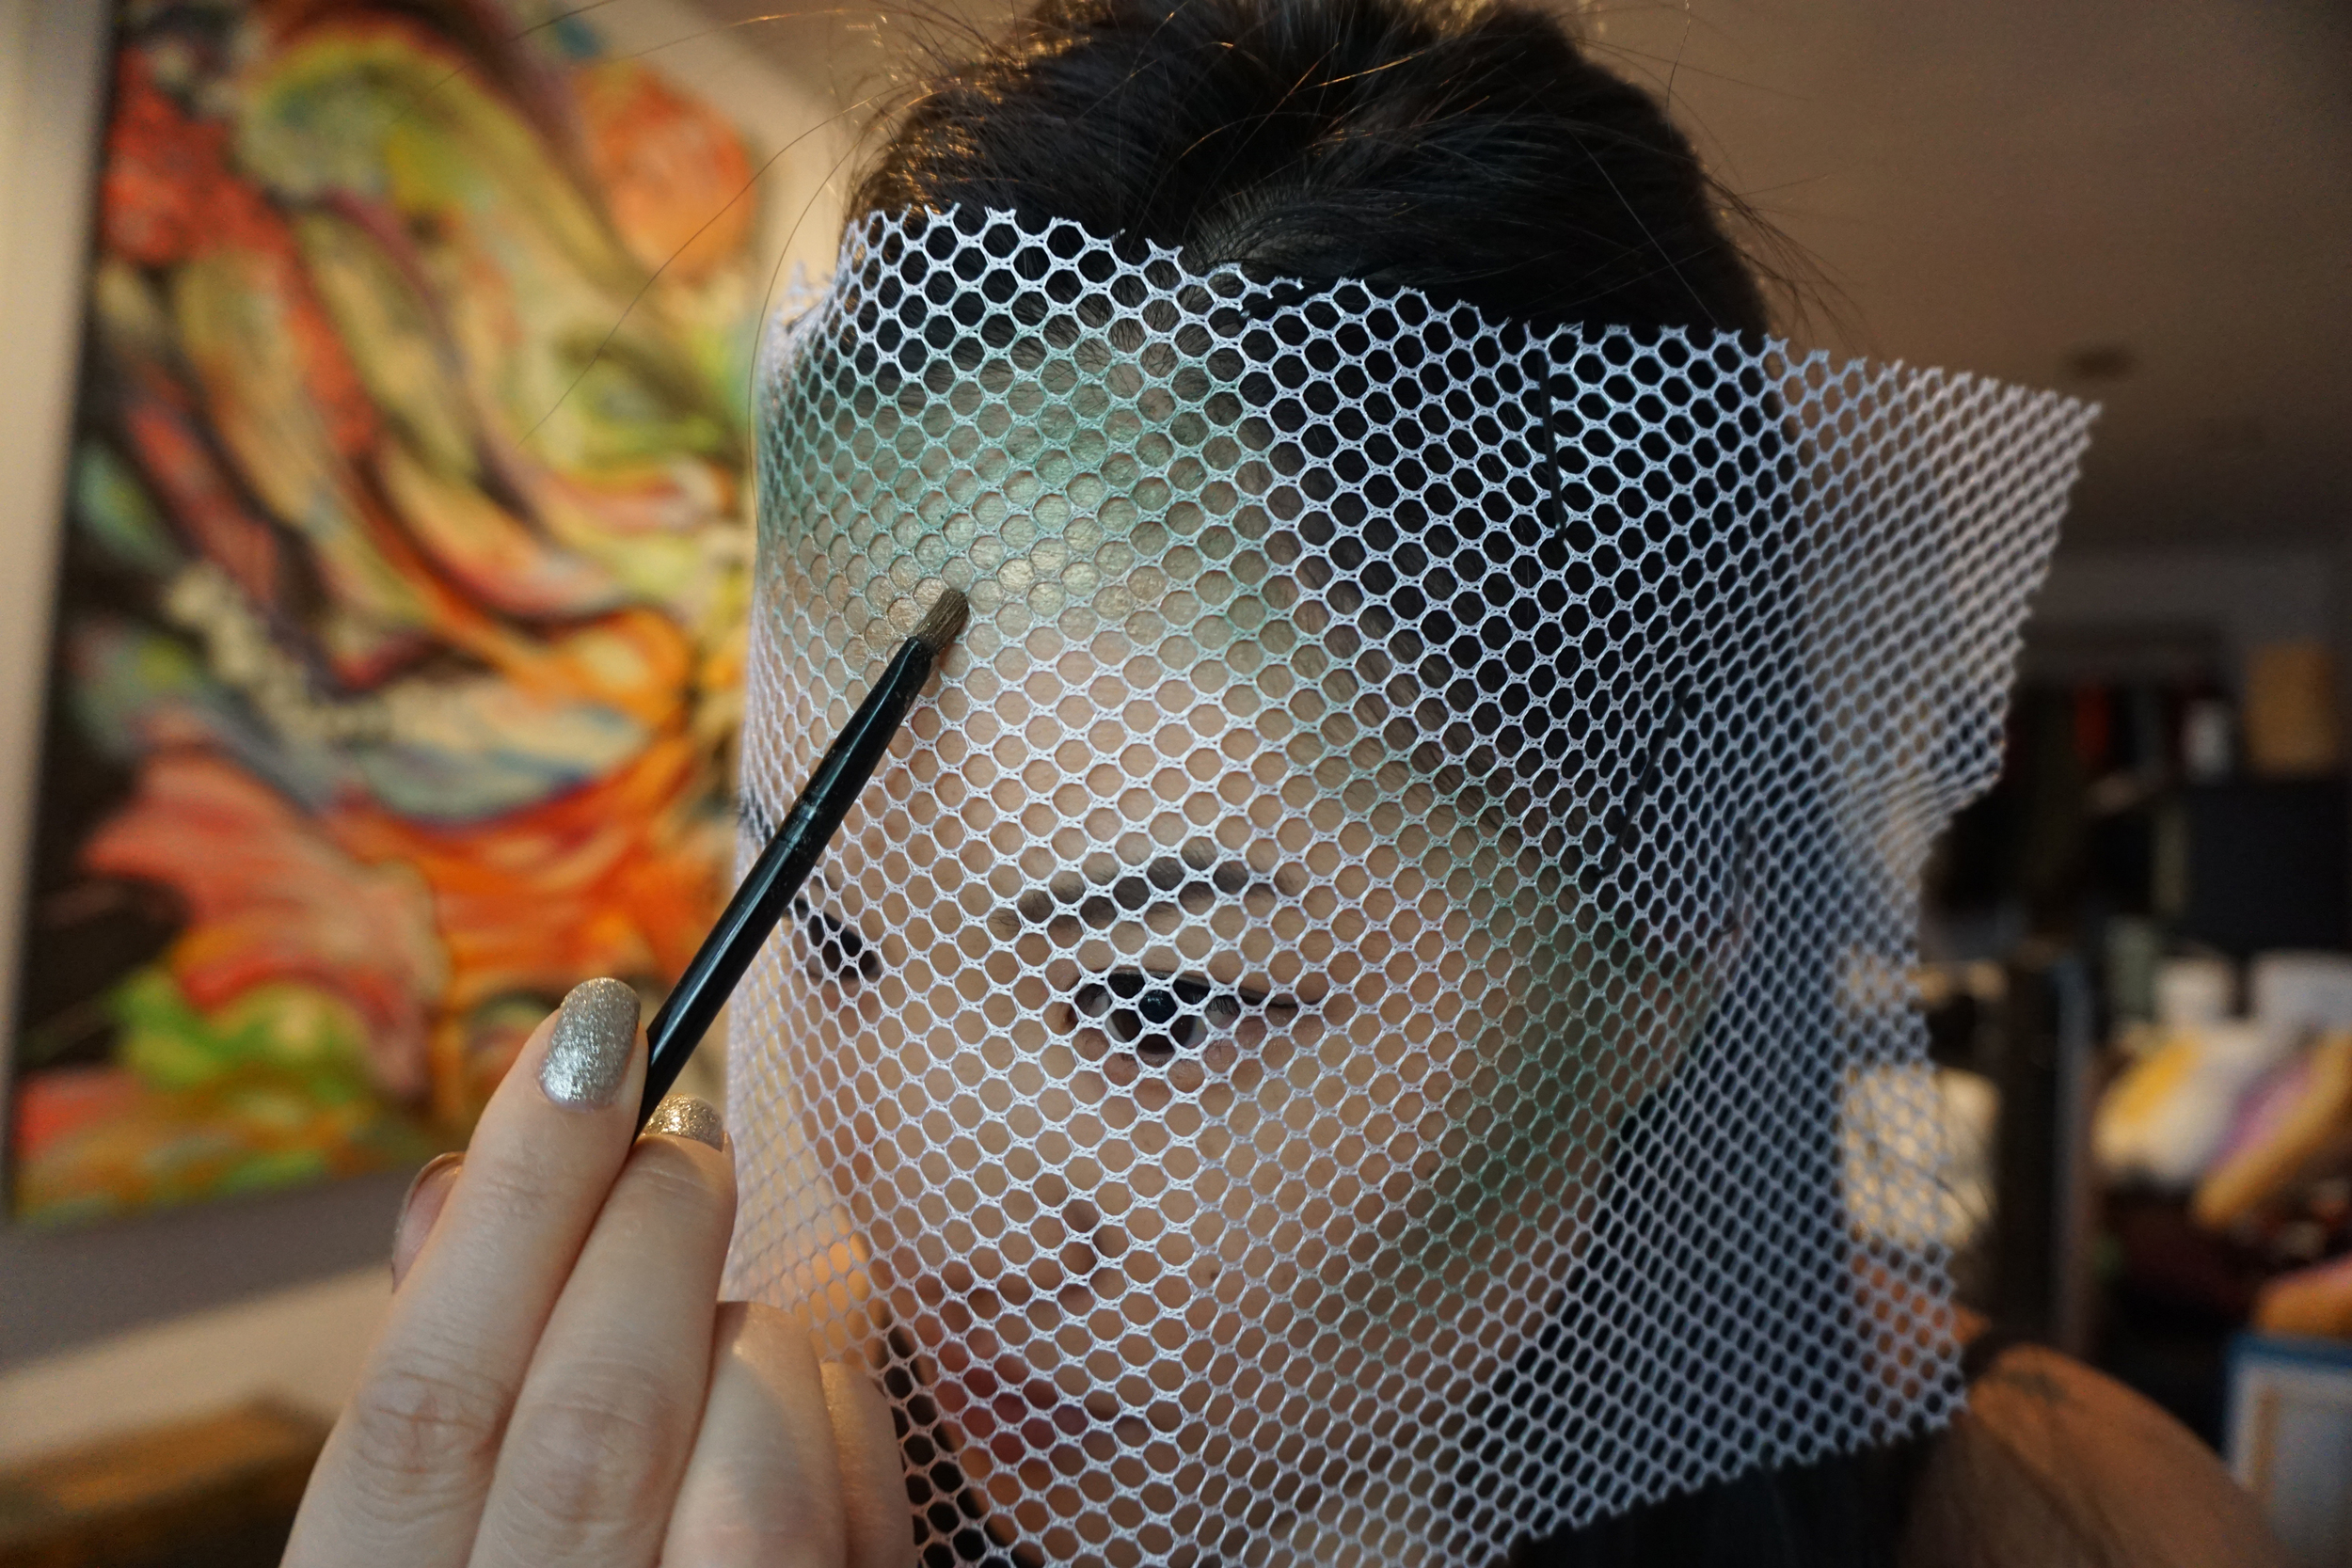

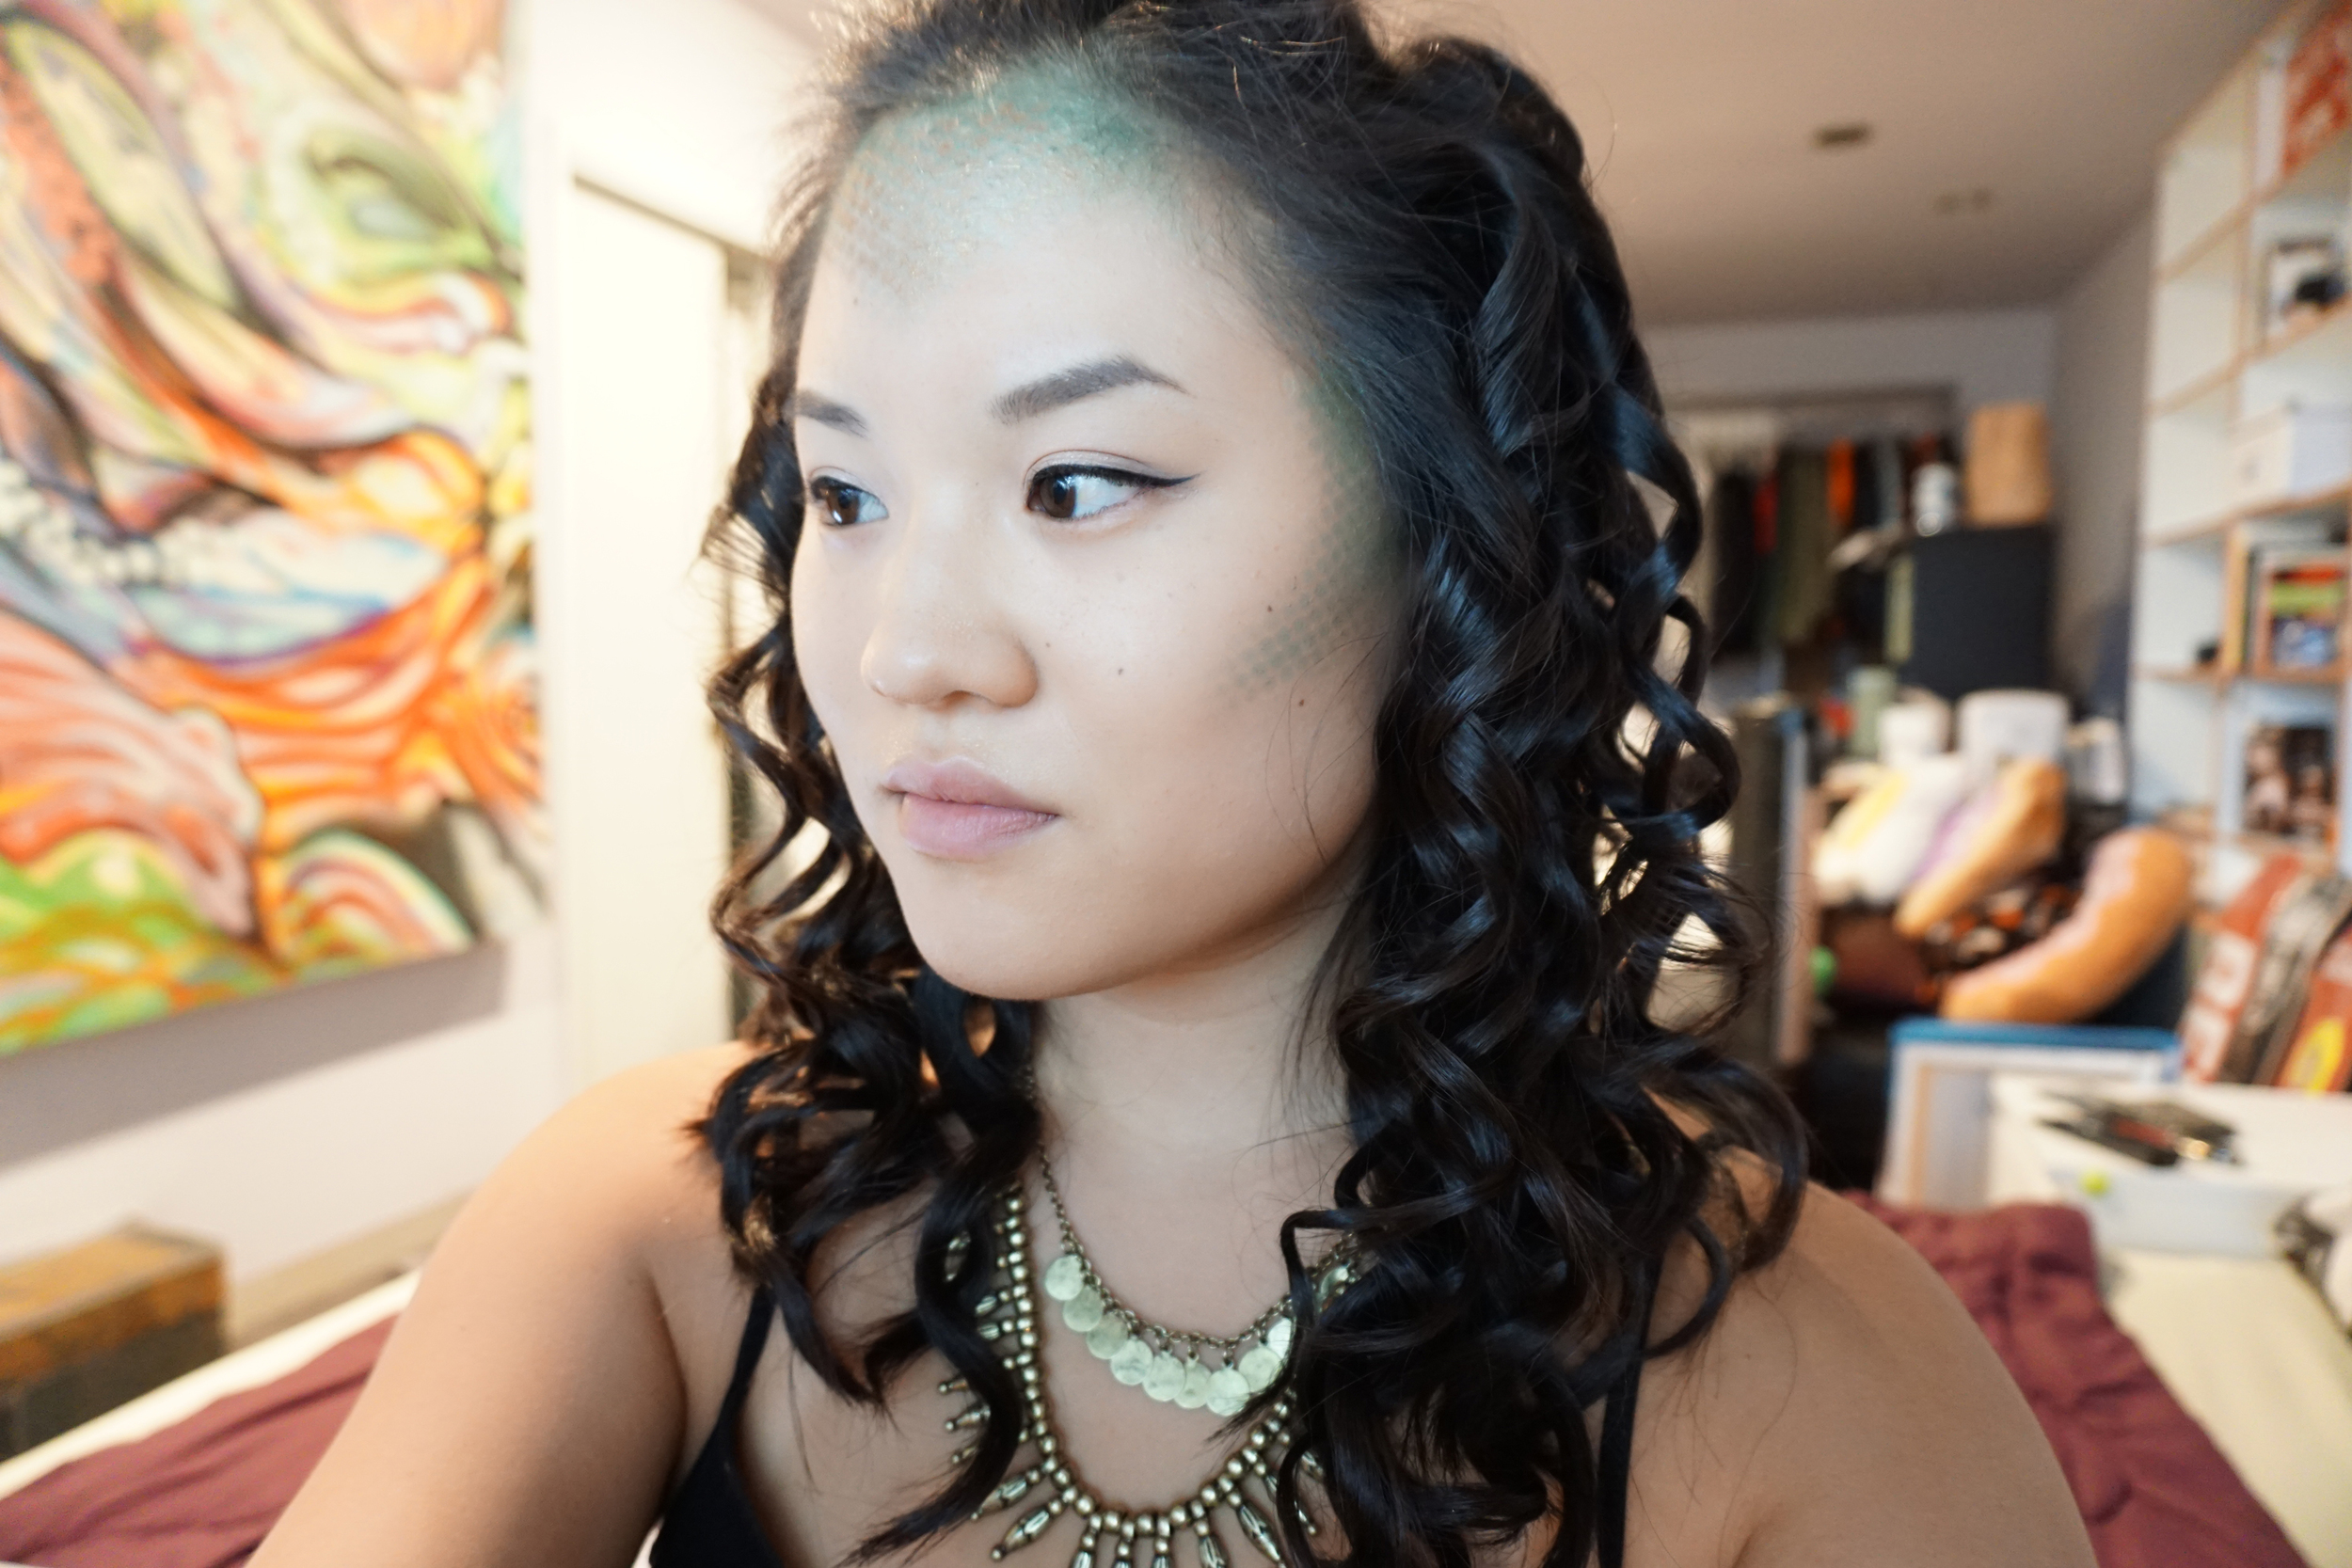
I thought it was going to look AMAZING. Lol.. it was a little much. I tried again, still not happy with the results. I think my face just doesn’t respond well to heavy makeup. So I removed all the green makeup and left it all as is. I figured the snakes would still make an impact. See? Sometimes Pinterest stuff doesn’t work out.
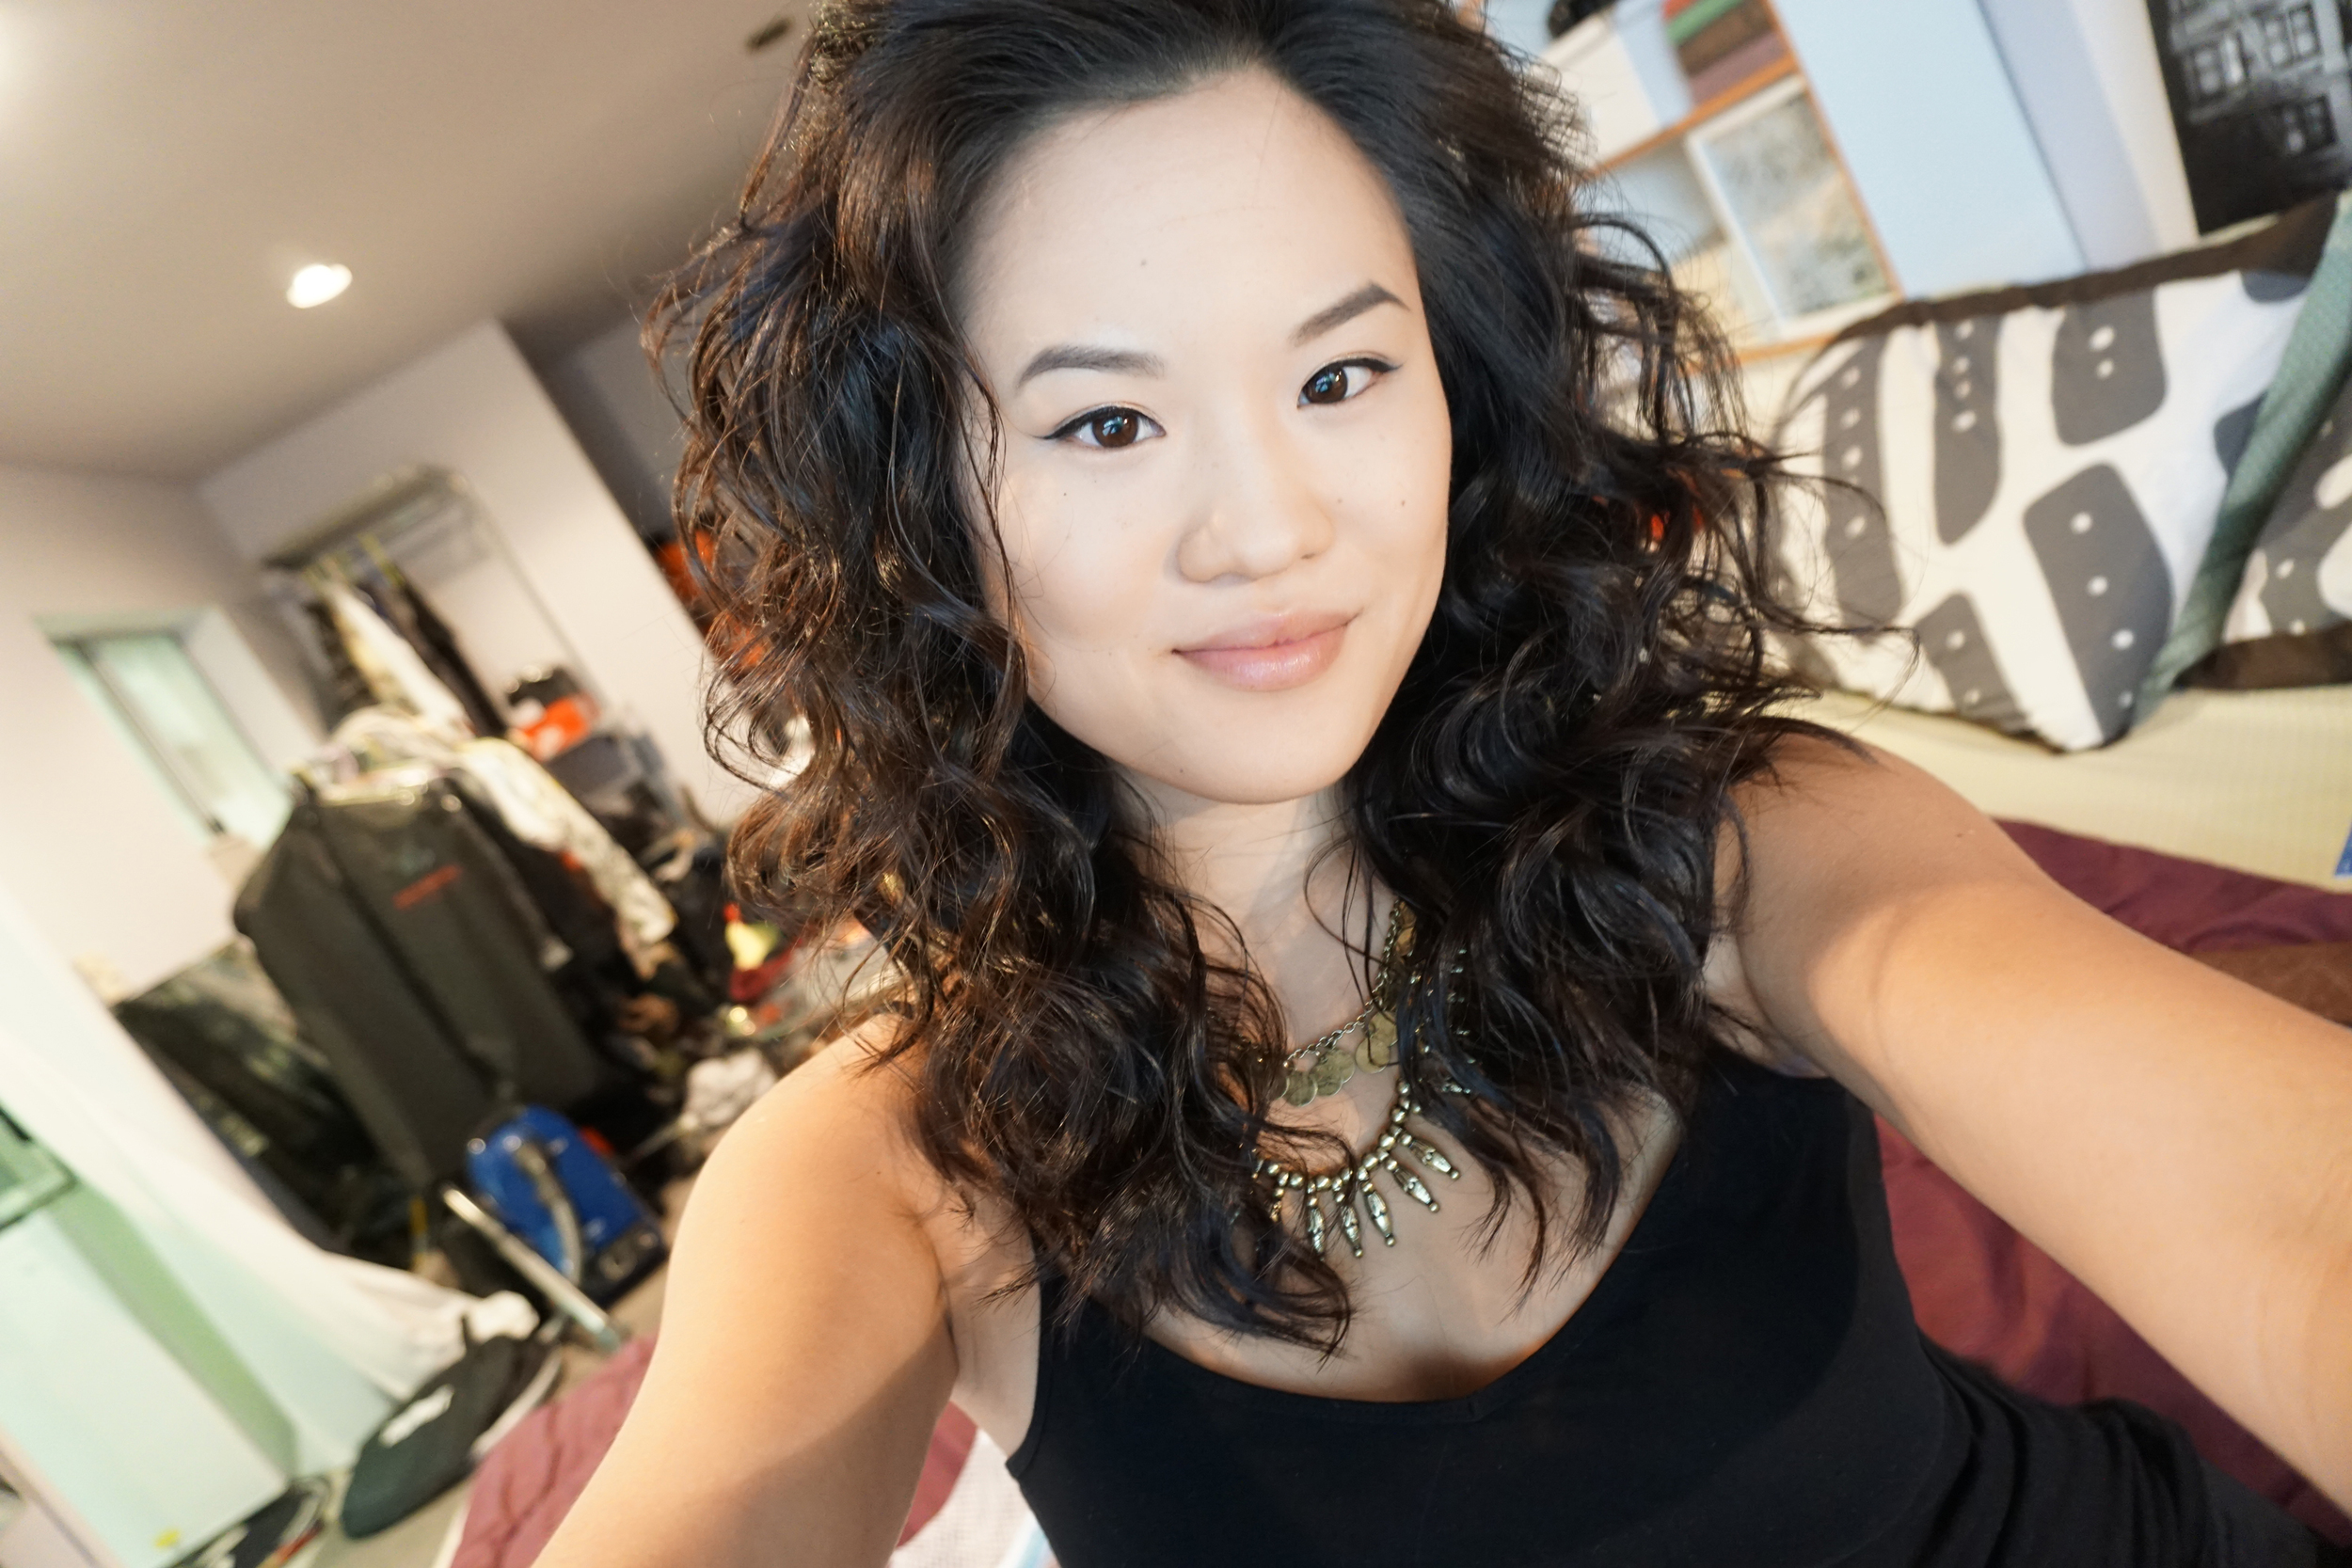
You can see in this photo, how crisp my hairsprayed curls are. That’s what I mean by letting them sit for awhile to really set up. Once your makeup is done, run your fingers thru your hair to loosen the curls and let them get big. Spritz with hairspray as you comb them out. This helps with lift. Once you comb out the curls, it looks like this.

My head shape does well with hair styles with a lot of volume at the top. I knew I wanted to tease the crown of my hair and create braids at the temples to pull back my hair. I wanted the rest of the curls to be big and kinky, coming out the bottom. Again, I watched a ton of YouTube tutorials on Medusa hair, and i can’t French or Dutch braid my own hair into some elaborate bun lol. I also just got my layers redone, so I have less length to work with.
Braid a 1" section at each of your temples. As you’re braiding, pull the section of hair towards the back of your head, since that’s where it’s going to be pinned.
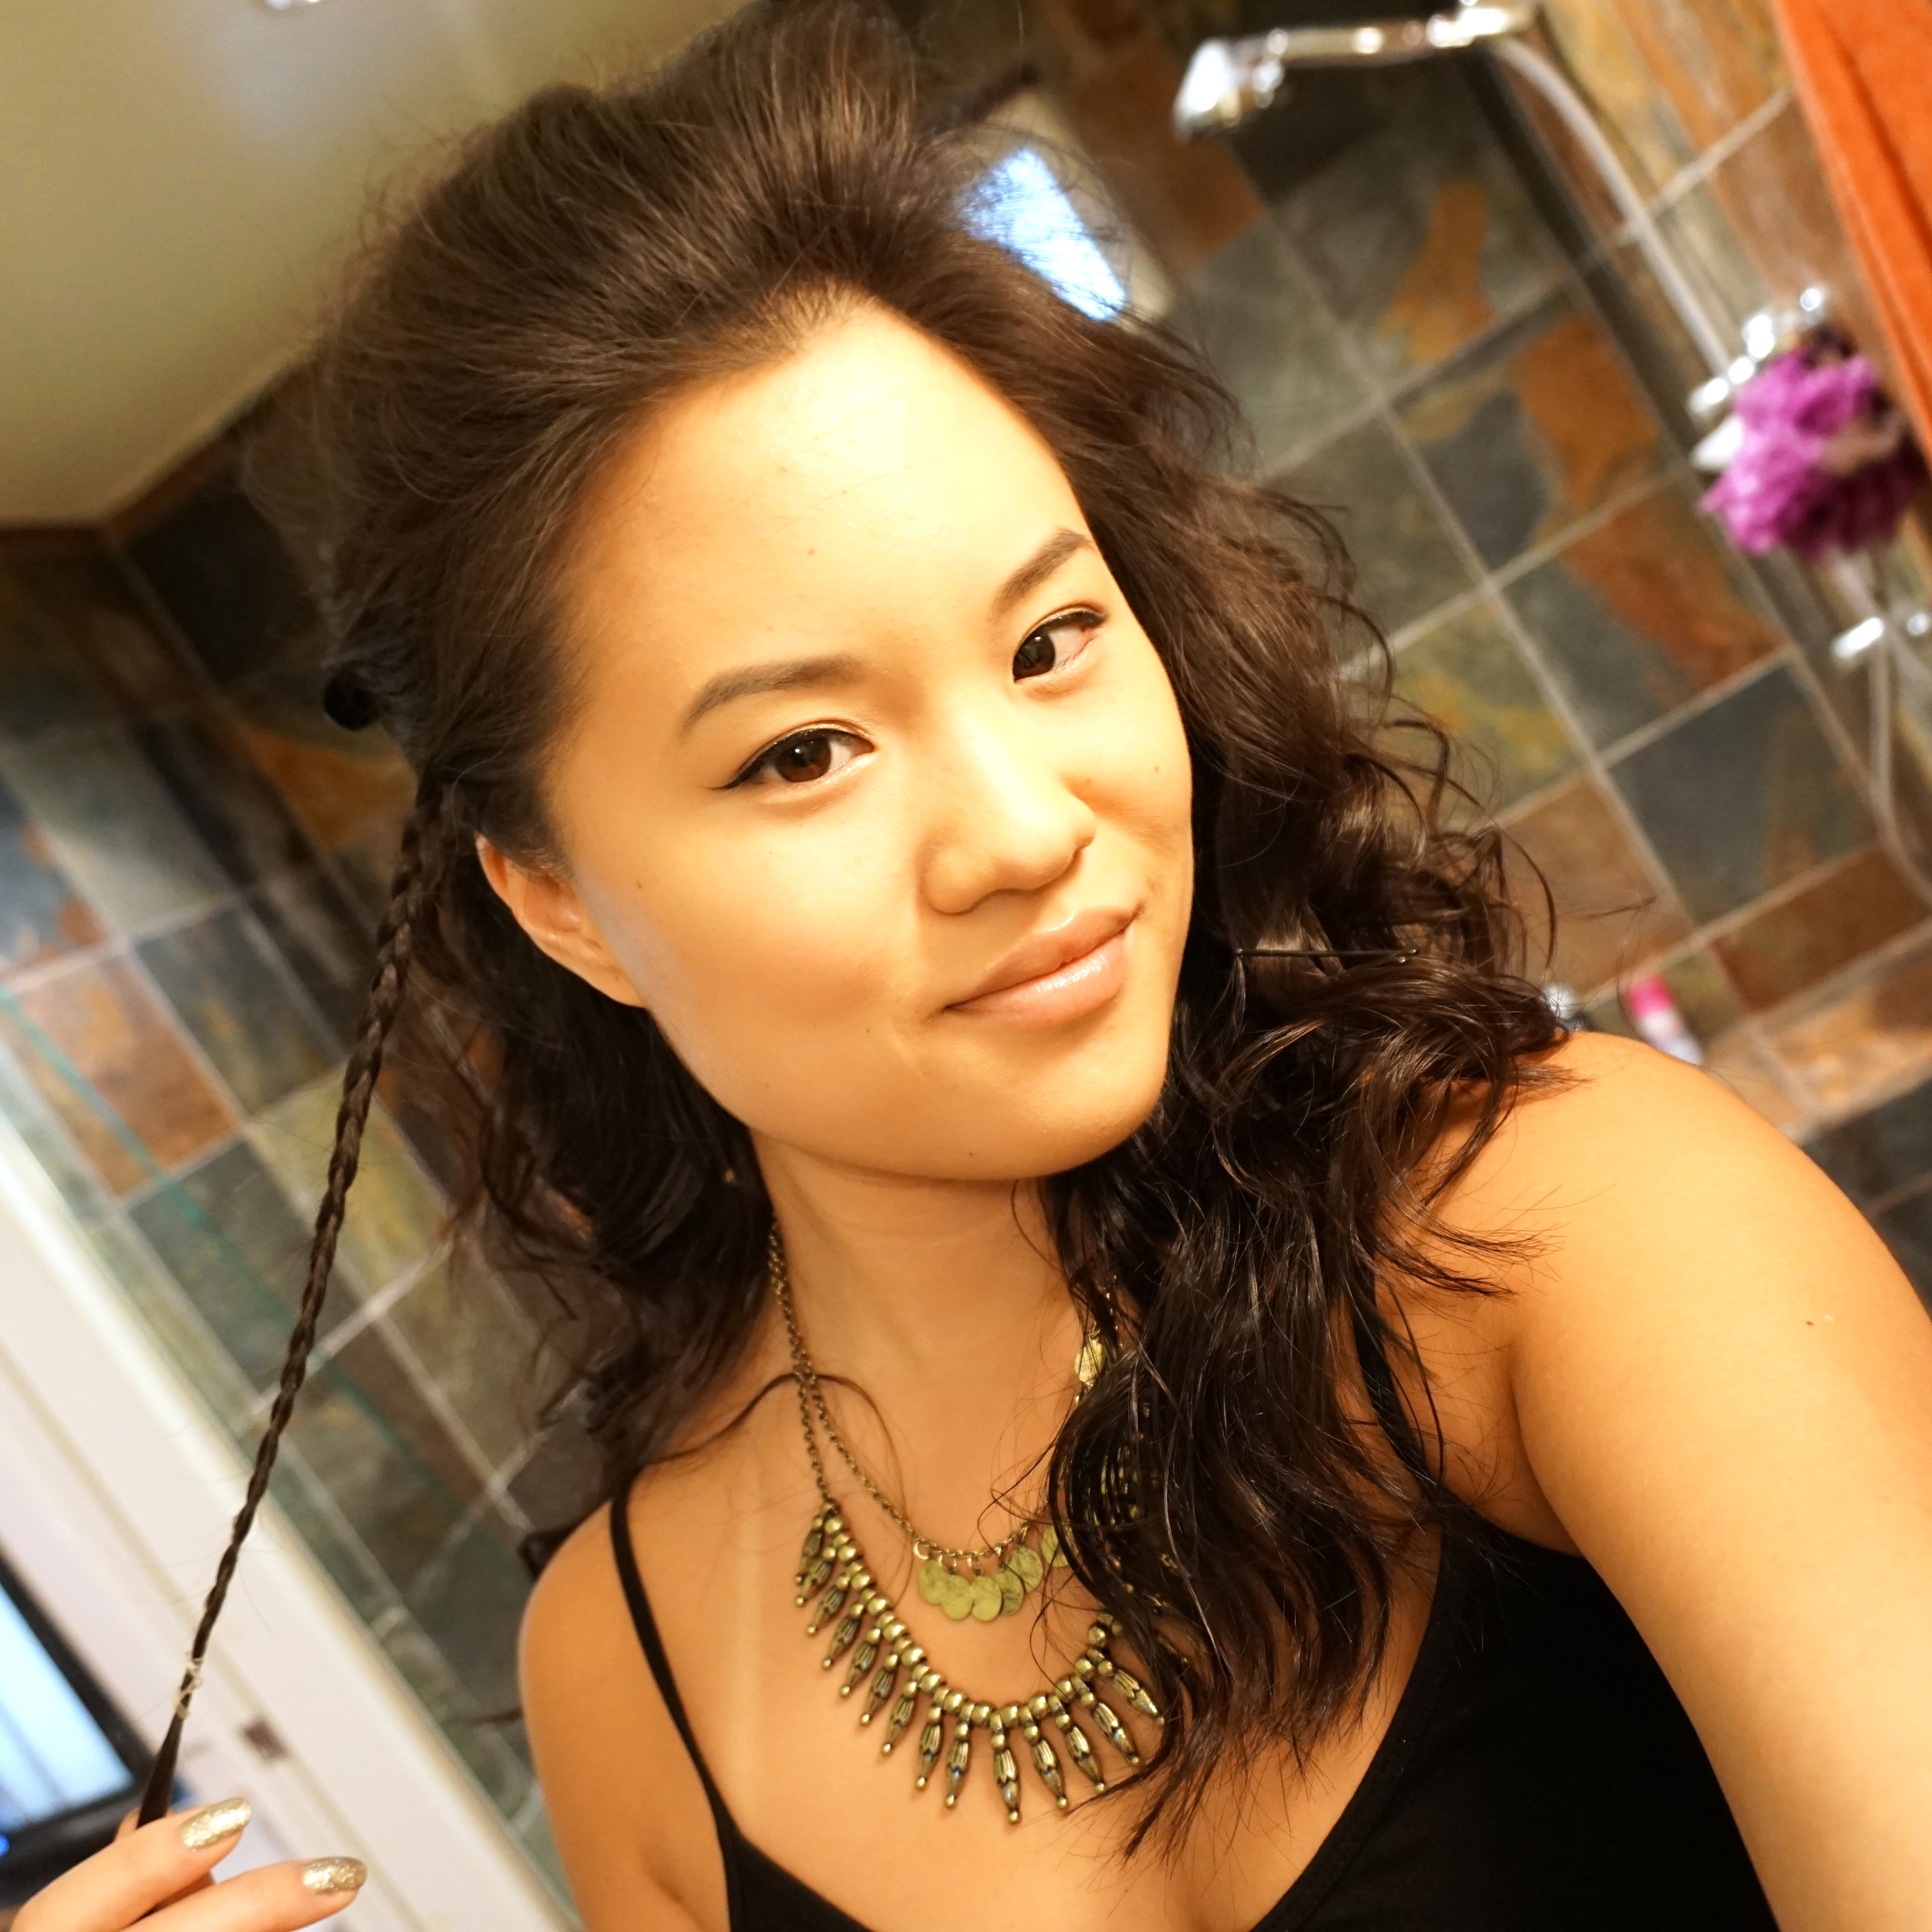
You should end up looking super attractive like this:

I also did a deep side part, and braided the front area where bangs would normally be, to the side in a simple French braid. Tease the crown of your hair. I find that using Big Sexy Hair Powder Play helps a lot with gaining volume and helping backcombed hair to stay in place! It’s a simple powder that is a bit tacky and works like magic. Love.
Form your teased hair into a nice little dome and hair spray. Take the two braids at your temples and pull them backwards, criss-crossing them at the back of your head. This forms a little half-up, half-down do. Use bobby pins to secure the braids. The braids are also to help secure the snakes into your hair. Take the end of the braid from the top of your head and bring it backwards, securing with bobby pins as well.
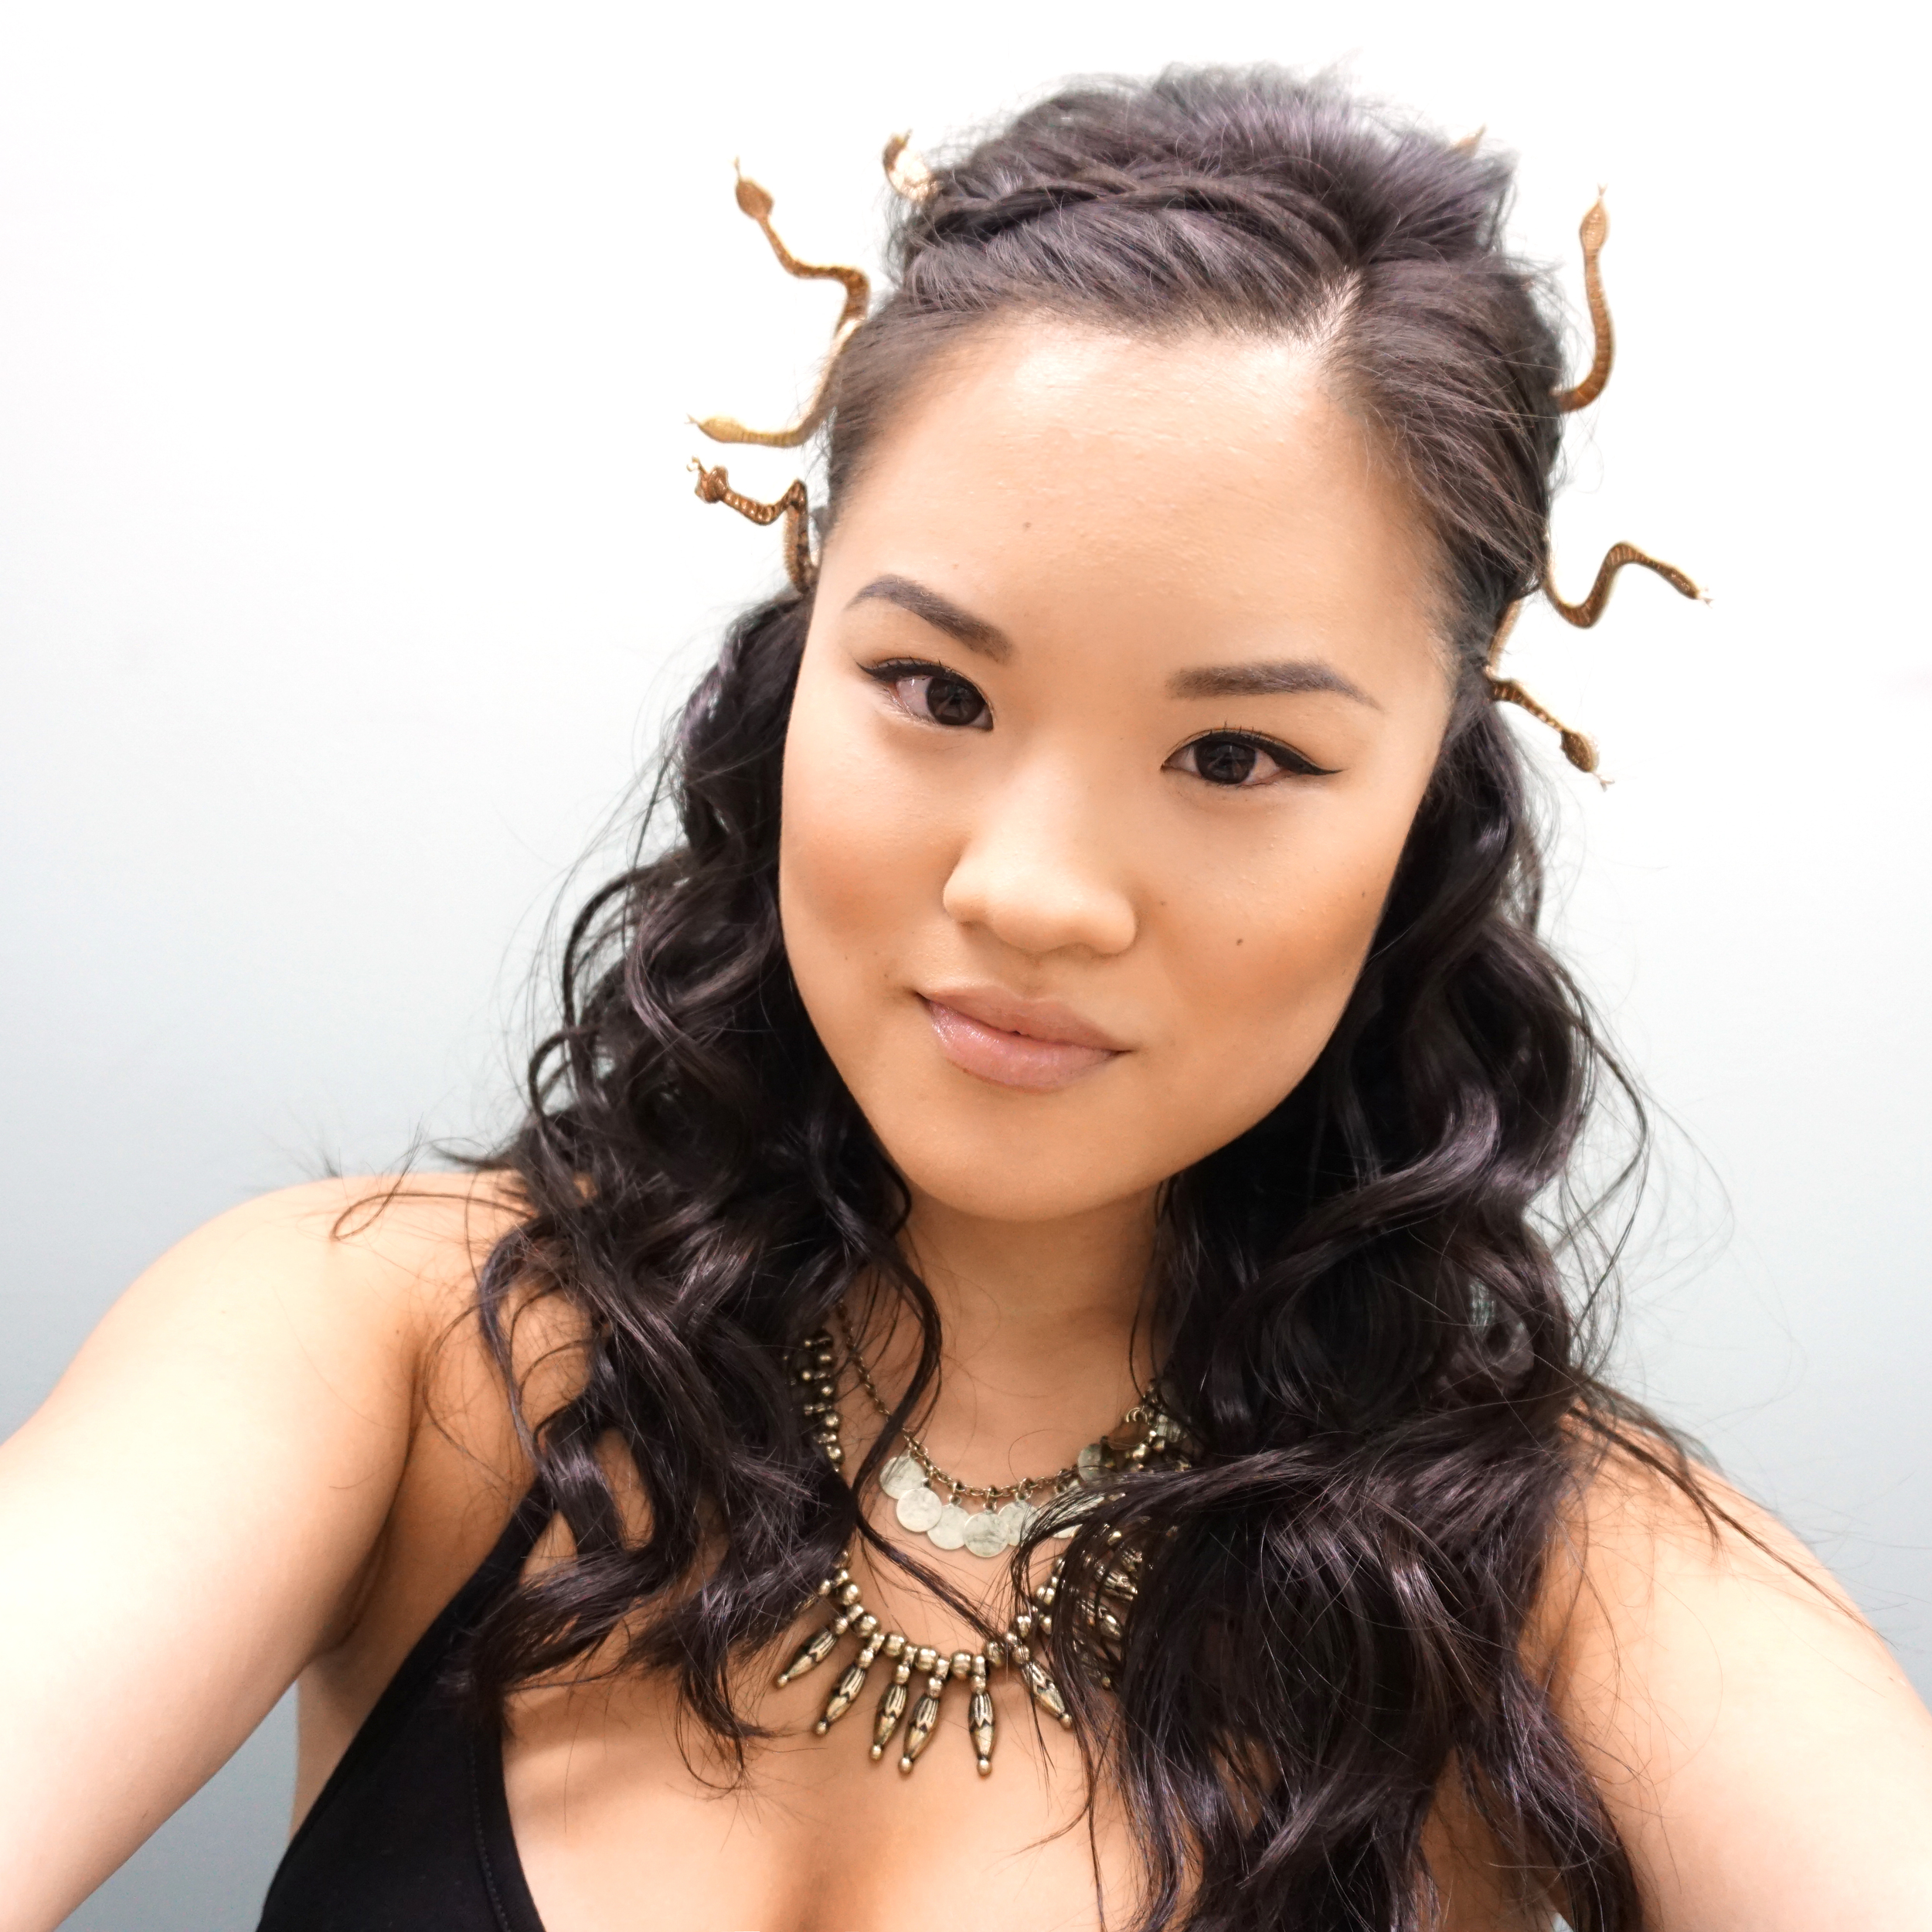
Now for the snakes! If you used spray paint like me, your hands are gunna get gold! Make sure not to touch anything you care about. I simply placed them all around the middle section of my head, securing them with THE BEST INVENTION EVER, U pins! They go around the body of the snakes much better than bobby pins. Simply insert one pin in one direction, and another in the opposite to lock the snake’s body onto your braids. Work your way around your head, adding as many snakes as you wish. I tried to make sure that a bunch were visible from the front, so it really looked sinister like Medusa. I WISH I had the time to take detailed pix of this last night. Here are a few to suffice:

Love the way the gold looked against my dark hair! Finish off with any gold accessories, and you have yourself a simple and totally doable Medusa costume! :)
Here are some pix from last night:


Happy DIYing!