
Frozen Yogurt Bark
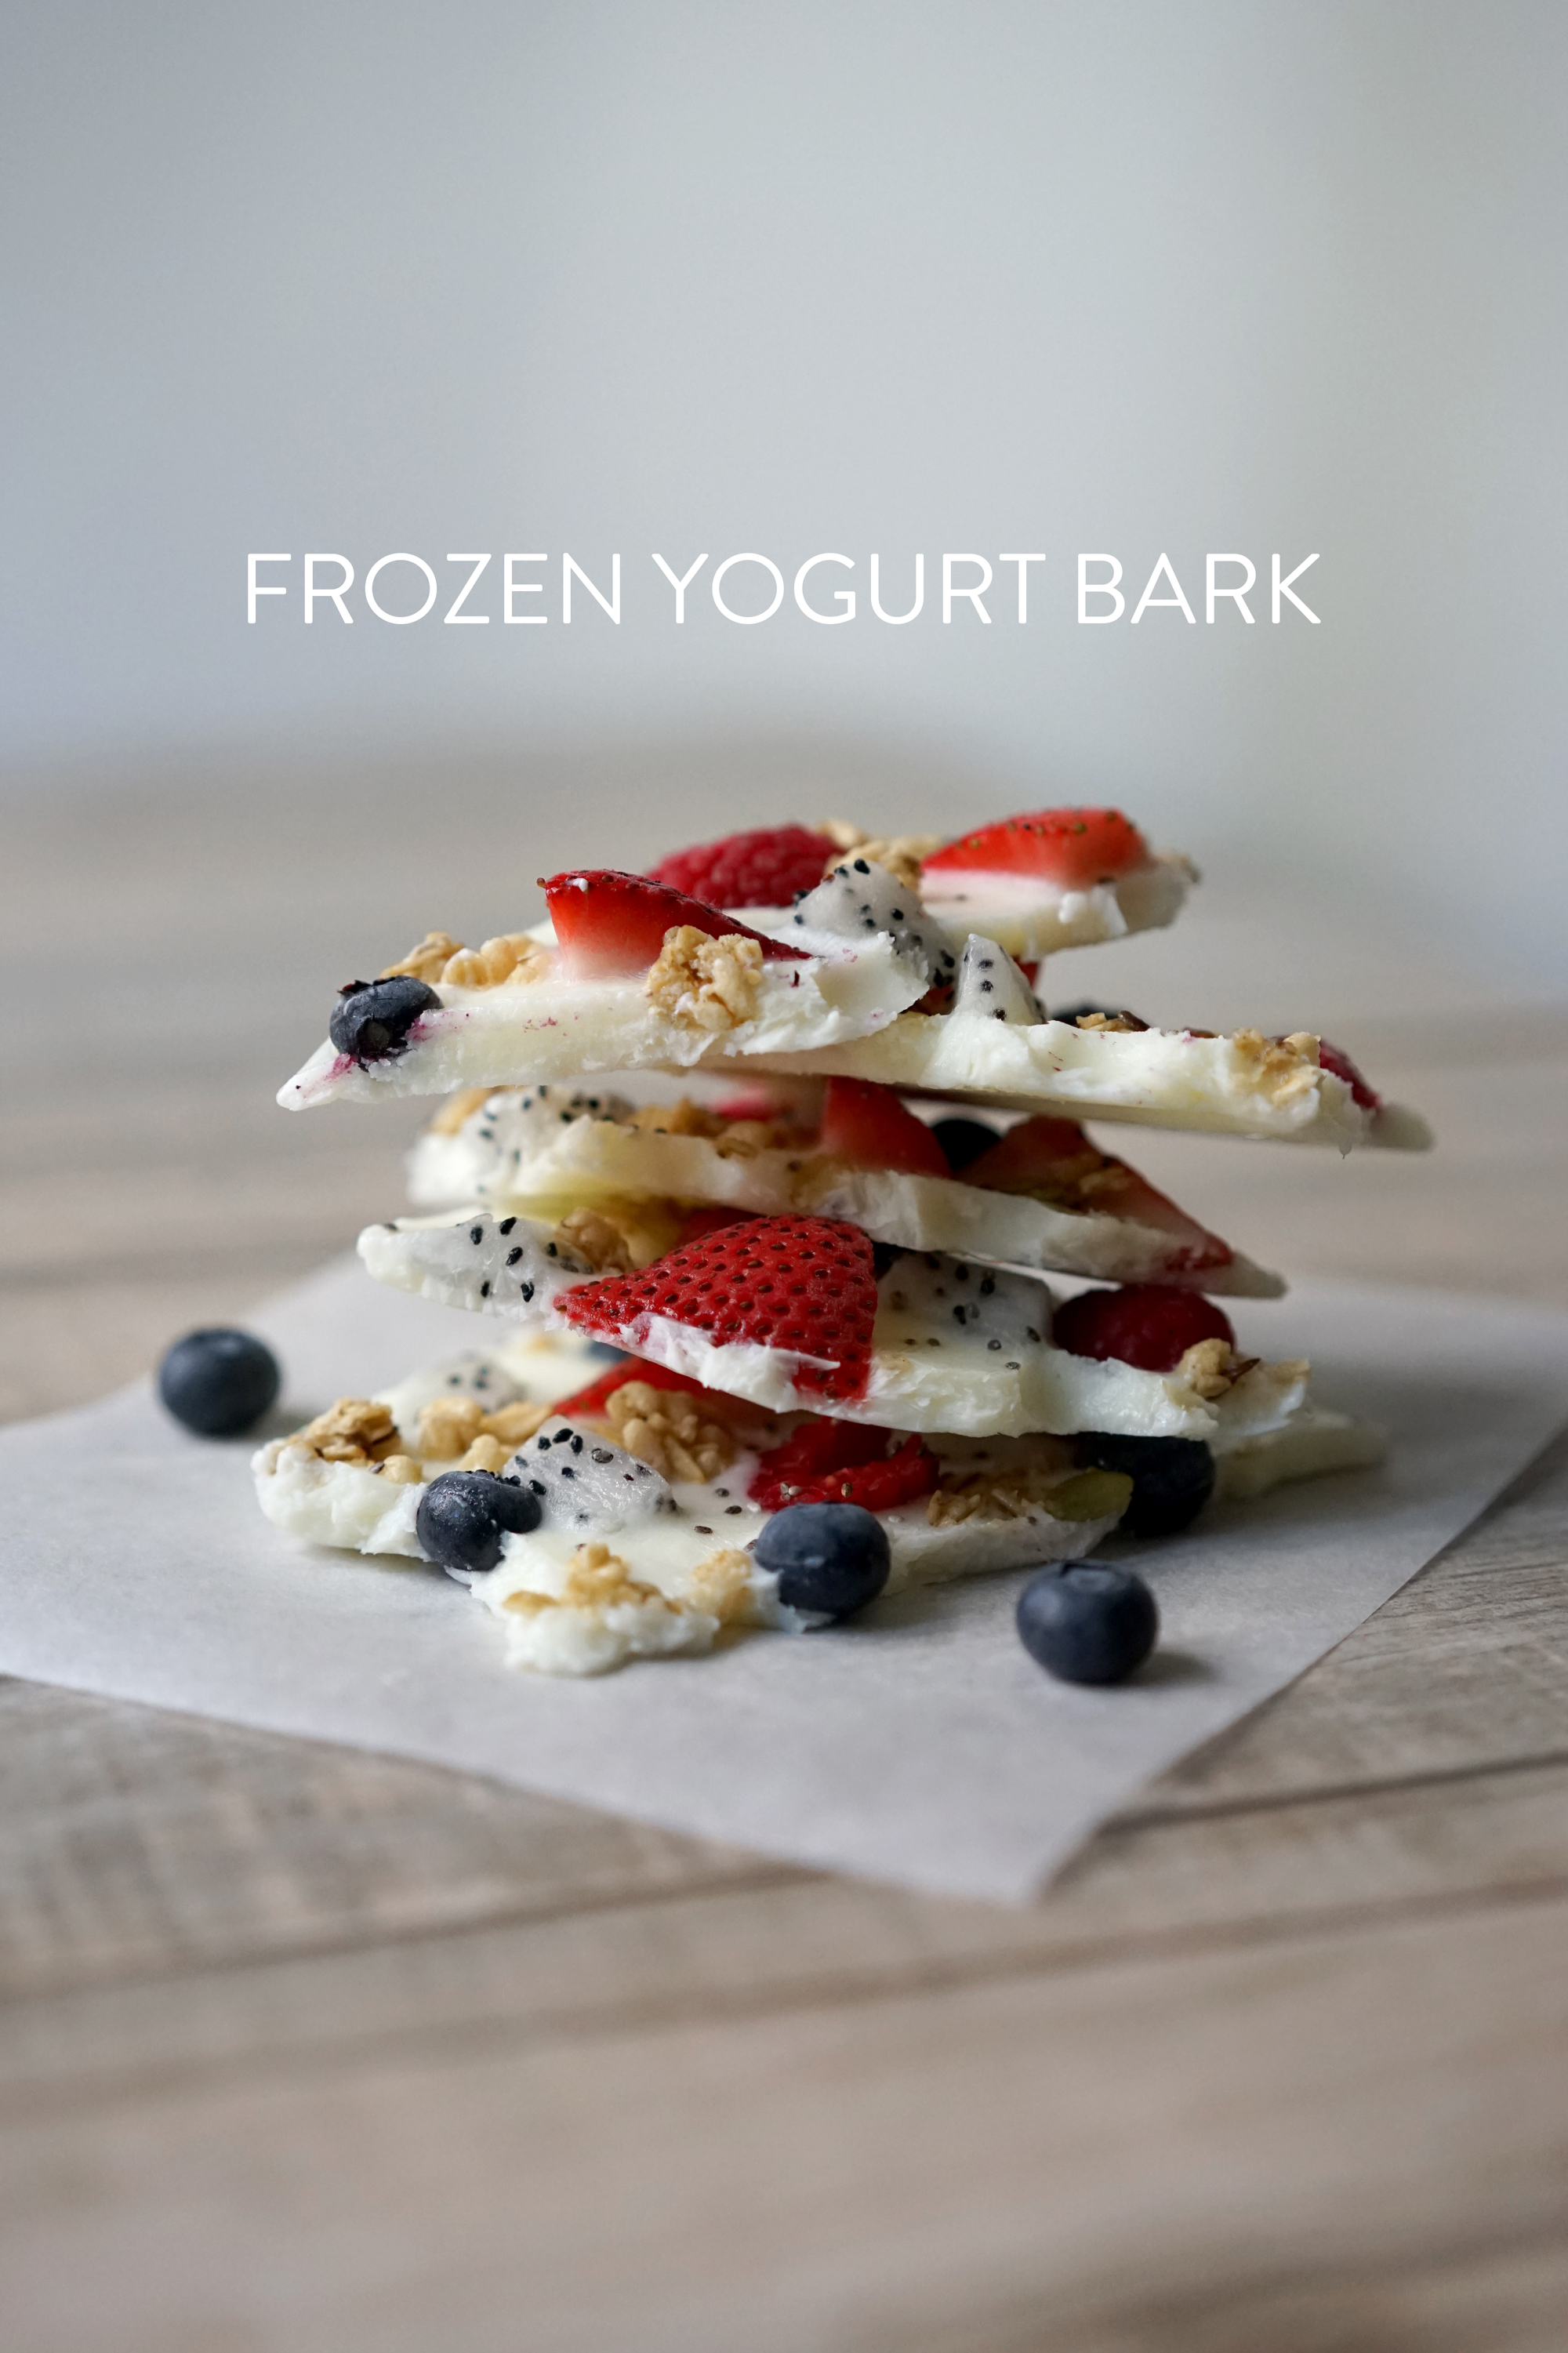
I am soo excited for this week's recipe. Yogurt is one of my favorite snacks, and adding fresh, seasonal fruit and granola to it is simple and delicious. Nonfat plain yogurt is a great source of calcium, protein, and probiotics. Adding your own fruit cuts down on excess sugar that comes with fruit-on-the-bottom yogurt from the grocery store. I love using Driscolls's #FinestBerries and Nature's Path Organic Pumpkin Flax Seed Granola in mine :)
With summer heating up, Frozen Yogurt Bark is a fun alternative snack for your family. It takes minutes to put together, and once it's frozen, all you've gotta do is break up the yogurt into pieces of 'bark'! This recipe is a great activity for kids to get involved in the kitchen. I love its adaptability - Frozen Yogurt Bark can be made with any combination of fruit and granola, and can be doctored up with extras like chocolate, flax seeds, chia seeds, protein powder, maca powder...the options are endless. I love recipes that can hide nutrition boosters but still taste great!
The other reason I'm really excited for this week's recipe is because I filmed my first video recipe. You can find it below or on YouTube :) I'd love to hear your feedback, or see any #BrokeAndCooking recipes you've made! Let's get...freezing?
What You Need:
- 16 oz nonfat plain yogurt, or plain Greek yogurt
- Drizzle of organic honey
- Baking sheet or pan that can fit in your freezer
- Parchment paper
Your choice of toppings. Some ideas:
- Fresh fruit: strawberries, blueberries, raspberries, bananas, mango, kiwi, dragon fruit, bananas
- Granola: My favorite granola is Nature's Path Organic Pumpkin Flax Seed Granola. The crisped rice puffs add amazing texture, and this granola is packed with yummy pumpkin seeds and flax seeds!
- Chocolate: add white or dark chocolate for extra sweetness, or drizzle melted chocolate over the finished bark for a really gorgeous finish
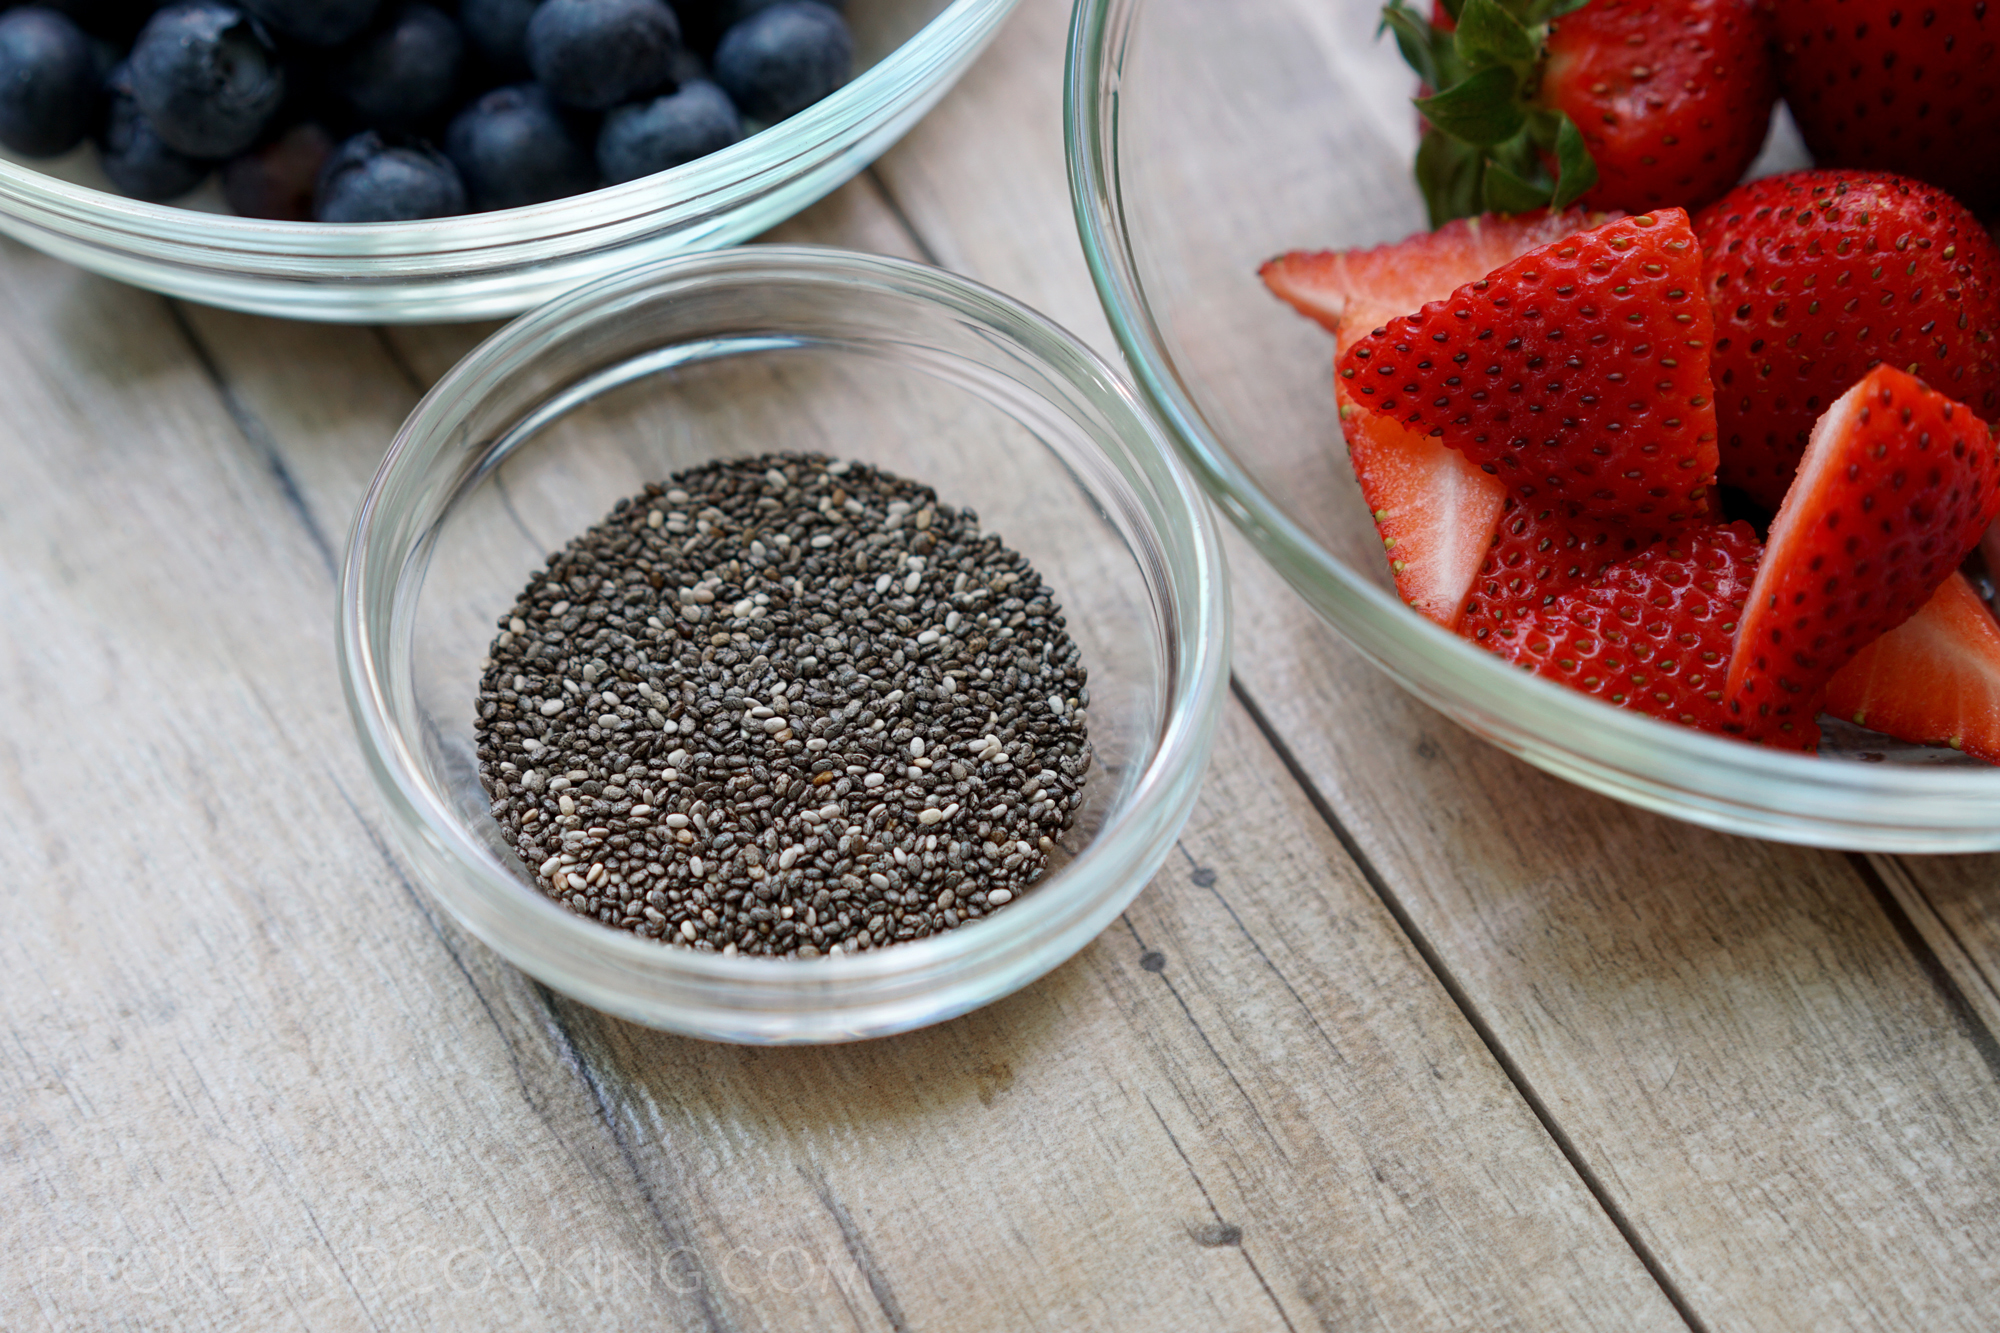
- Nutiva Chia seeds, flax seeds, maca powder, nuts, protein powder, etc.
What To Do:
- Line a baking sheet with parchment paper.
- Mix together 16 oz plain yogurt or Greek yogurt with a drizzle of honey. You can also opt to mix in some chocolate, or protein powder.

- Pour the yogurt onto the parchment-lined baking sheet and spread it into an even layer. The thicker the layer, the thicker your bark.

- Plop in a combination of your favorite fruit, granola, and add-ins!
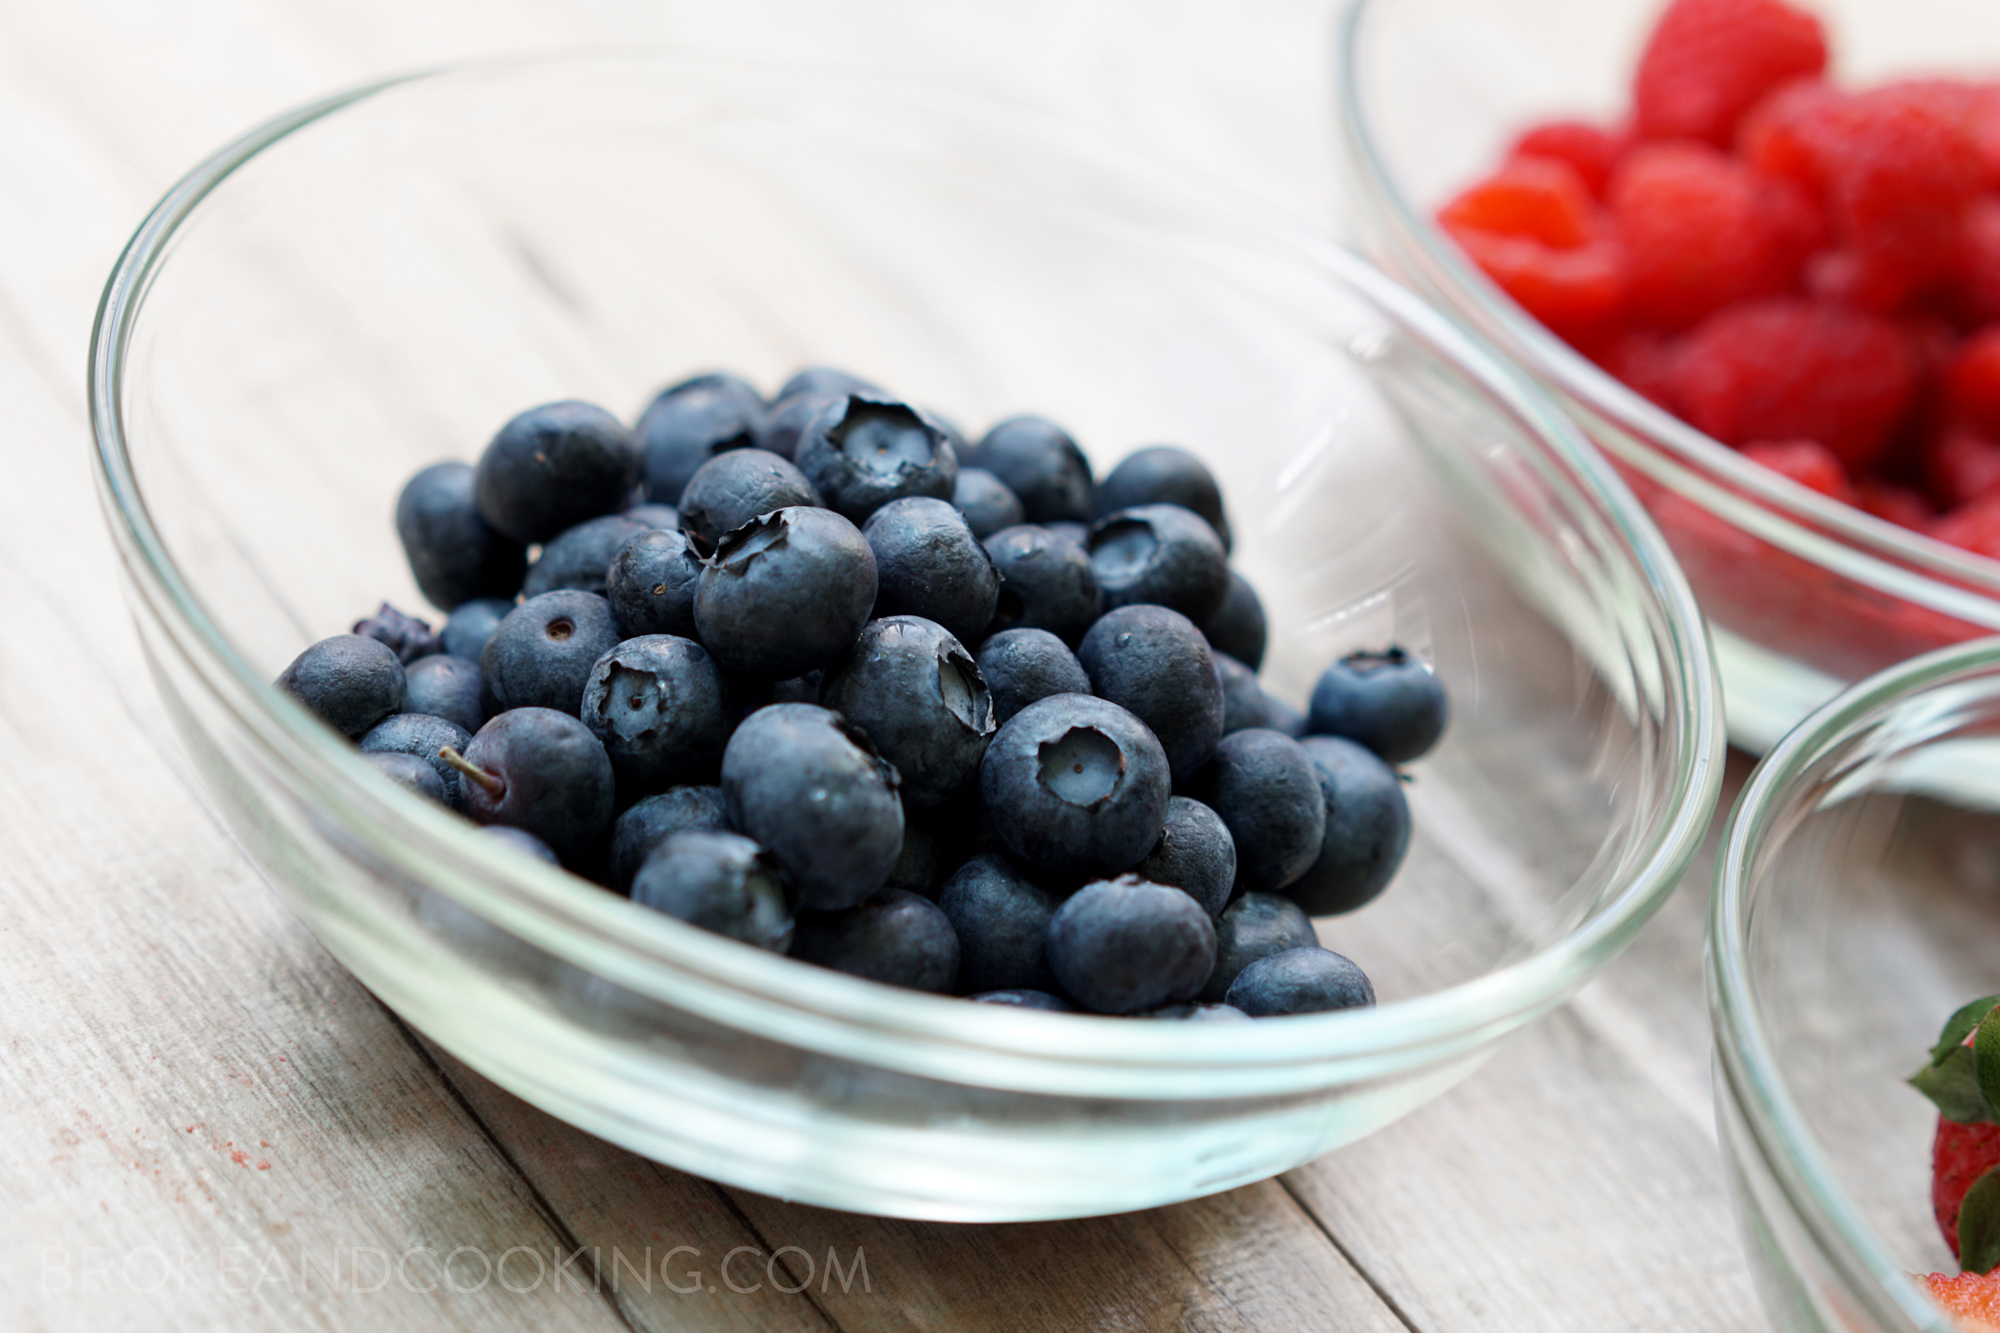
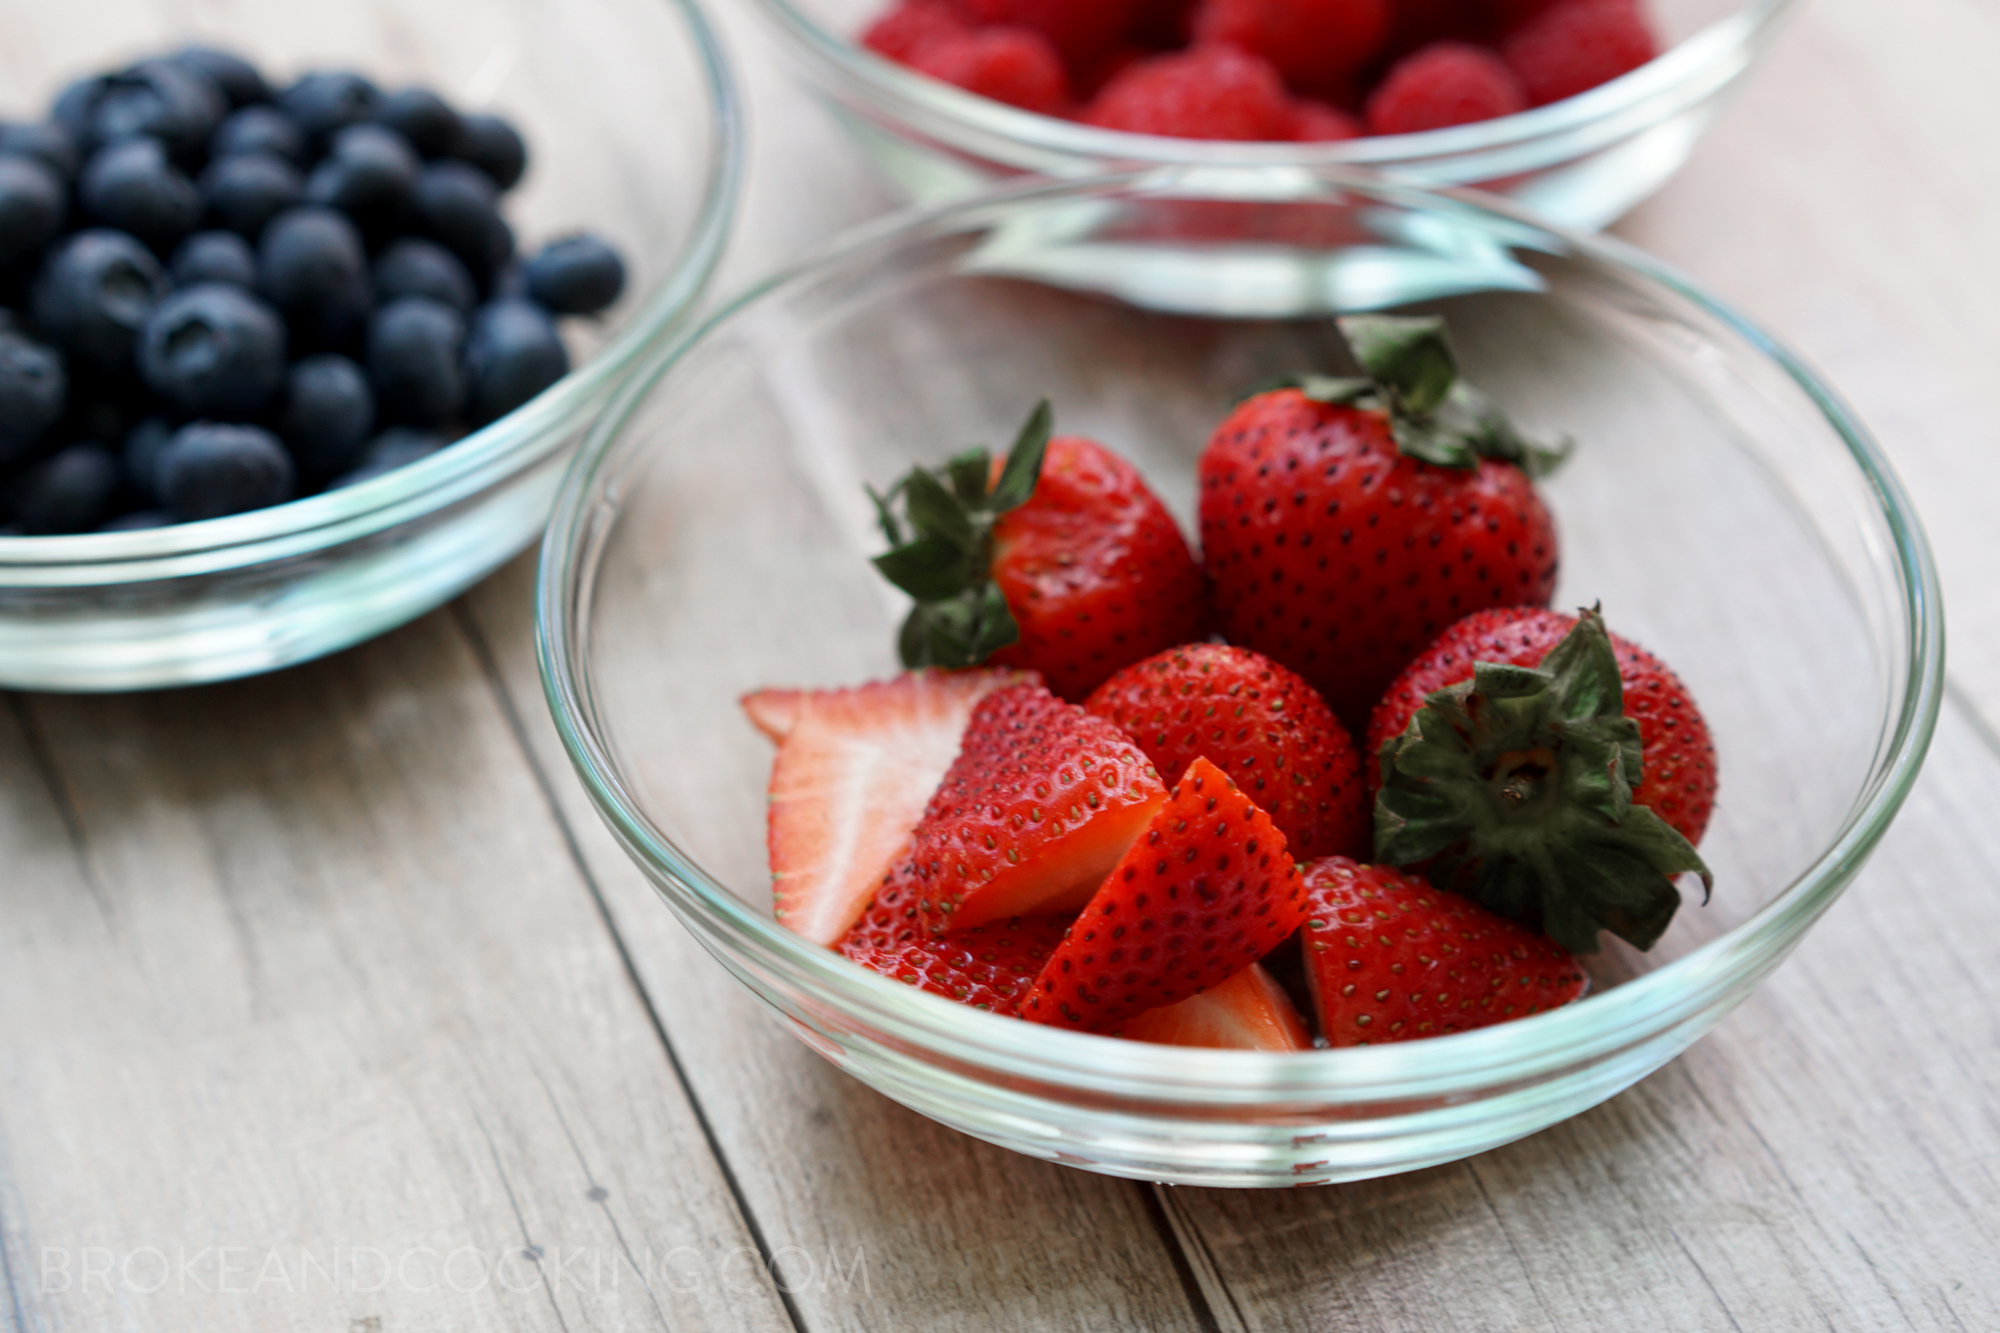
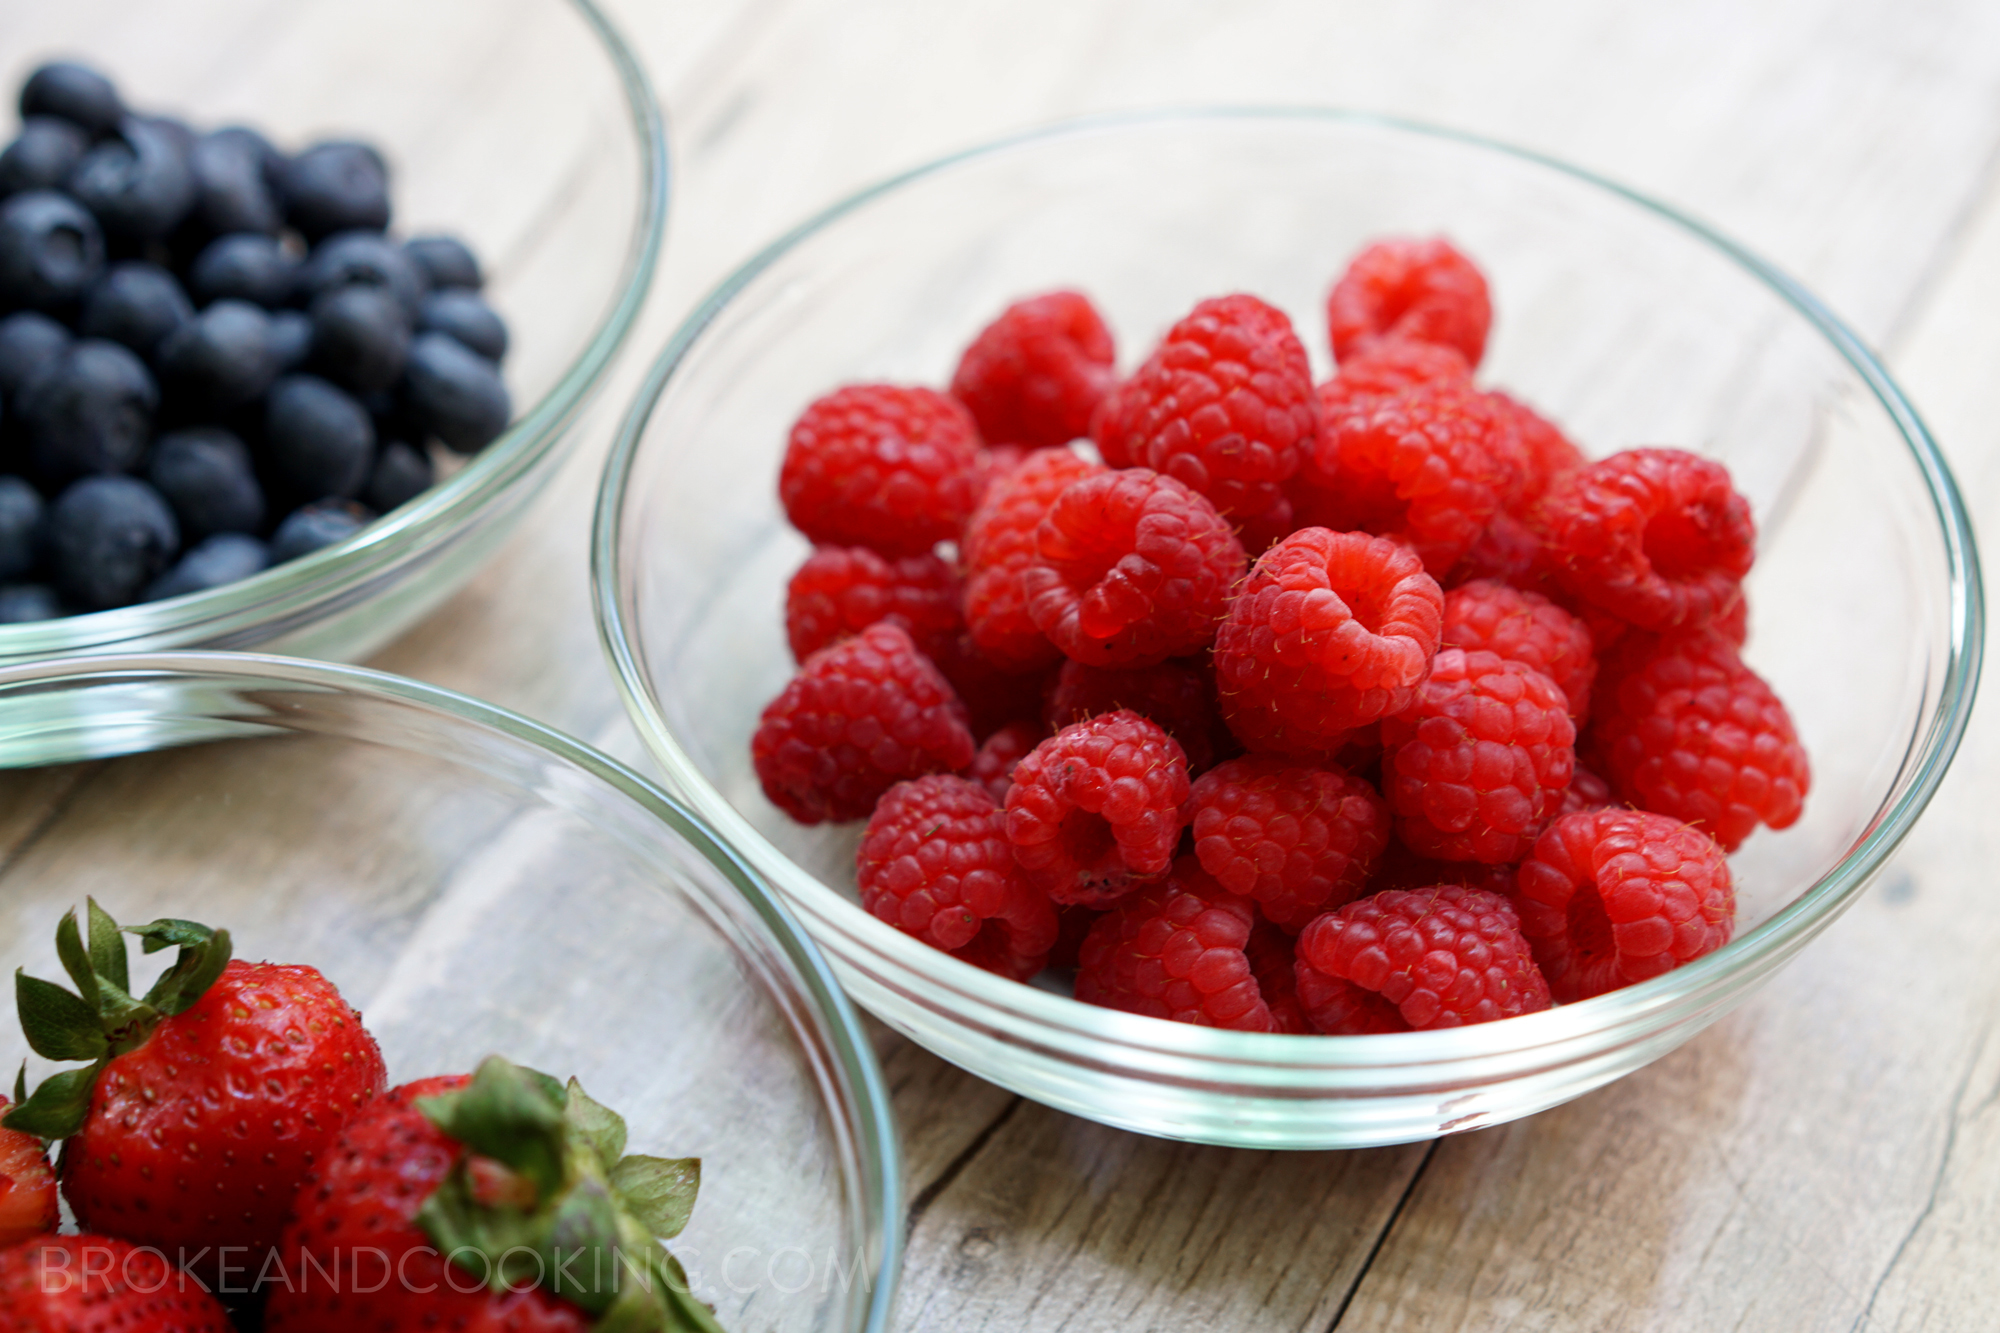


- Put the yogurt into the freezer and allow it to set, at least 2 hours.

- Once the yogurt bark sets up, remove it from the freezer and get ready to break it up! :)

So nice and frosty!
- Use a knife to make the first break, and then use your hands to break up the bark. That's it! Time to eat up :)


I think the bark is sooo gorgeous, lol! It'd be really great to use berries to 'dye' the yogurt, or a chocolate bark would be really beautiful as well. You can use different color combinations for special occasions or holidays :) Such a great, portable way to eat yogurt!
Have any recipe requests or feedback? I'd love to hear from you. Tag me @_brokeandcooking / #brokeandcooking on instagram! :) Have a great week!! xoxo

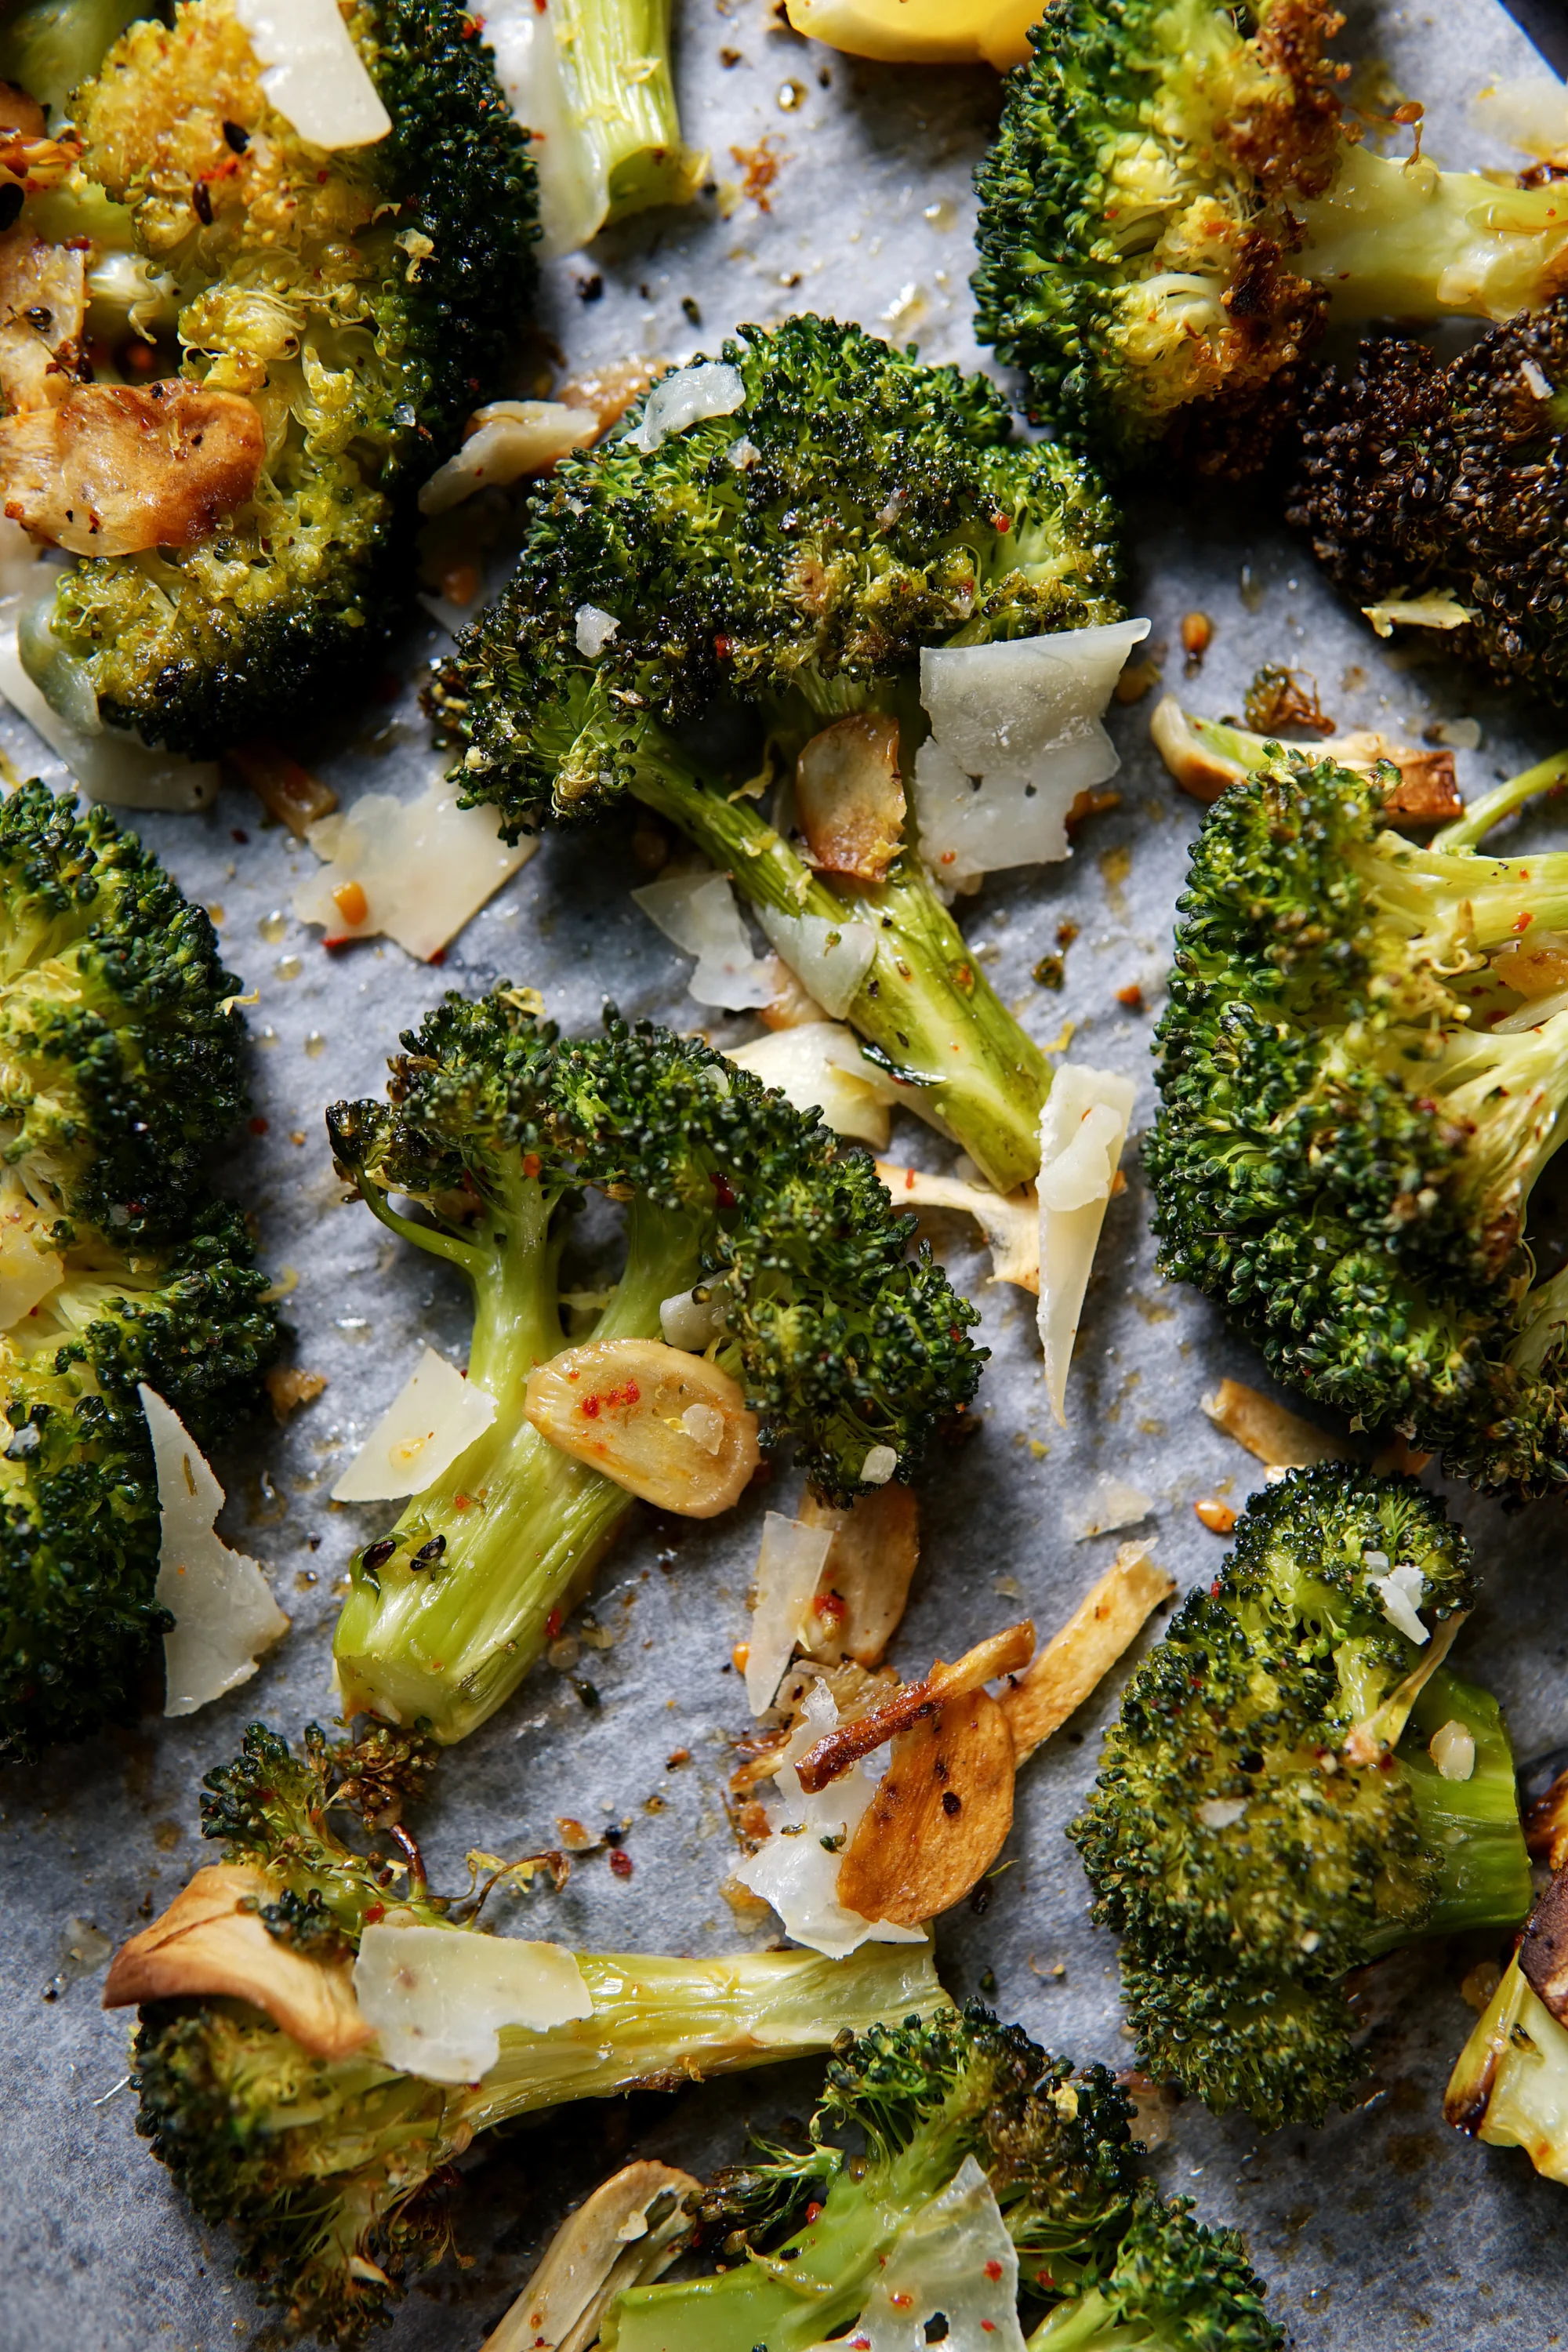


The best things often happen out of sheer necessity, or like I've said before, laziness :) I grew up being told that boiling vegetables took all of the nutrition out of them, and so as I got older and started to cook for myself, I started cooking vegetables this way. I would heat a large skillet with a bit of extra virgin olive oil, add my vegetables, and a few splashes of chicken broth (always keep a few cartons stocked!) and seasoning. I would cover the vegetables so that the broth would steam the veggies and give them a bit of a "head start". This worked - steaming them for a few minutes would cook them just through, and then I would remove the lid and sauté the veg to get some color on them.
To step it up, you could use this basic method and switch up the seasoning or sauces you use. My favorite combo is to skip the salt and add oyster sauce while the vegetables are steaming. Once the broth evaporates, the oyster sauce cooks down and helps to add nice toasty, flavorful bits to the ends of your greens. I've also used this method to cook Maple Glazed Carrots in minutes on the stove for the holidays. In that recipe, you steam the carrots in broth and salt, and then sauté with some maple syrup, black pepper, flaky sea salt, a bit of butter, and finish with parsley. You get the idea - this is a simple master recipe that you can use and adapt to your liking.
Little did I know that this seemingly made-up method of cooking vegetables is known as steam/sautéing. I am glad that it's actually a thing! I hope you give it a try - here's a quick video recipe and guide! Let's get cookin